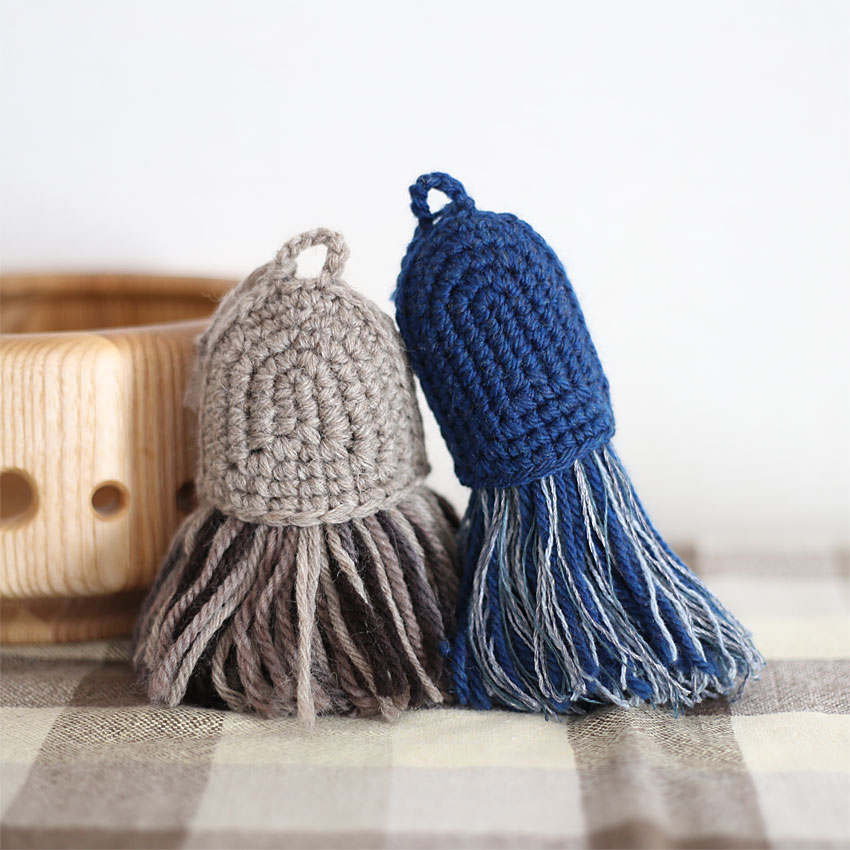
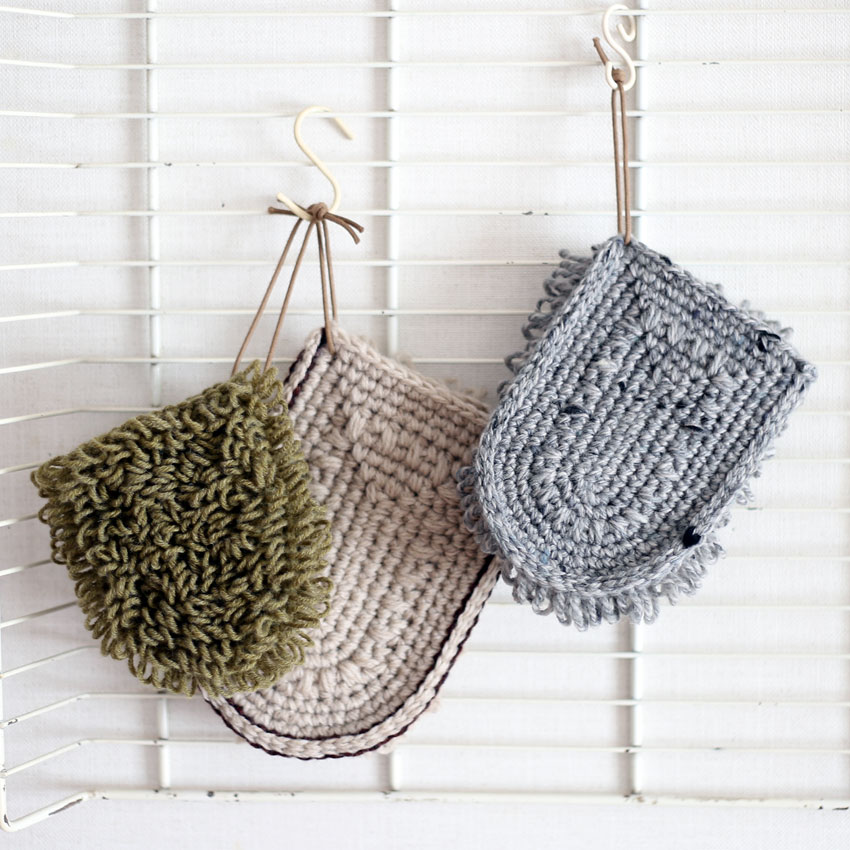
This is a crocheted piece.
I crocheted a duster, a cleaning tool for removing dust.
This duster can be replaced if the fluffy material gets dirty.
The only knitted part is the handle, and the fluffy part is simply finished using the same technique as making a tassel.
For the fluffy part, you can use thin or thick yarn, or a mix of both!
If you have leftover yarn that you don't know what to do with, make full use of it.
For the sample piece, the handle is knitted in a single color of wool, and the tufted part is made from a mix of wool and linen in similar colors.
There is a mix of thicknesses as well.
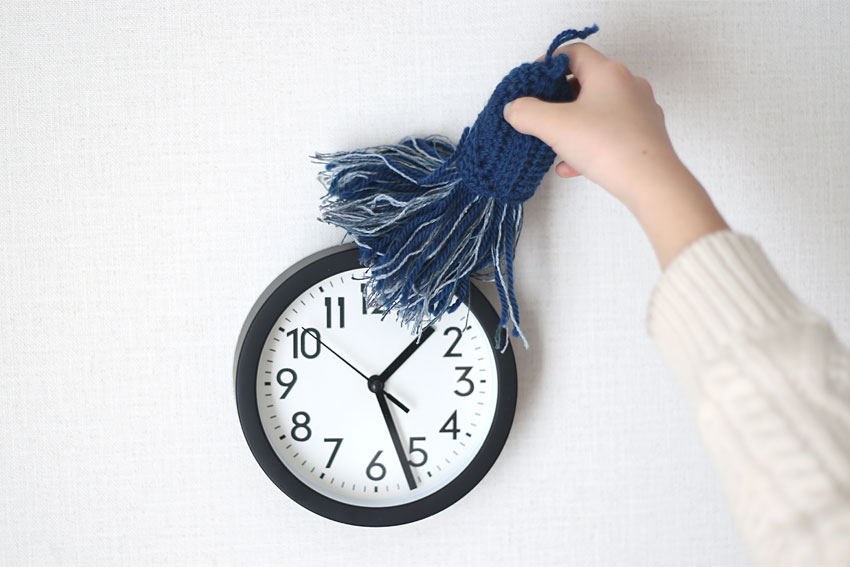
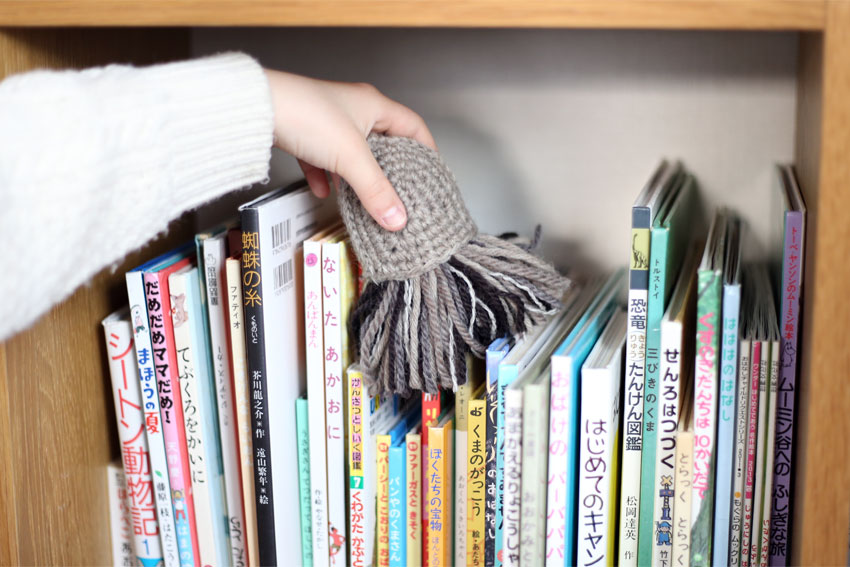
How about using this tool to get rid of the dust that accumulates without you noticing?
Yarn and Crochet Hook Size
[Medium size]
Handle: 10g extra thick wool yarn
Tassel part: Mix 26g
5.0 mm (JP 8/0)
[Large size]
Handle: 6g medium-weight wool yarn
Tassel part: Mix 16g
4.0 mm (JP 7/0)
Finished Size
[Medium size]
Handle: (excluding loop) 7cm long x 8cm wide
Tassel part: 11.5cm in height
[Large size]
Handle: (excluding loop) 8cm long x 6.5cm wide
Tassel part: 15cm in height
Crochet Pattern
Interchangeable duster knitting pattern
Instructions
Please also check the knitting pattern along with the instructions on how to make it.
① For the M size, make a chain of 3 stitches, and for the L size, make a chain of 5 stitches and then start knitting.
For the first row of knit stitches, on one side you pick up the chain on the other side of the cast-on chain and the back knot, and on the other side you pick up the remaining chain from the cast-on chain that you didn't pick up earlier and knit.
At the end of the row, insert the needle into the starting chain and knit a double crochet (this double crochet is likened to the two corner chain stitches).
Increase the number of stitches each row and cut the yarn when you finish knitting the fifth row.
② Knit another piece. After you finish the fifth row of the second piece, continue knitting the edge with the same yarn.
③ Place the two pieces of knitted fabric with the right sides facing each other, pick up the half stitch on the inside and pull it out.
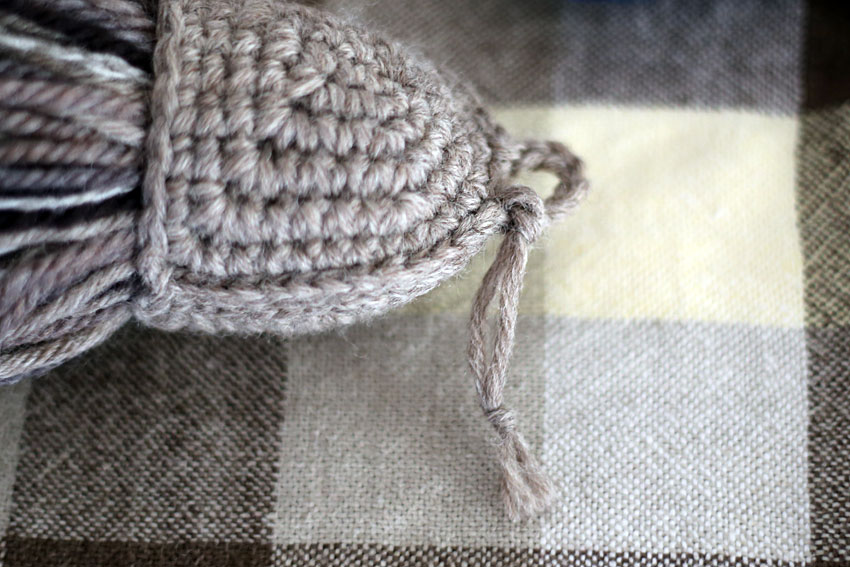
In the middle of the slip stitch (at the top), knit a chain of 6 stitches, then continue with the second half of the slip stitch.
Please note that there is one stitch between the chains that will not be sewn through.
There will be a gap of one stitch here.
Once you have finished pulling the thread out, cut it.
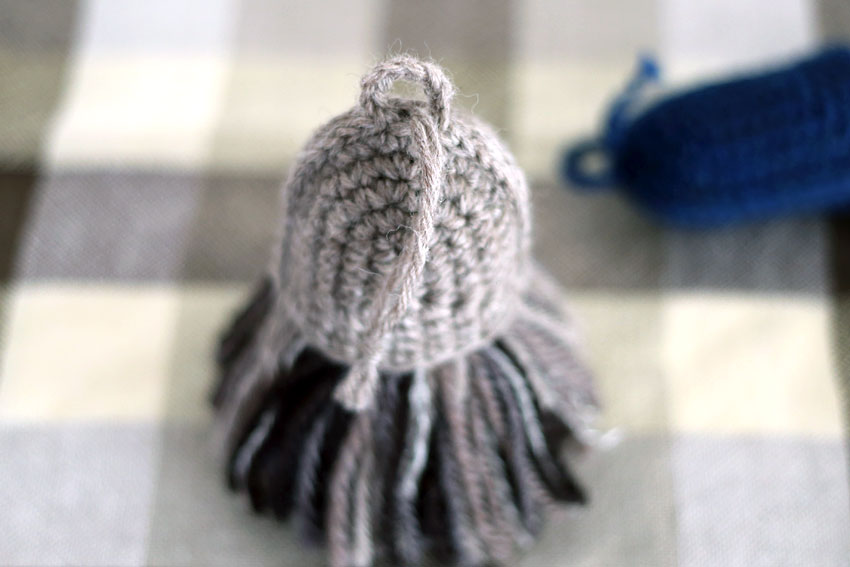
Now the handle part is complete.
④ "Firm tassel" Please refer to the instructions from ④ to ⑨ in the previous section and try wrapping thread around the base to make a tassel.
Feel free to decide the length and volume of the tassels to your liking. For the sample piece, I didn't count the number of times I wrapped the thread for either the M or L size, I just went with my intuition.
Tie a knot at the end of the thread used to tie the tassel.
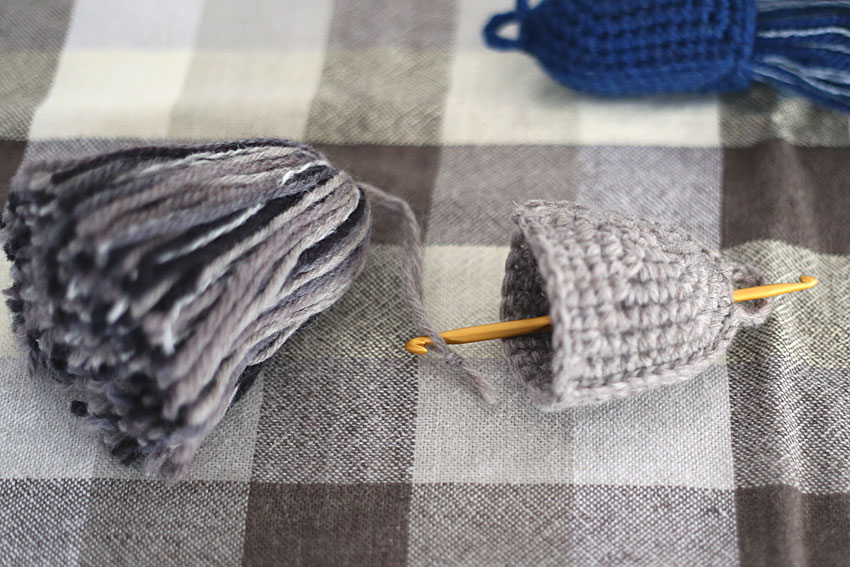
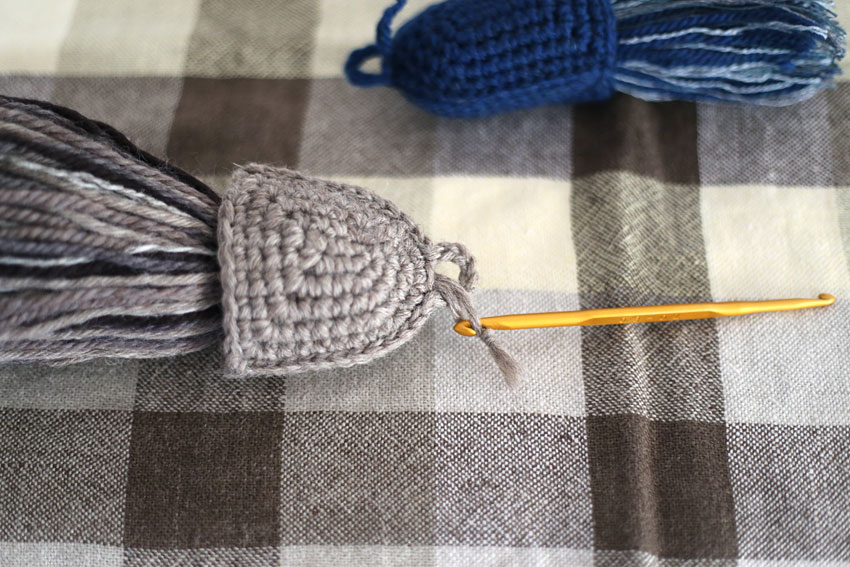
⑤As shown in the image below, insert the crochet hook into the gap in the handle, pull the string that is tied to the top of the tassel through the gap, and tuck the tassel inside the handle.
Tie the tassel to the loop on the handle to prevent it from falling out.
When changing the tassel, untie this knot and replace it with a new one.
Cleaning related recipes
Paid knitting pattern "Dust removal set"
Here are recipes for two types of loop mops that you put your hand inside to use.
Not only can you use up leftover yarn, but if you choose a color that blends in with your room, it can become a kind of interior accessory.
Enjoy housekeeping with tools you'll grow to love.
Great as a small gift too!