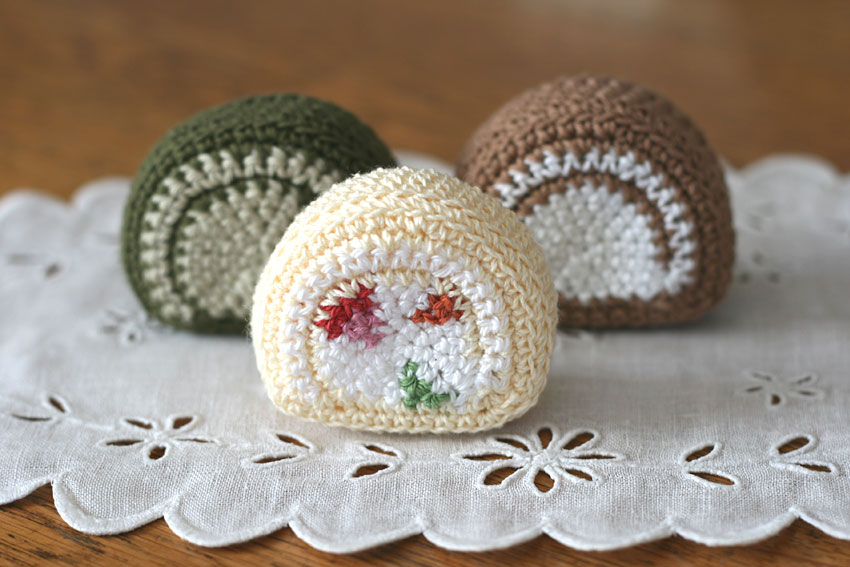
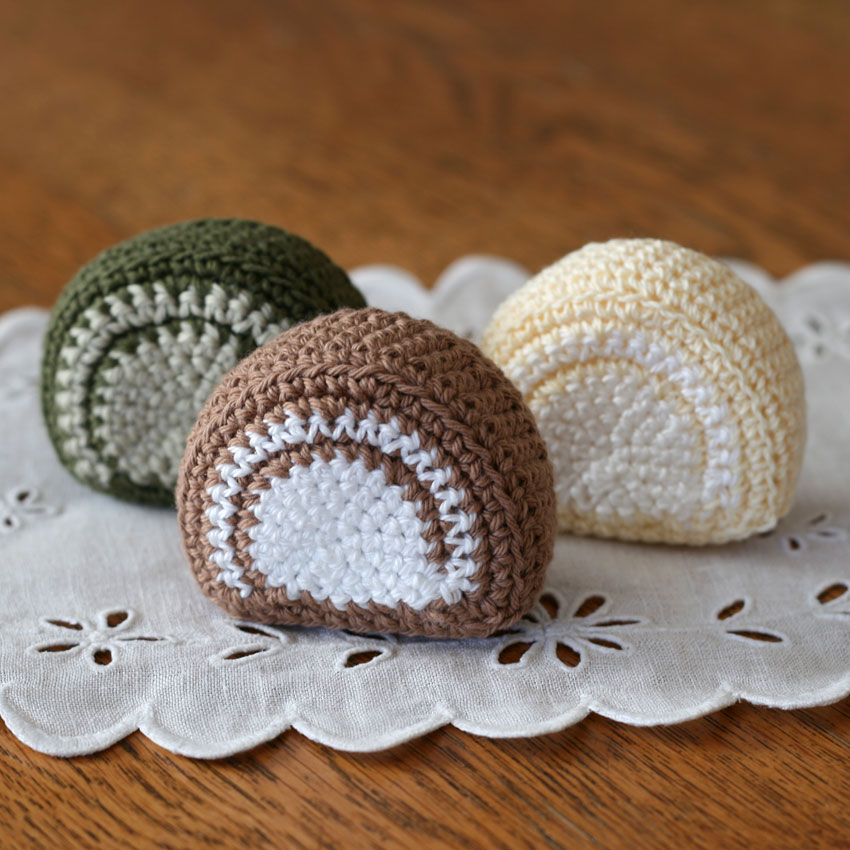
This is a crocheted piece.
I tried crocheting some sweets again.
I've been interested in making a roll cake for a while, but I wasn't sure how to go about it.
I wanted to create the feeling of wrapping, so I changed the color of the thread halfway through.
It's finished with plenty of fresh cream!
Speaking of roll cakes, the base of the Buche de Noel is also a roll cake.
When the Christmas season comes around, I would love to make a Buche de Noel.
I found some cotton yarn in just the right color, so I used it to knit this roll cake.
Once I started making them, I had so much fun that I ended up making three of them.
Once you get the hang of changing threads at the color changes, it's a very easy project and can be completed in no time.
I hope you remember this when you feel like making some delicious knitting.
Yarn and Crochet Hook Size
Medium-weight cotton thread (white, brown, cream, dark green, light green)
2.3 mm (JP 3/0)
Polyester wadding
Finished Size
5cm long, 6cm wide
Crochet Pattern
Instructions
①Please also check the knitting pattern for knitting instructions.
Start knitting from the front part where the cream is visible.
Start by casting on a loop, then crochet 6 stitches in the first row.
Crochet in the round up to the third row, then crochet back and forth from the fourth row onwards. Try changing the colour of the yarn based on the colour coding in the knitting pattern.
The back side of the knitted fabric where you knitted the round part will be used as the front. When changing the yarn color, be careful not to let the yarn cross over onto the side that will be used as the front.
After knitting back and forth up to the 6th row, knit a quarter stitch around the entire knitted fabric in the 7th and 8th rows.
For the first piece of this part, cut the yarn after knitting up to the 8th row.
② Once you have knitted the second piece of the same part as ①, do not cut the yarn and continue knitting the sides.
For all the sides, knit five rows of knit stitches without increasing or decreasing the number of stitches. For the first row of the side, pick up just one stitch on the other side of the knit stitch from the previous row and knit a single stitch.
③ Once you have finished knitting the sides, cut the yarn leaving a long end, and use that yarn to connect to another piece with a sewn stitch. Make sure to add the filling before closing it.
*The center piece in the photo below has a fruit cake look, created by changing the color of the cream in the middle. However, changing the thread was quite time-consuming, so please use this as an example of how to arrange it. It may be easier to work with and look nicer if you embroider it after it is finished.