This is a crocheted piece.
Once you start bead knitting, it's hard to stop.
This is also one of the joys of crocheting.
Because the beads are gorgeous, I tried to keep the knitting method simple. Once you start knitting, it's surprisingly quick to complete.
I haven't made many beaded knitting projects before, so it's still uncharted territory for me, but I recently acquired a bunch of beads, so I'd like to try my hand at various things.
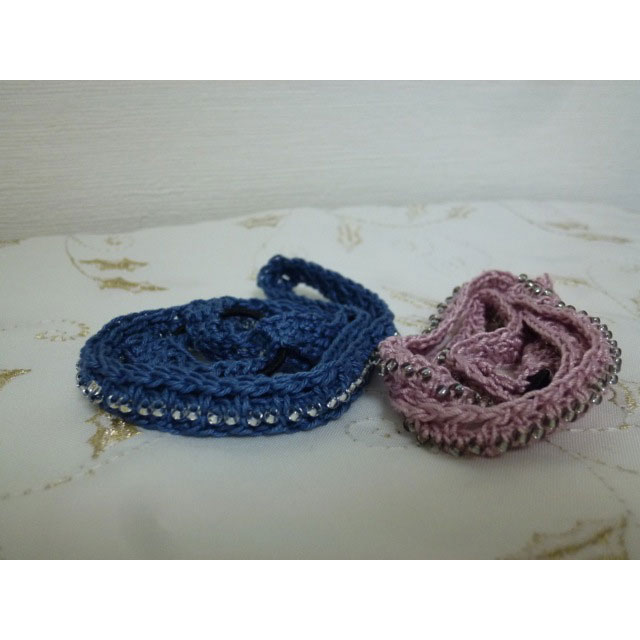
The process of threading the beads is also easy, as you can thread the beads onto lace thread or thin thread (at least medium-thin). Once the beads are threaded, you can enjoy the rest. You could also use sequins instead of beads.
Yarn and Crochet Hook Size
Medium-fine linen thread
Threaded beads, large, 3mm, 1m (MIYUKI), 1 bag
2.3 mm (JP 3/0)
hair ties
Crochet Pattern
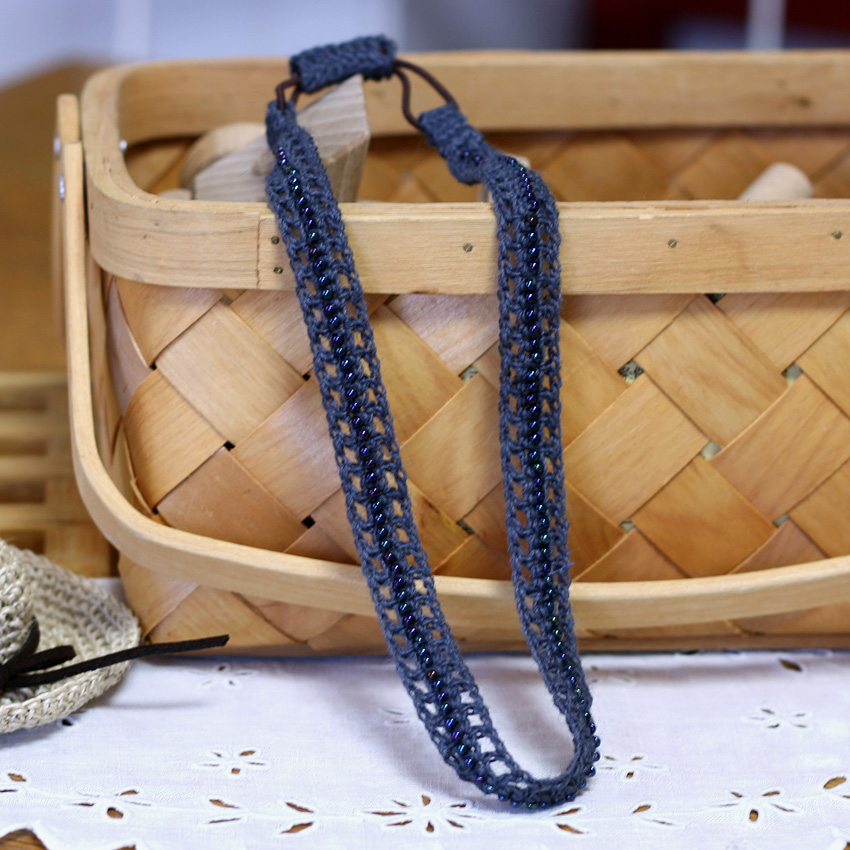
Beaded Headband Knitting Pattern
Instructions
Please refer to the knitting pattern along with the instructions for how to make it.
①This time I used threaded beads.
Take a bunch of beads, overlap and twist the end of the thin thread that goes through the beads and the end of the linen thread so that they face each other, and use a light glue to secure them in place. If you pull the thread too hard it will come off, so be careful not to do that as you move the beads towards the linen thread.
This one uses 129 beads.
Transfer the required number of pieces to the linen thread side.
We recommend threading a few extra beads in case you need to adjust the size.
Also, if you are using loose beads instead of threaded beads, use a beading needle to thread the beads onto the linen thread.
②At the beginning of knitting, cast on with a chain. I cast on at 129 stitches.
The number of cast-on stitches equals the number of beads. Make sure there are an odd number of cast-on stitches. Check along the way to make sure the size fits your head and decide how many cast-on stitches to make.
③ After making the cast-on stitch, scoop up one strand on the other side of the chain and the back of the knot, and work the knit stitch, weaving the beads in one stitch at a time.
Weave beads into all the stitches.
The beads will appear on the back of the knitted piece.
④ After knitting 129 small stitches, start with 2 chain stitches (1 double crochet), then knit one full circle around the beaded small stitch using double crochets and a chain.
Once you have completed one round, make a slip stitch in the chain stitch near the beginning of the knitting (see knitting pattern), then make 10 rows of back and forth knit stitches with 3 quarter stitches each, then cut the yarn, leaving the end long.
This knitted fabric will become the loop through which the elastic will be threaded. Fold the knitted fabric in half to form a loop, and thread a darning needle through the long end of the thread that you left earlier, and sew it in place at the base of the first row of back and forth knitting.
For the other side, thread the elastic at the position shown in the knitting pattern, and knit 10 rows of round knit stitch in the same way.
Once you have knitted up to the 10th row, cut the thread leaving the ends long, then make a loop and sew as before.
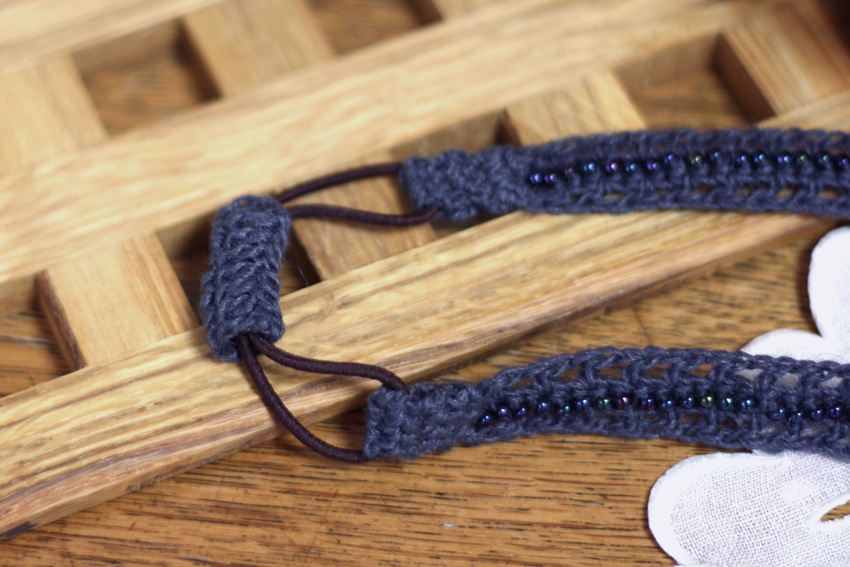
⑤Next, knit the part that will cover the knot of the elastic.
Cast on 9 chain stitches, then pick up one chain on the other side and the back of the chain, make a double crochet, and crochet 3 rows back and forth.
Cut the thread, leaving the ends long, then align the knitted fabric to form a loop and sew together.
⑥ Thread the hair tie through the elastic loop on the headband body and the knot cover part as shown in the image and tie it.
Your work
Mio's "Beaded Headband"
It was quick to make, the instructions were easy to understand, and it was easy to knit.
It's thin but has a presence and shines brightly on my head.
This is a cute headband for adults and is my favorite.
Thank you for introducing us to this wonderful design.
I will continue to use this as a reference for various things, so I appreciate your continued support.