This is the "Difficult Crochet Patterns" series, which introduces patterns that I had trouble understanding when I first started crocheting, even after looking at the pattern.
The second one is pull-up knitting.
When I was a beginner, I thought that pull-up stitches were a bit difficult to do. Didn't you feel like that symbol was going to do something different than usual?
It was similar to the feeling I get when I see the symbols for knitting a rope stitch with needles and feel a bit hesitant to try it (even though it's actually quite easy).
Pull-up stitches are actually quite easy to do once you try them.
However, there is one thing to note, and it can be a bit confusing at first.
Here we will explain the tricky part.
Index
[Symbol for "pull-up front knitting" in round-trip knitting]
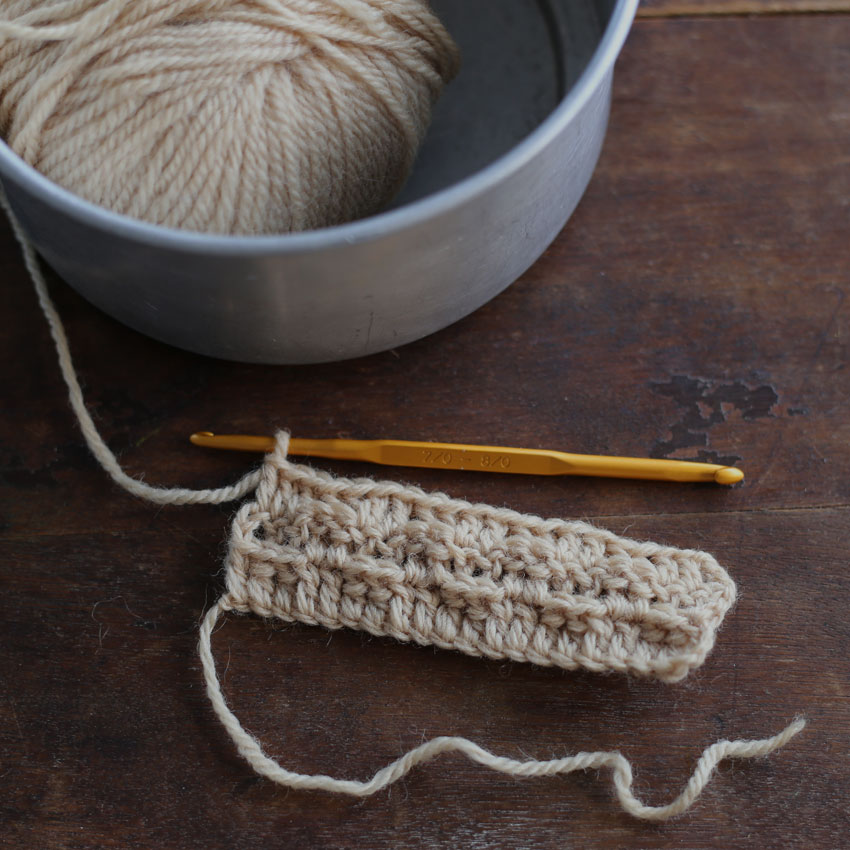
First, here, the first row is just regular double stitches.
From the second row onwards, the "double crochet pull-up stitch" (hereafter referred to as "pull-up stitch" and "pull-up stitch") will be introduced.
This knitting pattern shows how the knitted fabric will look from the front when it is finished.
In short, when you look at the knitted fabric from the front, all of the areas with the pull-up knitting symbols should look like they have been pulled up on the front.
However, since it is a round knitting, you will have to knit the second row while looking at the back.
The knitting pattern shows it as a "turned up stitch" when viewed from the front, so how should you knit the second row so that it looks like a "turned up stitch" when viewed from the front?
This was a difficult point to understand.
The answer is that the actual operation (knitting method) for the second row is,裏You will be knitting a "pull-up stitch."
It makes you wonder, "Which is which?"
When knitting the second row (looking at the back of the knitted fabric),裏When you do "pinch stitches," when you look at the knitted fabric from the front, it looks like "pinch stitches on the front."
Now let's actually try knitting it.
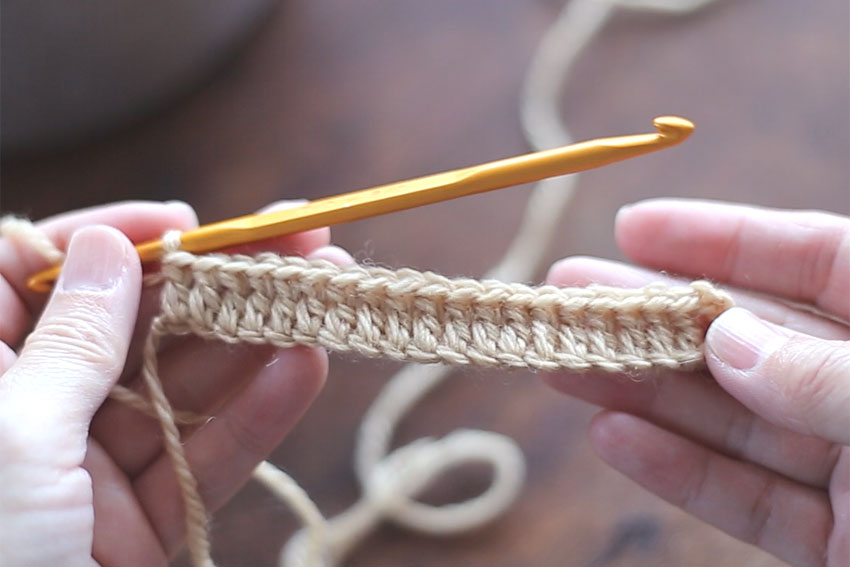
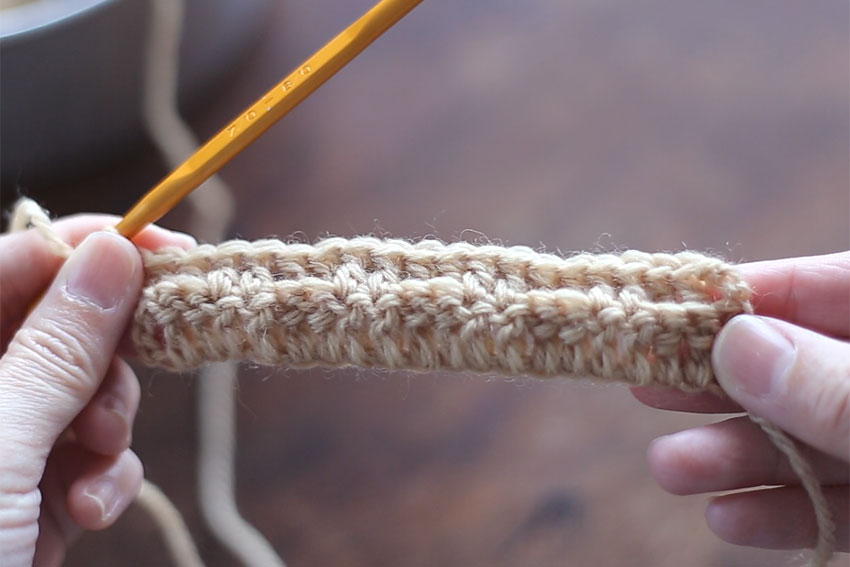
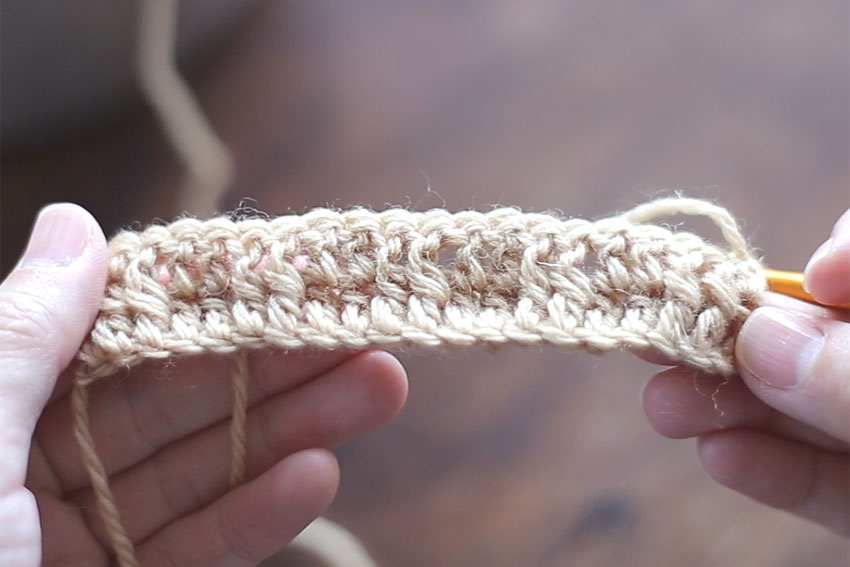
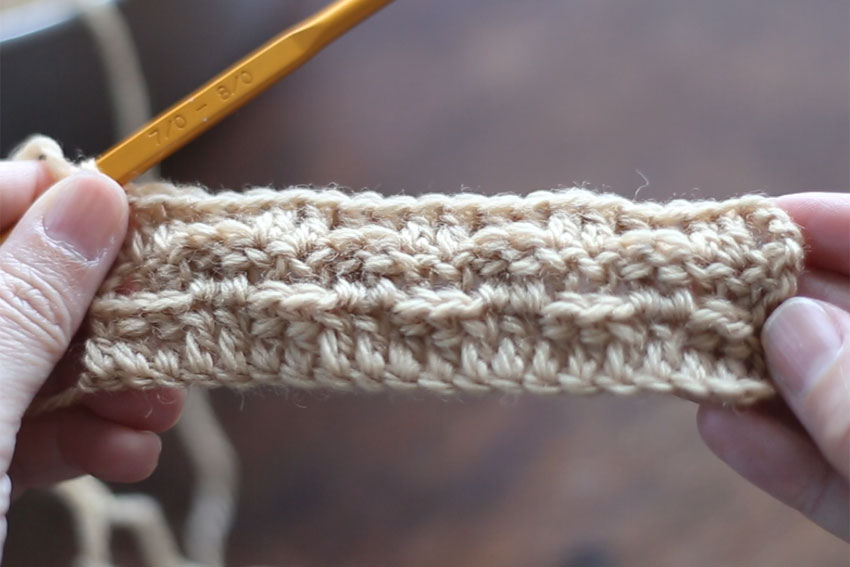
Looking at the last image, you can see that the knitted fabric matches the symbols on the knitting pattern.
Therefore, for the second row, you can see that you need to do a ``push-up knit'' (knit while looking at the back of the knitted fabric) so that it looks like you have done a ``push-up knit'' when viewed from the front of the knitted fabric.
[Symbol for "push-up knitting" in round-trip knitting]
Now, here is the knitting pattern.
This is the opposite of the previous knitting pattern, and is a symbol for a purl stitch. Again, this means that when viewed from the front, the knitting pattern looks like a purl stitch.
The second row is knitted while looking at the back of the knitted fabric. The knitting pattern symbol is a "purl stitch" but the actual operation is a "purl stitch".
Then, when knitting the front side in the third row, the operation is called ``push-up knitting.''
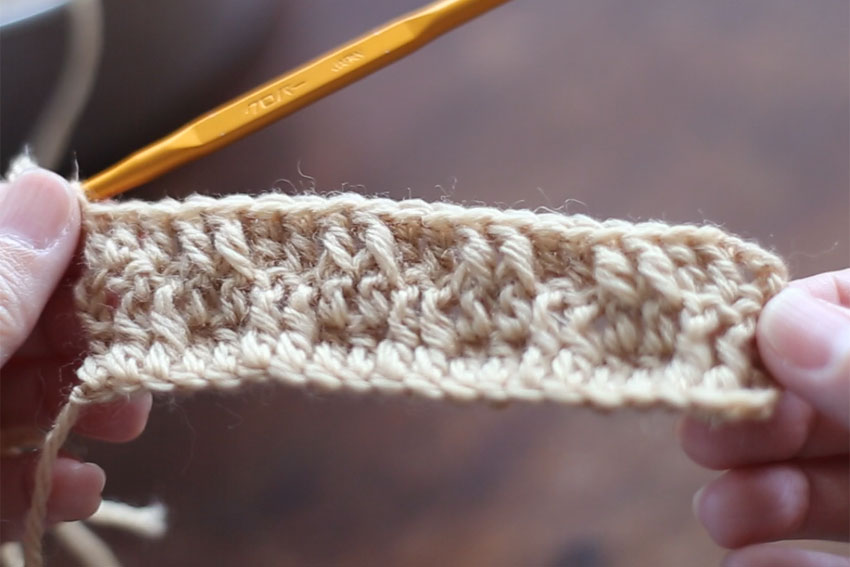
Let's take a look at the actual knitted fabric.
When viewed from the front, this knitted fabric also appears to match the symbols shown in the knitting pattern.
At first, when you look at the knitted fabric, it may be difficult to tell which parts are knitted with pull-up stitches on the front and which parts are knitted with pull-up stitches on the back. However, when you come across the pull-up stitch symbol in a knitting pattern for round knitting, I hope this will serve as a reference when you are unsure how to knit on the front and back sides.
[If you are knitting in a loop instead of back and forth]
So far, we have explained how to knit when a pull-up knitting symbol appears in a round knitting pattern.
If this was a crochet pattern...
If you are using a loop stitch pattern, you won't have to worry about the same things as I did this time.
When knitting a loop, you basically keep your eyes on the front side the whole time, so there's no problem as long as you follow the knitting pattern.
If the symbol is for a "front pull stitch," then you should do a front pull stitch, and if the symbol is for a "back pull stitch," then you should do a back pull stitch.
After seeing so many "pull-up stitches" over and over again, you'll want to try knitting some pull-up stitches, right?!
I will do my best to provide this on this website as well!