Here we explain how to crochet the "long reverse pull stitch" using video and still images.
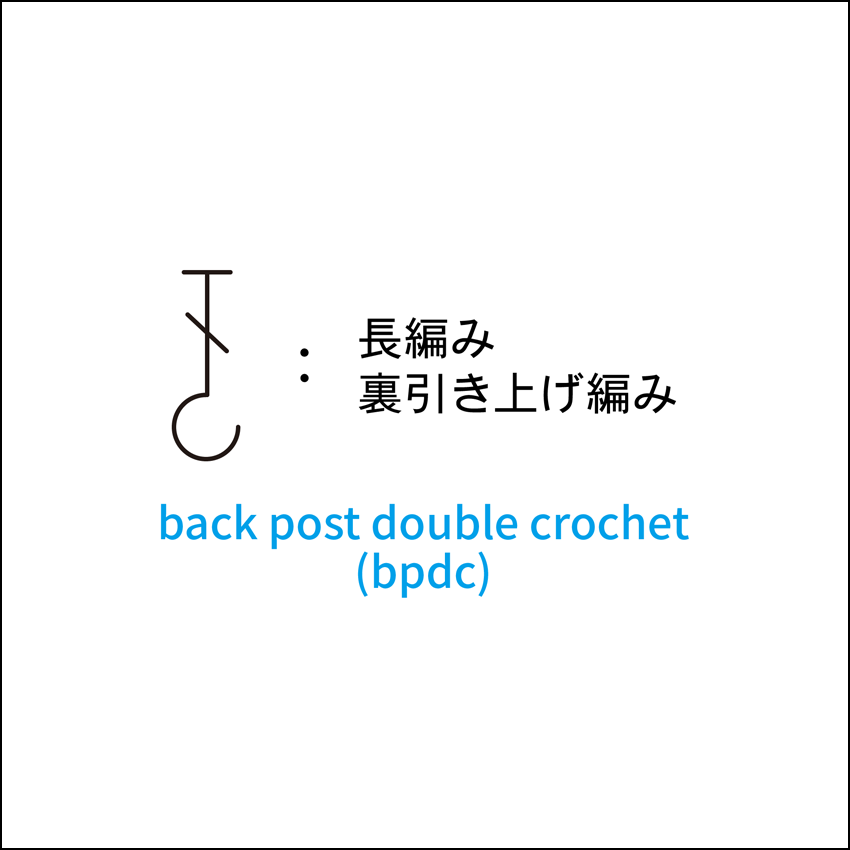
The cover of the video shows the knitting pattern symbol (stitch symbol) for the "double crochet, purl stitch."
There are two types of pull-up stitches: front pull-up stitches and back pull-up stitches. In back pull-up stitches, you insert the needle from the back of the knitted fabric to pick up the stitches from the previous row. This can be a little tricky at first, and you may find it slightly more difficult to knit than front pull-up stitches.
When using both front and back pull stitches to create a pattern using pull stitches, you can create an interesting, uneven knitted fabric, so being able to do this will broaden the range of fun you can have with crochet.
At first, it may be difficult to understand how to read the round knitting pattern, soDifficult knitting pattern [Round knitting with a pull-up stitch]Please refer to this page as well as the detailed explanation on the page.
Video explanation
Photo Tutorial
![長編み裏引き上げ編み[1] 針に糸をかけ、青印の目を、編み地の裏側から拾います。](https://ronique.jp/wp-content/uploads/2021/04/basic_method_28_01.jpg)
![長編み裏引き上げ編み[2] 編み地の裏側から針を入れ、拾う目の右から針を出し、](https://ronique.jp/wp-content/uploads/2021/04/basic_method_28_02.jpg)
![長編み裏引き上げ編み[3] 目の手前を通って、目の左から、裏側に向かって針を入れます。](https://ronique.jp/wp-content/uploads/2021/04/basic_method_28_03.jpg)
![長編み裏引き上げ編み[4] 糸をかけ、編み地の裏側に引き出します。](https://ronique.jp/wp-content/uploads/2021/04/basic_method_28_04-1.jpg)
![長編み裏引き上げ編み[5] 編み地の裏側に引き出しました。糸をかけ、針先に近い2つのループをくぐらせます。](https://ronique.jp/wp-content/uploads/2021/04/basic_method_28_04.jpg)
![長編み裏引き上げ編み[6] 2つのループをくぐらせて糸を引き出しました。もう一度糸をかけて、全てのループをくぐらせます。](https://ronique.jp/wp-content/uploads/2021/04/basic_method_28_06.jpg)
![長編み裏引き上げ編み[7] 長編み裏引き上げ編みが編めました。](https://ronique.jp/wp-content/uploads/2021/04/basic_method_28_07.jpg)
![長編み裏引き上げ編み[8] 3目編むとこのようになります。](https://ronique.jp/wp-content/uploads/2021/04/basic_method_28_08.jpg)