![かぎ針編みレシピ・無料編み図 Ronique [ロニーク]|基本の編み方から動画解説まで](https://ronique.jp/wp-content/uploads/2025/04/ronique_toplogo.webp)
When crocheting, if your project gets larger, "joining threads" becomes unavoidable.
If you can get by with just one ball of yarn with a lot of material, that's great, but that's not always the case.
While you might think you should change to a new thread at the start of each row, you might sometimes run out of thread in the middle of a row and wonder whether or not to unravel it.
If you don't want any sign of yarn splicing to be visible in your knitted fabric, you'll probably want to unravel it and change the yarn in an inconspicuous location.
However, for projects where I don't need to worry about the details that much, I can just tie the thread and continue knitting, which puts my mind at ease.
Commercially available yarn can sometimes contain knots created during the manufacturing process, so you could say that it's unavoidable if knots are present.
When you want to tie a knot and continue knitting, the "hatamusubi" knot is highly recommended.
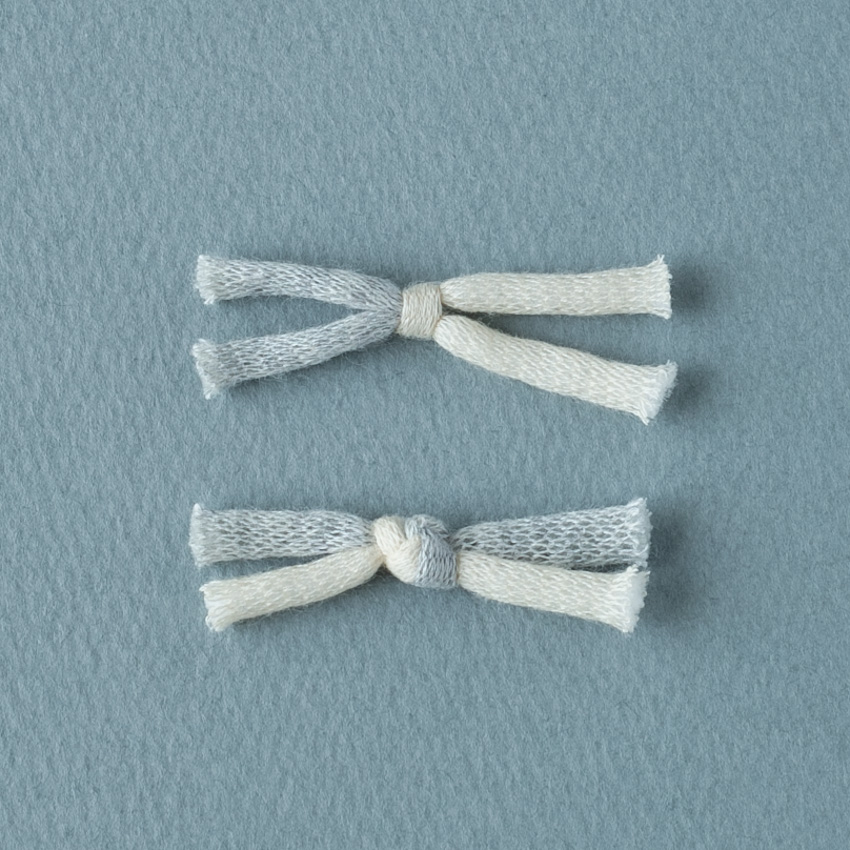
The knots in the image above are a "hatamusubi" (a type of knot) at the top and a "tamamusubi" (a type of knot) at the bottom.
The simple knot, known as a "tamamusubi," is appealing because it is less likely to come undone and offers a sense of security, as is its familiarity. However, the "hatamusubi" knot is small and inconspicuous, making it a useful knot to know.
Here, we'll show you how to tie a "hatamusubi" knot with a video and photo explanation.
Video explanation
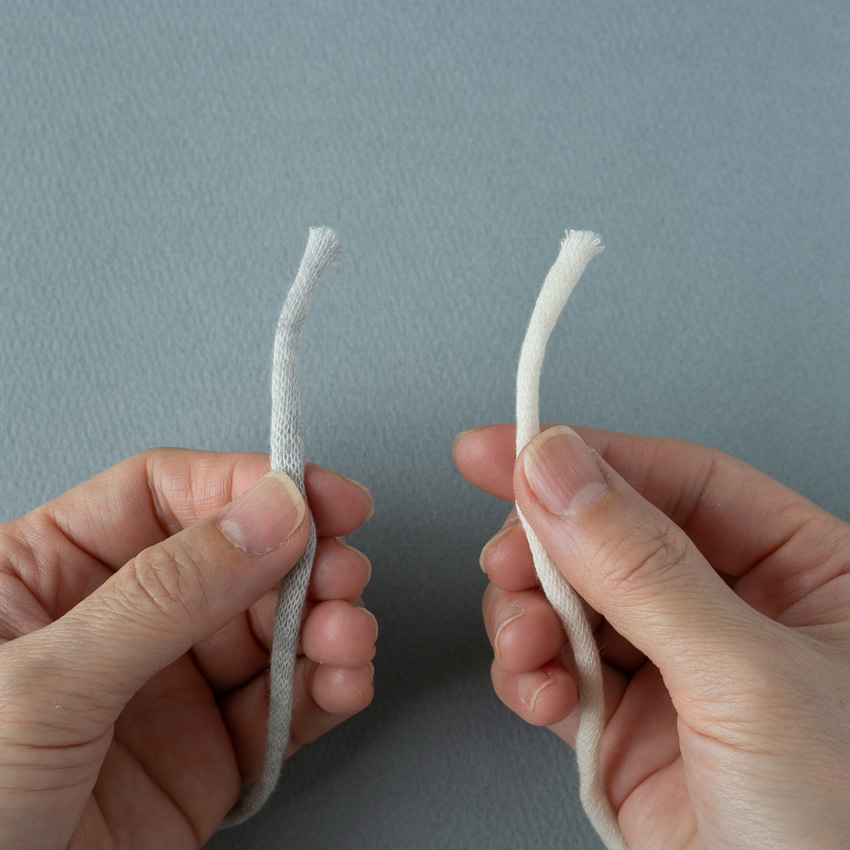
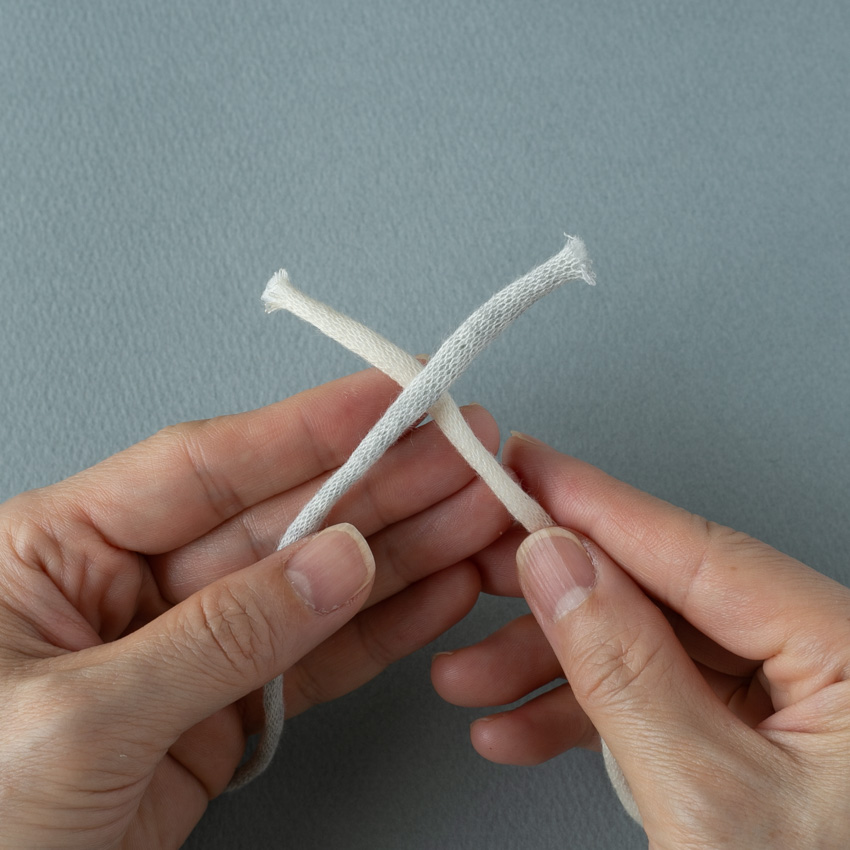
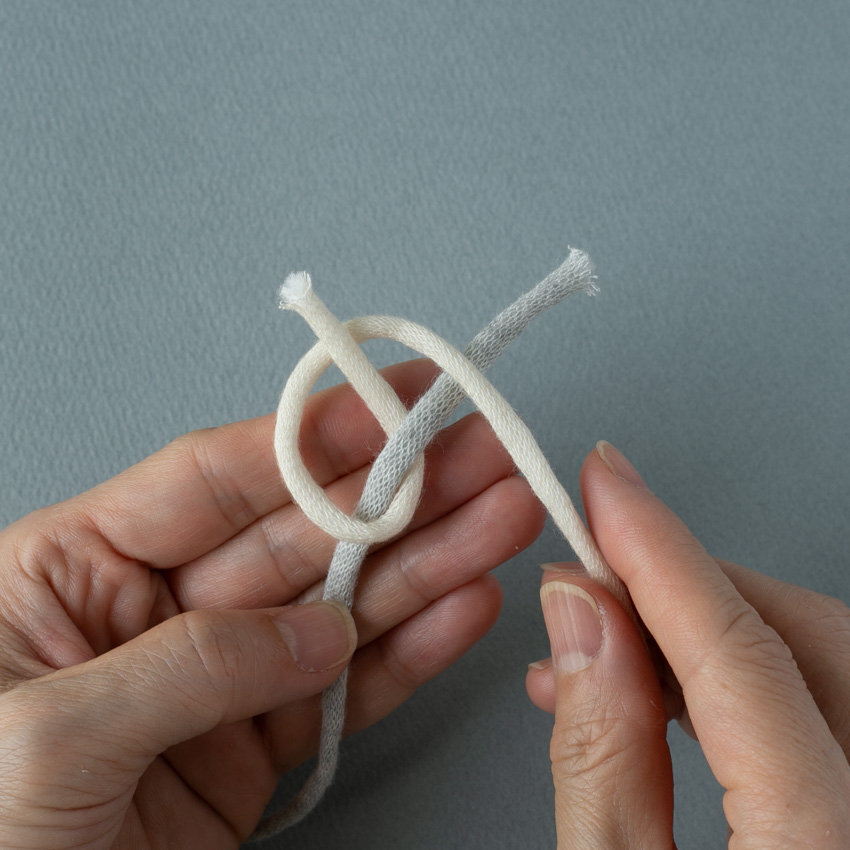
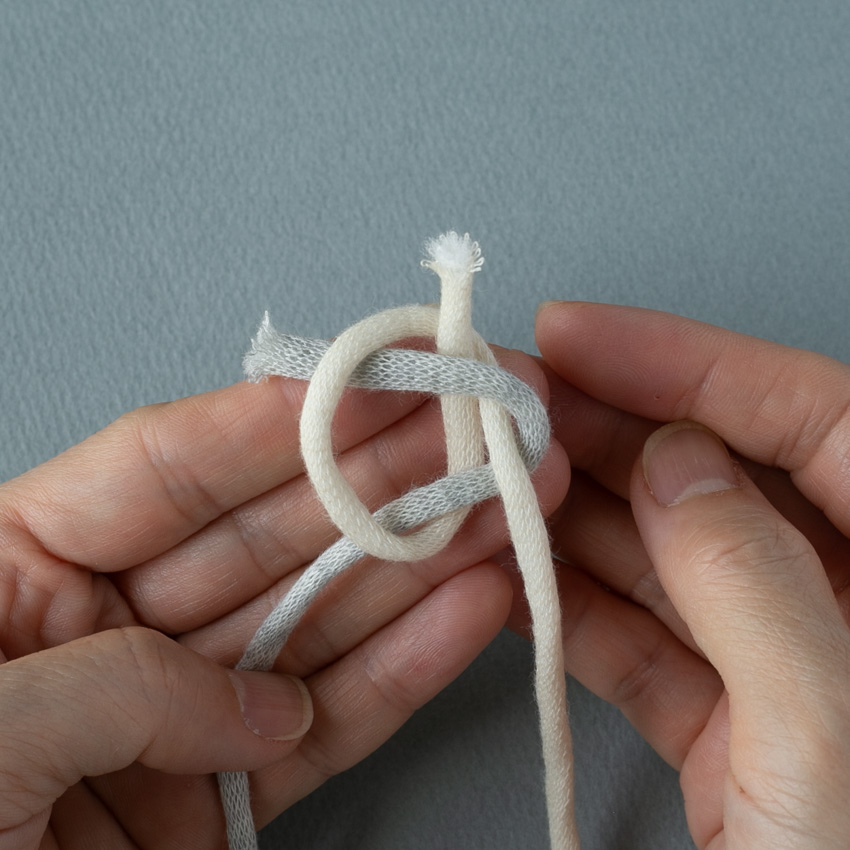
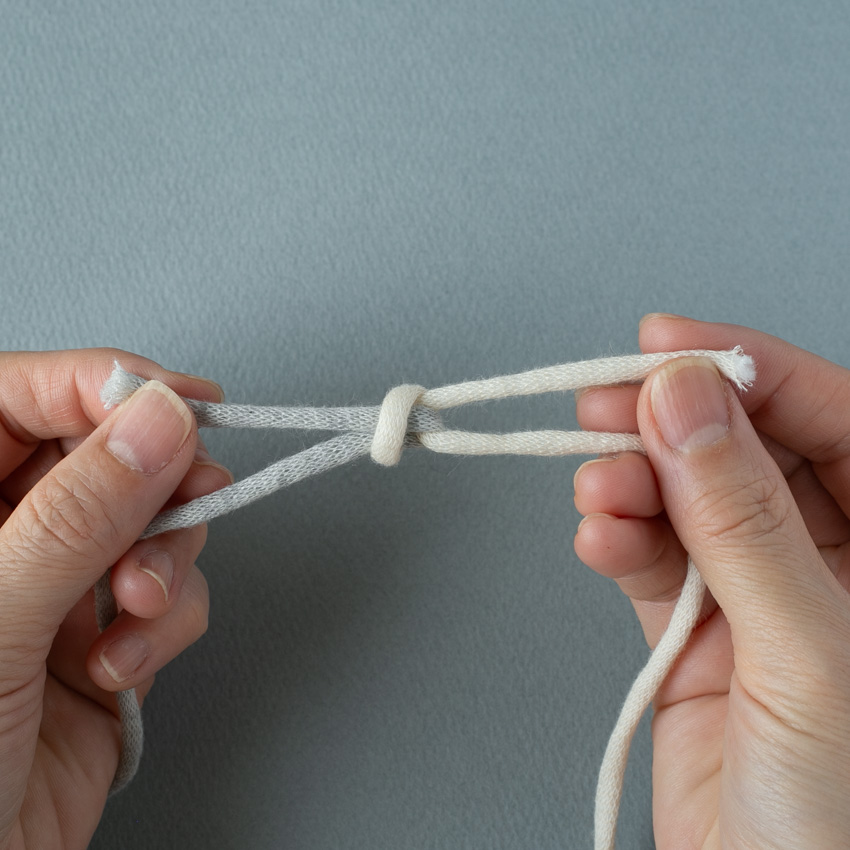
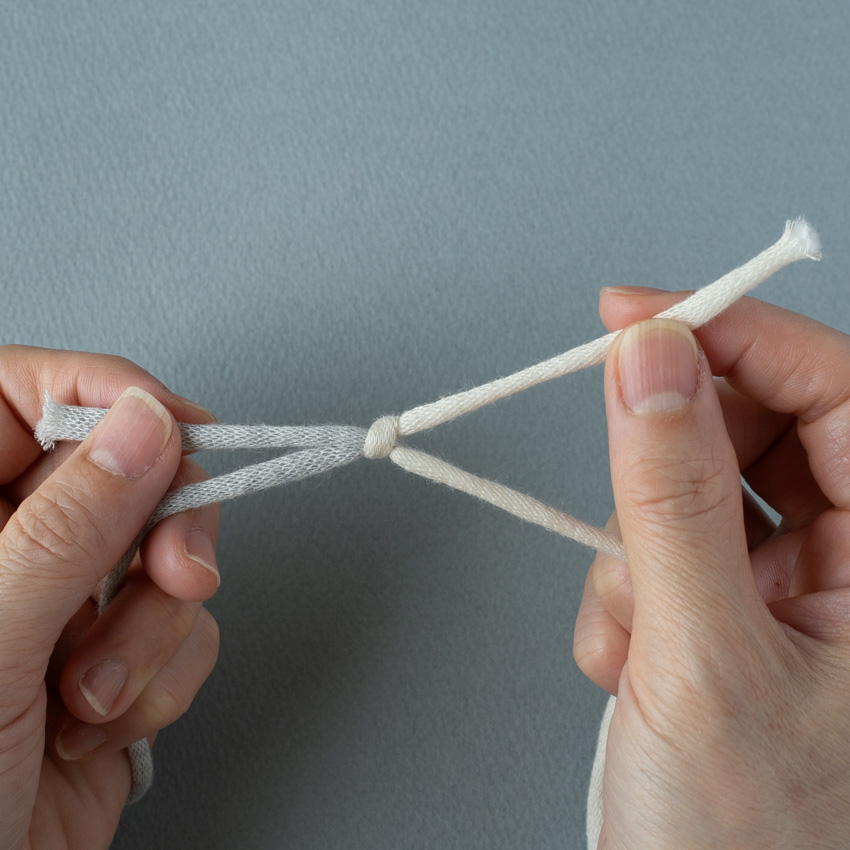
Photo Tutorial
This guide explains how to tie a "hatamusubi" (a type of knot) with accompanying photos.