There are many crocheted scarves, shawls, blankets, etc. that have fringe.
Fringe can really improve your look with just a little effort, but it's actually very easy to put on.
Once you try it, you'll realize that this extra step isn't that much of a hassle, and it will likely feel like a convenient decoration from now on.
Here we will explain how to apply fringe with images, so please use this as reference when you need it.
Depending on the area and volume of the fringe you want to add, you may need more yarn than you expect, so make sure you have plenty of yarn on hand.
material
The item you want to add fringe to, cardboard to use as a backing (we used a postcard-sized notepad), yarn, scissors, and a fairly thick crochet hook
Instructions
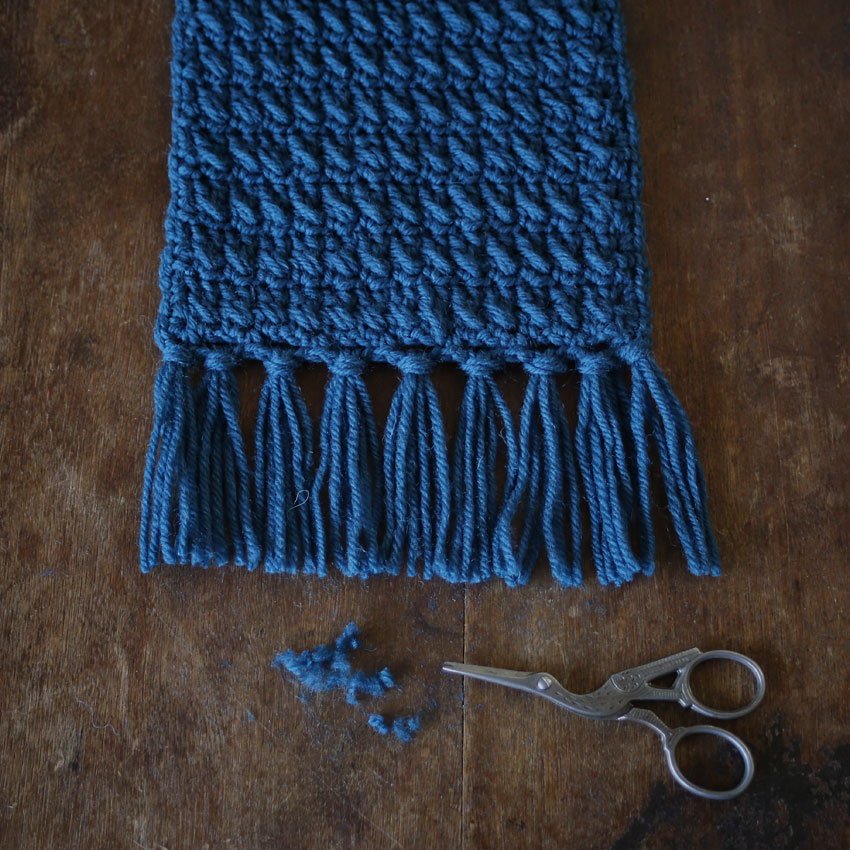
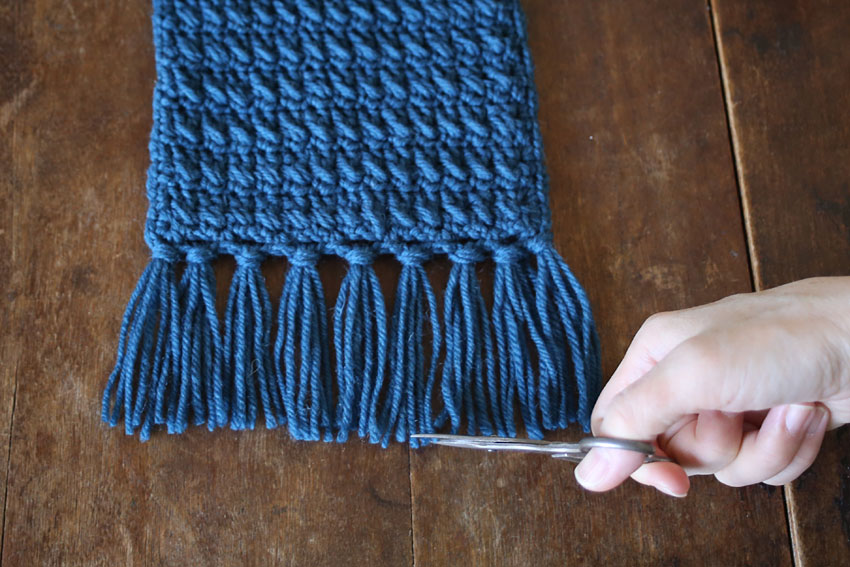
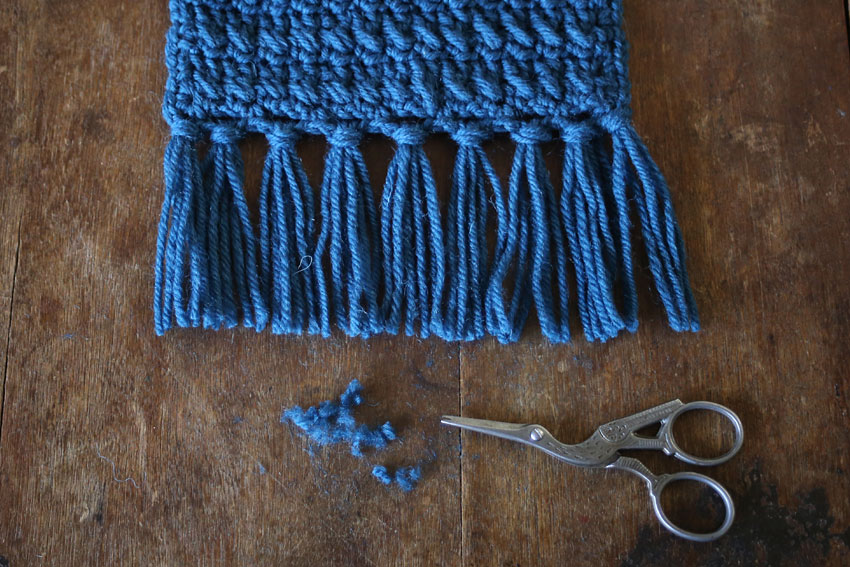
The height of the backing card used here (10cm in this case) will be the guide for the length of the fringe, but since you will be trimming the ends of the thread, it will be a few centimetres shorter. For this fringe, we didn't cut off too many ends, but the finished length was 6.5cm.
So, keep in mind that it will be shorter.
Also, please note that the tighter you wrap elastic yarn such as wool around the backing, the more it will shrink and become shorter after you remove it from the backing.
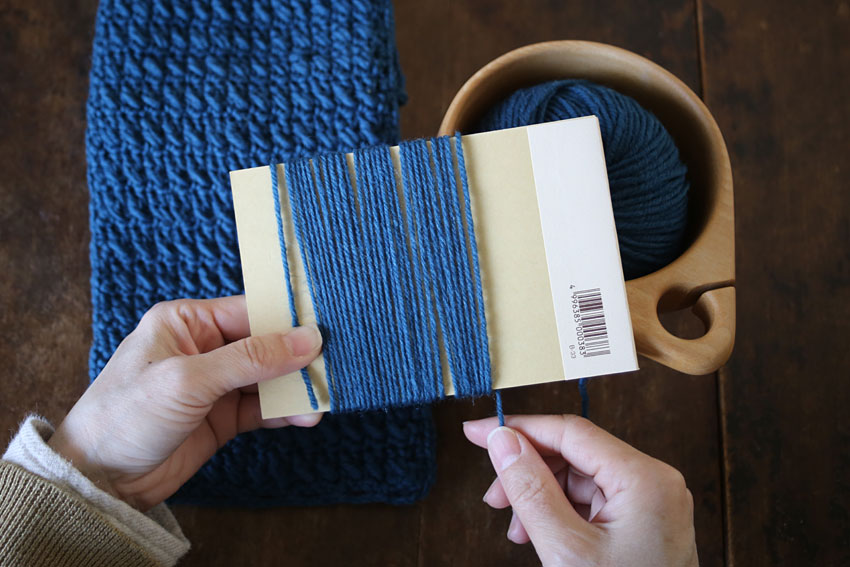
Wrap as many strands of thread as you need.
It will be easier to make the lengths uniform if you wind the threads so that they do not overlap.
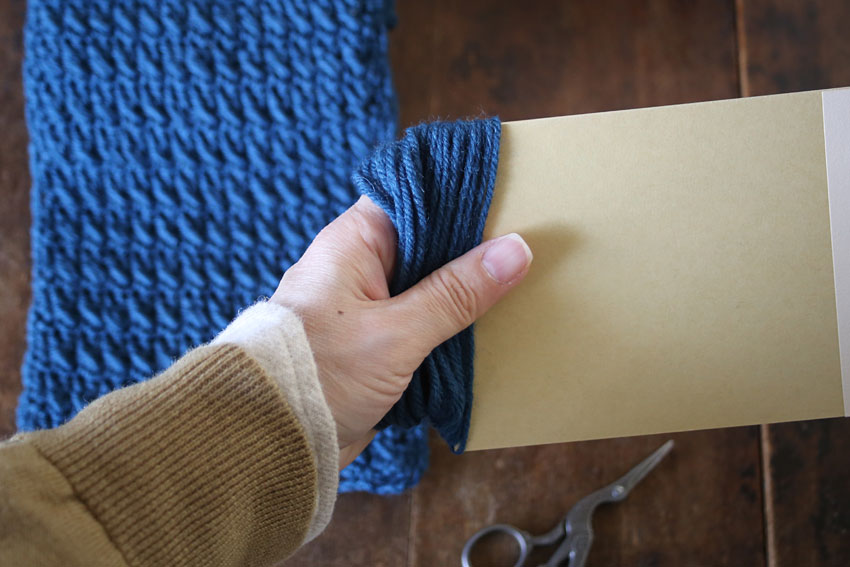
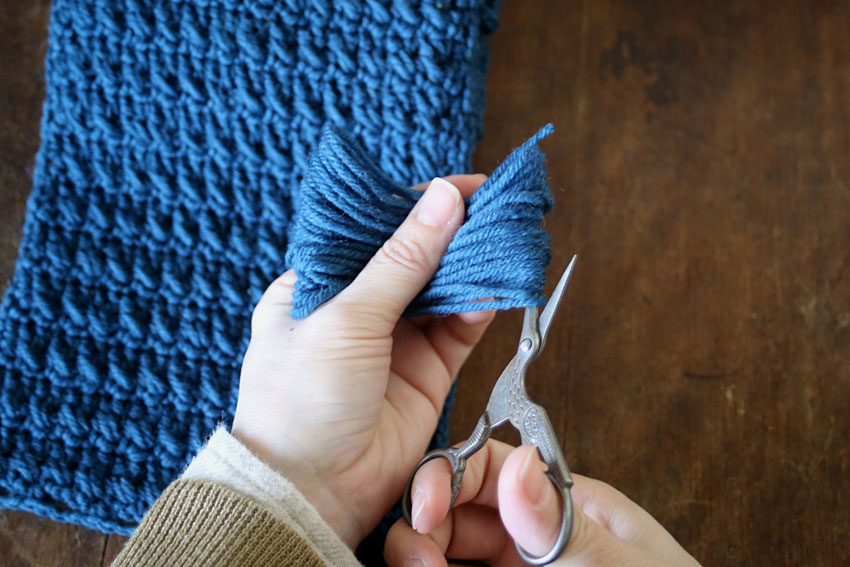
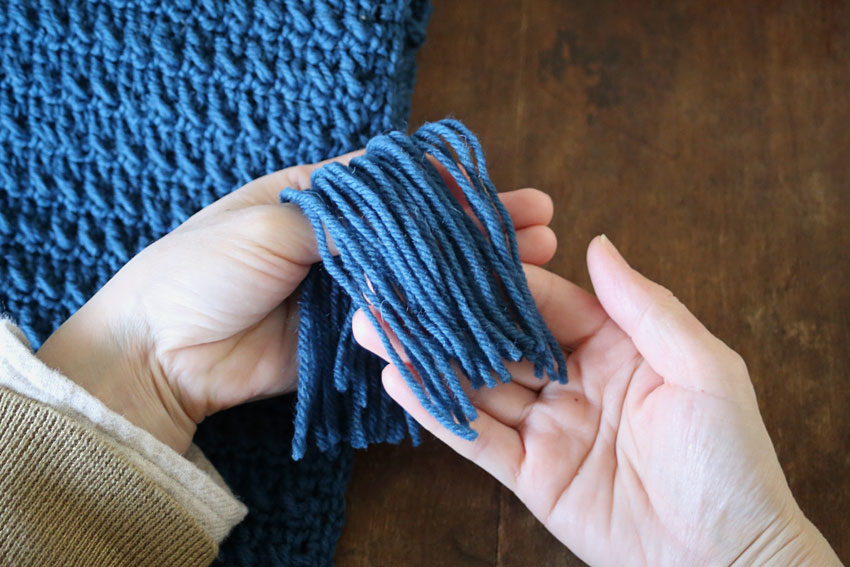
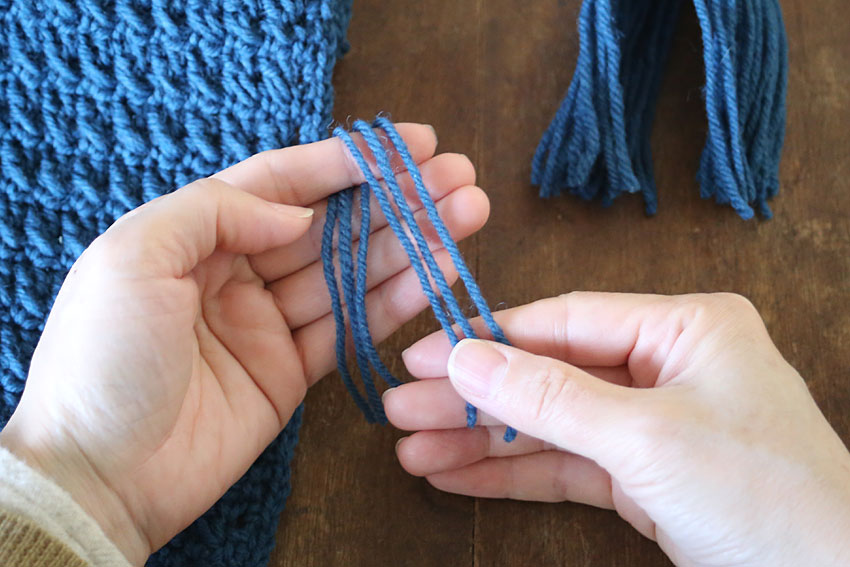
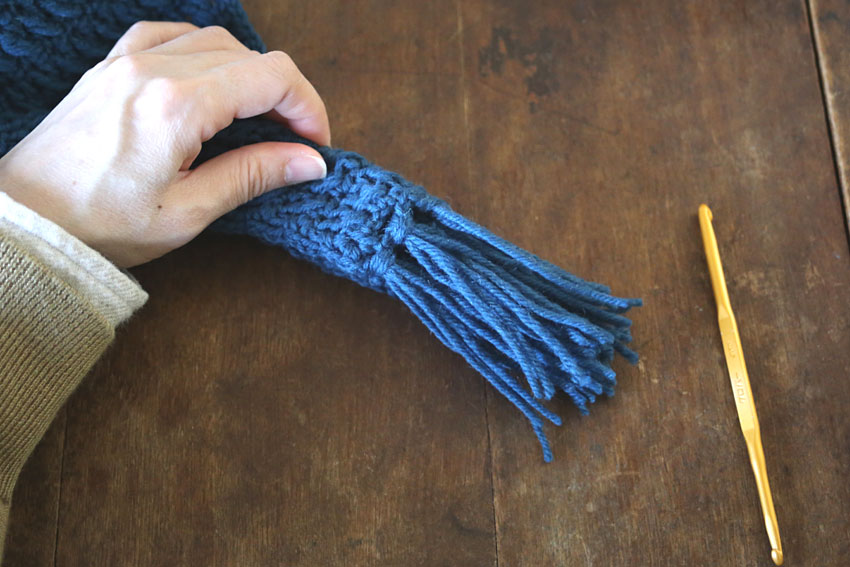
Fold it in half like this and align the edges to some extent.
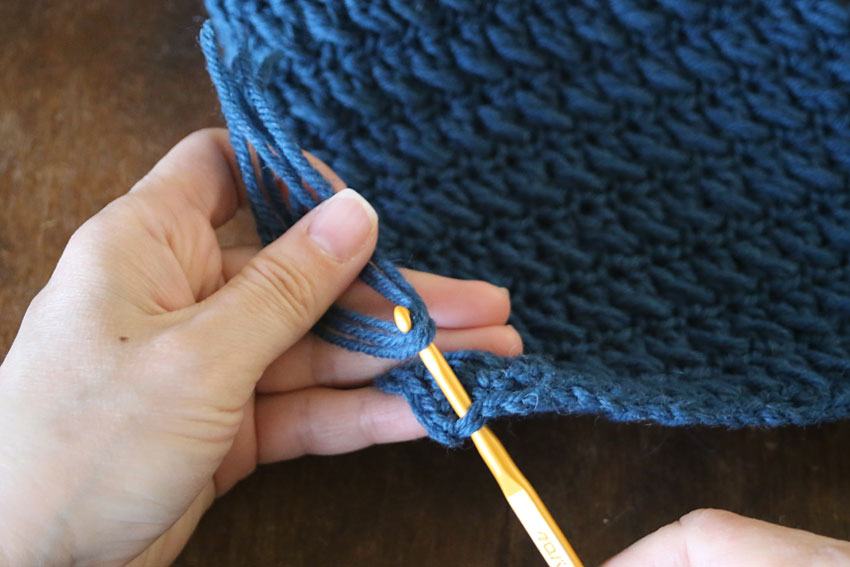
Next, pass the end of the thread through the loop you have made in the knitted fabric. From here, hook the crochet hook onto the end of the thread and pull it through the loop.
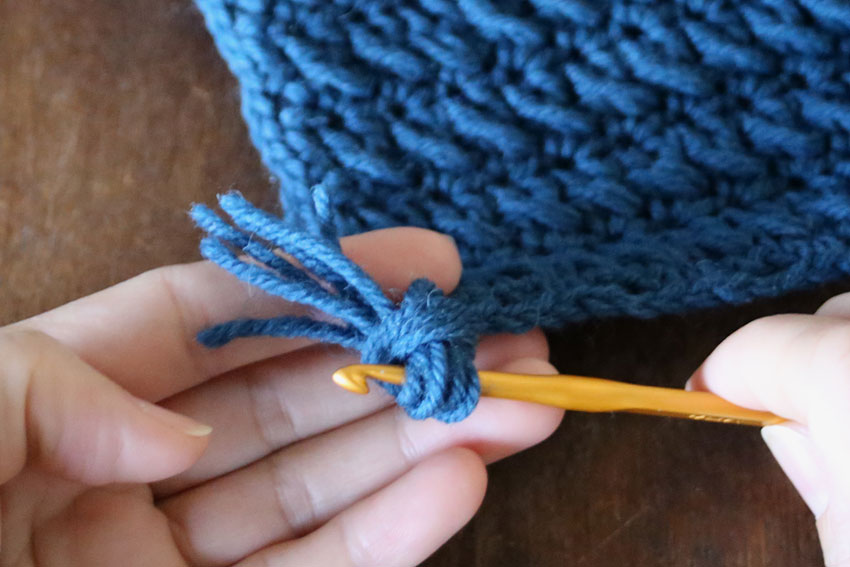
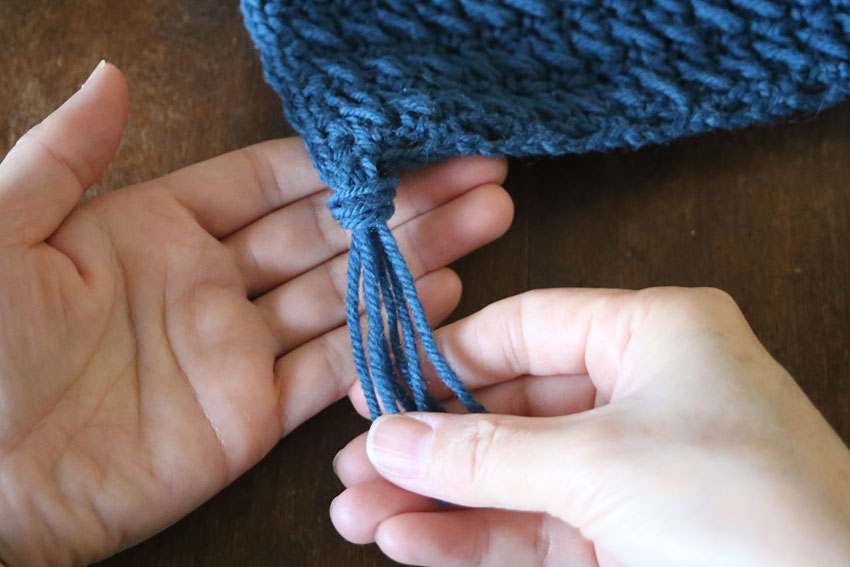
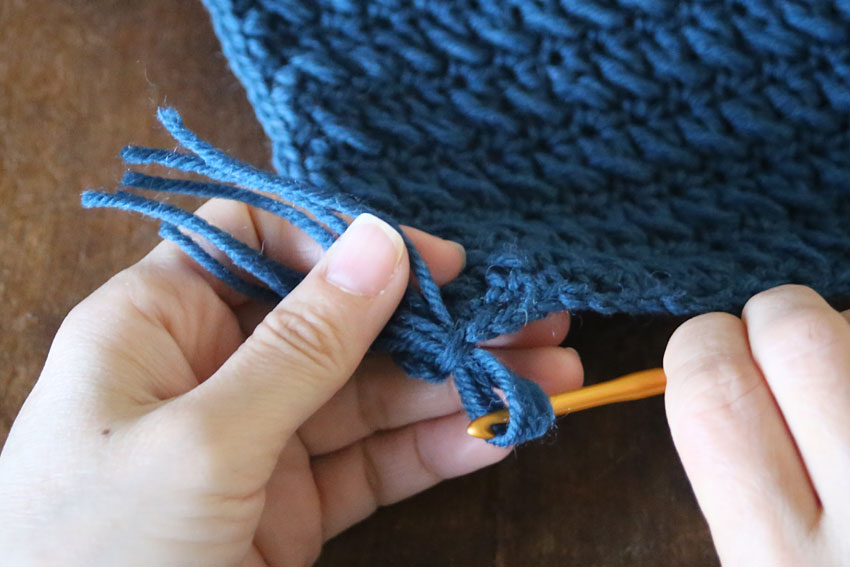
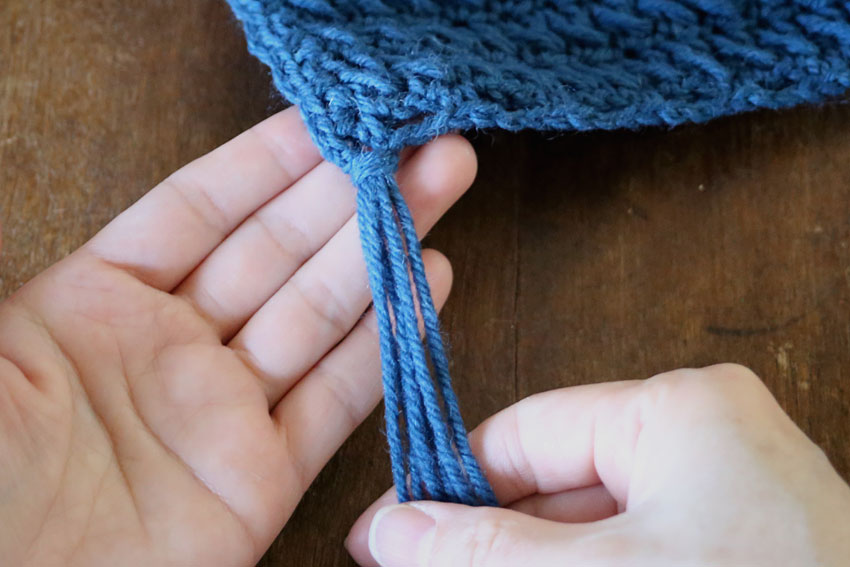
The loop is still loose, so pull the end of the thread to tighten it.


Recipes using "Fringe"
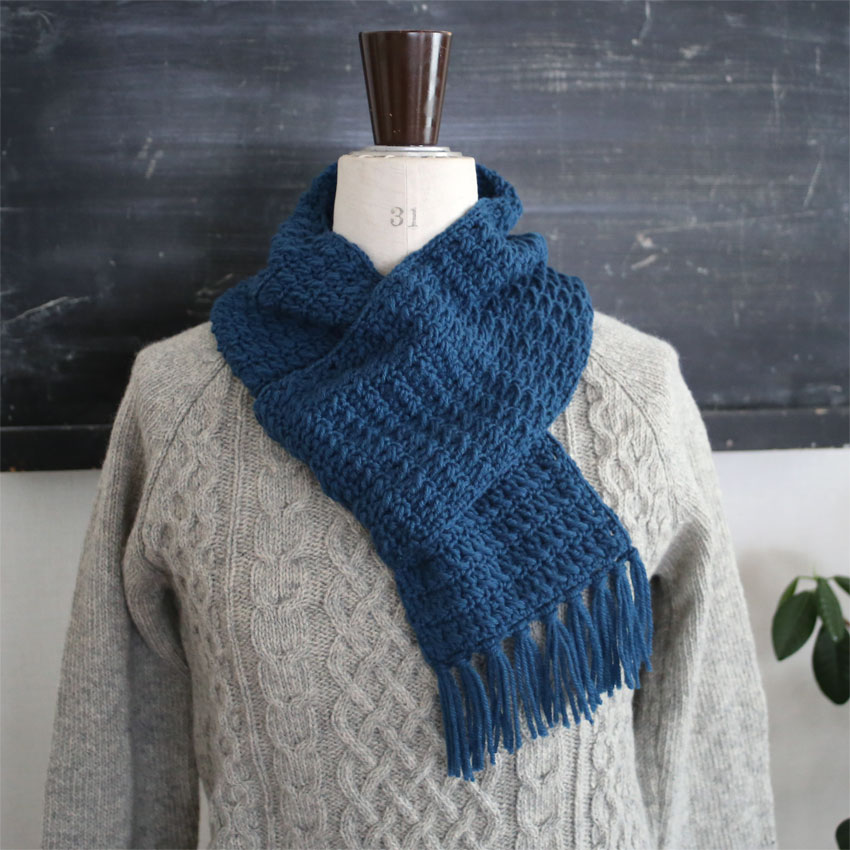
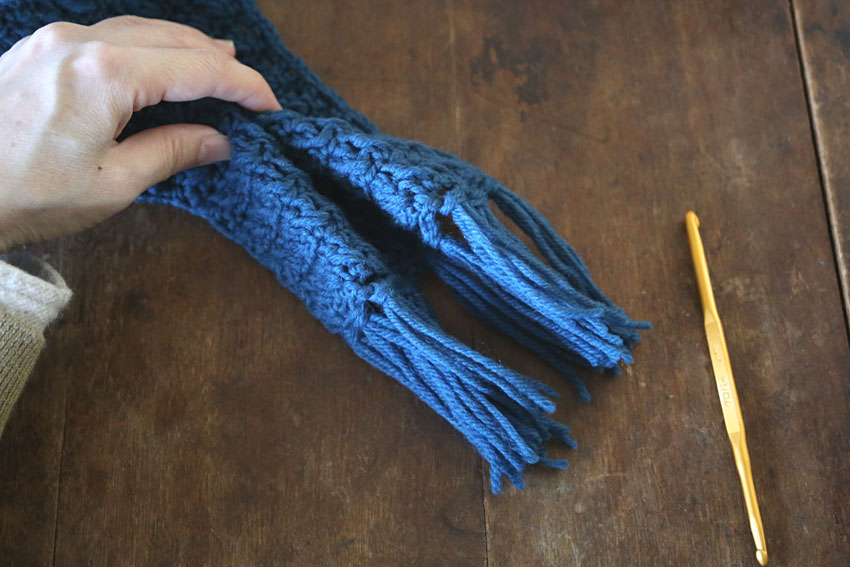
Paid knitting pattern "Short muffler"
This is a compact scarf that can be knitted in a short amount of time.
The fringe is the highlight!
Have fun choosing your favorite color.
This item is easy to use regardless of gender, so it makes a great gift or for family use.