This is a crocheted piece.
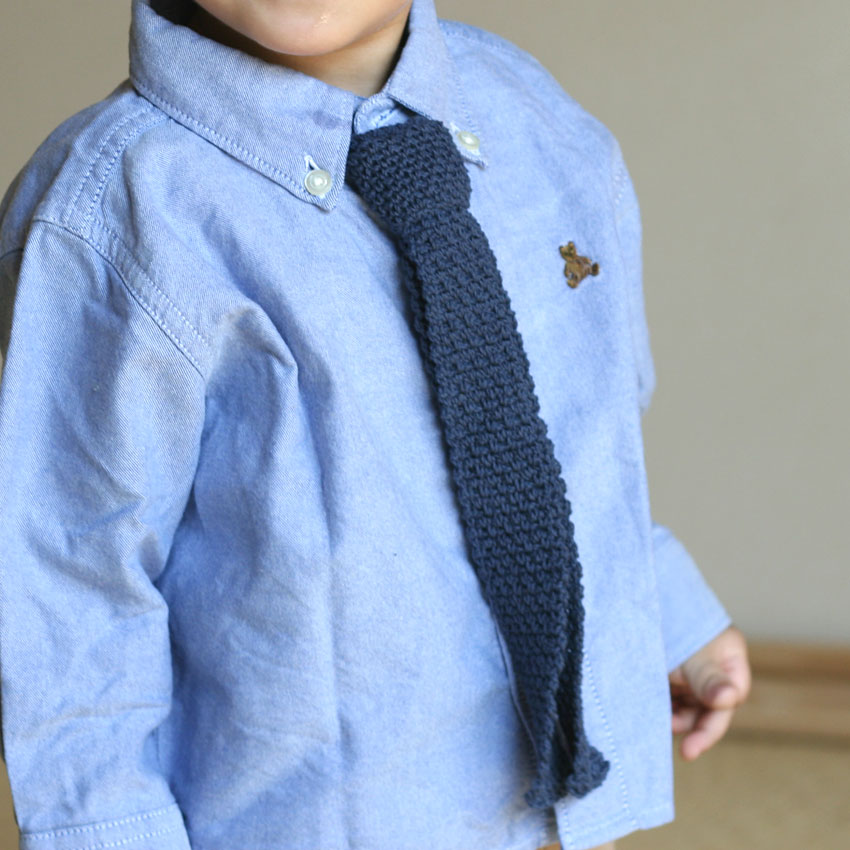
I tried crocheting a tie, one of the few fashionable items for boys.
I received a request for a knitted tie in the questionnaire section on my previous website, and had a lot of fun knitting this piece.
I've seen knit ties for adults before and thought they were nice. Because they're such a stylish item, I thought they needed to be coordinated with the whole outfit to look great... but I just didn't think about it.
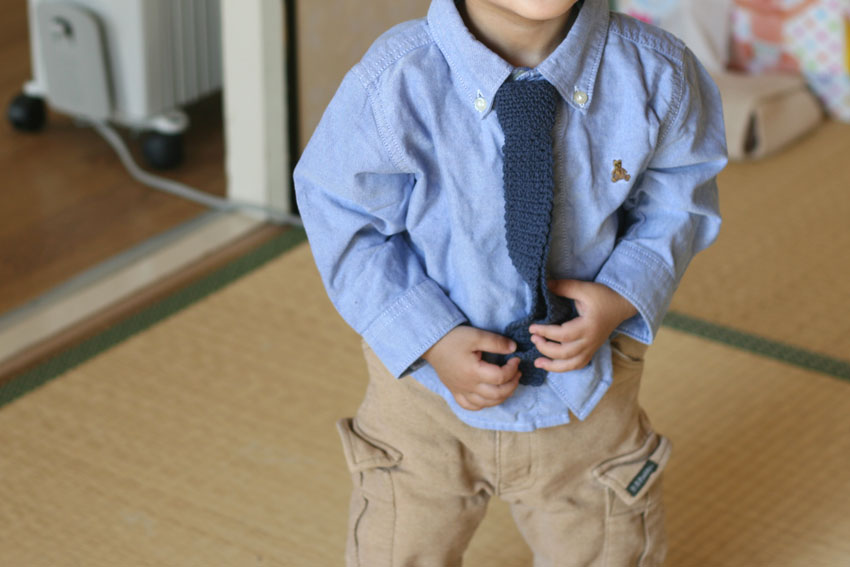
For kids, even if they don't have a cool jacket, this can be a cute and intimidating look. It's fun to go out dressed up even when you're little.
I tried to keep the knitting method as simple as possible.
This knit tie is designed to be a tie, and is fastened around the neck with a thin string.
The model is a boy who will soon be one and a half years old (clothing size 80).
If it's for a slightly older child or adult, I think it's best to just knit it straight and tie it in a normal tie knot.
It's a matter of preference, but if the yarn is too thick, the bumps in the knitted fabric will stand out and it will look bulky, so I think a medium-fine yarn would be better, especially for children's items.
Yarn and Crochet Hook Size
Medium-fine cotton thread
2.3 mm (JP 3/0)
Finished Size
When the long part of the tie is laid out, it measures 47cm x 3.5cm
Length when worn: approx. 24cm
Neck loop length (including all parts): 31cm
Crochet Pattern
Knitting pattern for tie
Knot loop knitting pattern
Neck loop knitting pattern
Knitted fabricClose-up imageThere are also some for your reference.
Instructions
①To start knitting the tie part, make a chain of 10 stitches and then start knitting.
For the first row, knit one stitch on the other side of the cast-on chain and the back of the knot. Knit back and forth without increasing or decreasing the number of stitches, and cut the yarn when you have knitted up to the 133rd row.
As long as the number of cast-on stitches is an even number, adjust it to fit the width you want to make.
Knit the number of rows until you reach the right length.
②Next, knit the knot loop.
Make a chain of 18 stitches and pull through the first stitch to make a loop.
For the first row of knit stitches, scoop up one stitch on the other side of the cast-on chain and the back of the crest.
Increase the number of stitches in row 3. Knit 18 stitches in row 2, 24 stitches in row 3, and 24 stitches in rows 4 to 10 without increasing or decreasing the number of stitches.
Knit up to row 10 and cut the yarn.
This tie has 10 stitches for the cast-on stitches (width) of the tie part, so to match the knot loop to this width, it is knitted up to the 10th row.
If you increase or decrease the number of stitches (width) in the tie part, make sure that the number of rows in the knot loop is the same as the number of stitches in the tie part.
③Start knitting the neck loop from the round part.
Start by making a cast-on loop, then work 12 double crochets (including the rising stitches).
Continue from there and knit 70 chain stitches.
Adjust the length of the loop by the number of chains you knit here.
After making 70 chain stitches, knit 8 more stitches to make a loop to pass the round part through.
After that, make two more loops as shown in the knitting pattern, then continue knitting through the chain while turning back, pulling the yarn out around the round part and then cutting the yarn.
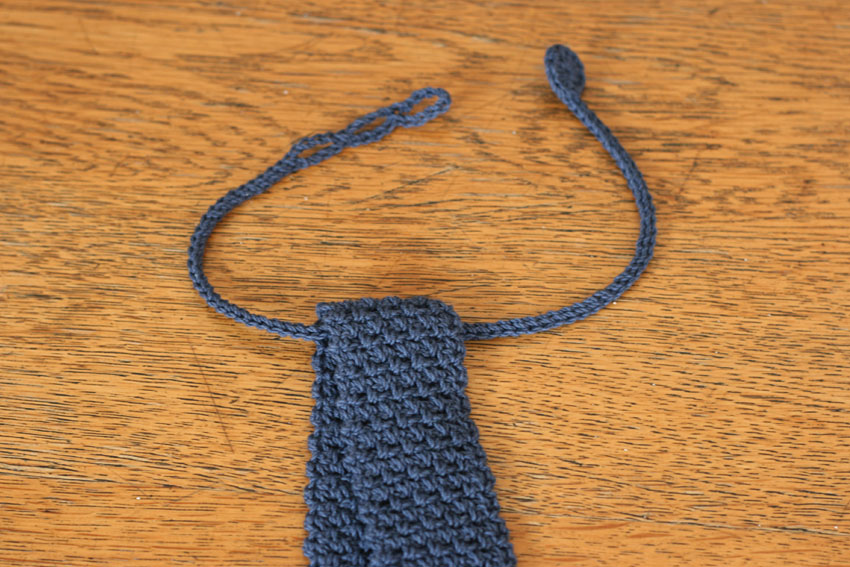
④ Once you have knitted the three parts, fold the tie part in half and pass the neck loop through the gap (photo 2 above).
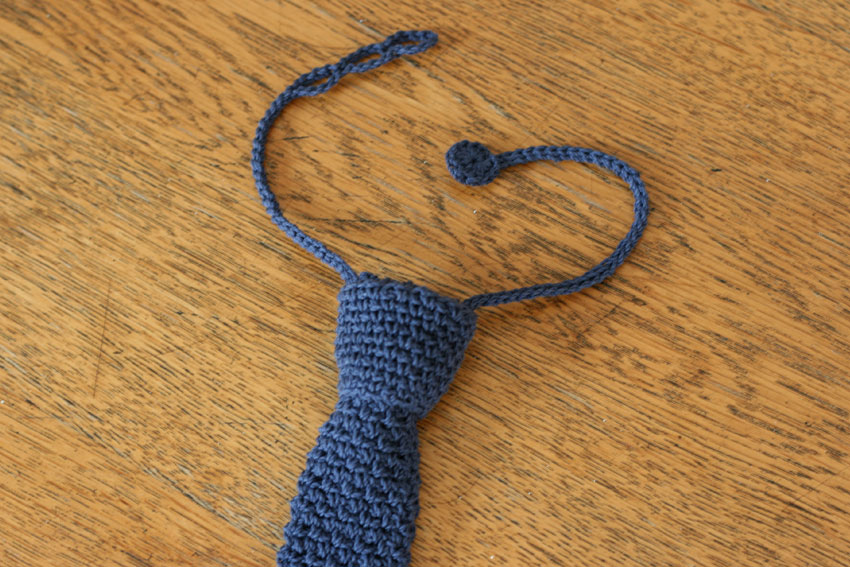
Then, place the knot loop over the folded part of the tie (photo above).
If it starts to slip, sew the knot loop and tie together as needed.
*Compared to knitted knitting, the knitted fabric is less likely to curl up, but the bottom of the tie may still curl up.
If this bothers you, you can soak the knit in water, reshape it and hang it out to dry, or use a steam iron to iron it over the knit. This should settle the knit.
It's also fun to change the color of the yarn halfway through knitting to create a striped pattern, or to add an embroidered pattern.
Please arrange it to your liking and enjoy it.
*As these are items that children will wear, parents are responsible for the use of the creations.