

Index
Crochet coasters made with a single crochet base stitch pattern.
This is a simple coaster made using the back-and-forth crochet technique.
I'm working on a single crochet-based pattern.
I made a small modification so that I wouldn't need to do the edging.
Although it's a very basic item, I realized there weren't any free patterns for crocheted coasters until now, so I decided to crochet one myself. Crocheted coasters are quite useful in my home.
It was a good opportunity to add some knitting.
When I need to grab a pot with a hot handle, I don't need to get out a larger potholder because I have small hands, and two coasters like these will do the trick.
Even if you knit both one for heavy use in the kitchen and one for guests, they are small enough that you can store them in a corner.
I think mass production would be fun if you changed the thread.
Even if you combine two colors of yarn, it's exciting to see what color knitted fabric you'll get.
This was knitted using extra thick yarn.
Although the knitted fabric has few gaps, if you are going to grab something hot, try using thicker yarn as the thin yarn may transmit the heat.

Preparation and materials needed for "back-and-forth knitting coasters"
Yarn and Crochet Hook Size

Puppy British Eroica (col.134) 10g
5.0 mm (JP 8/0)
Finished size
10.5cm long x 10.8cm wide
Crochet pattern for "Back-and-forth knitted coaster"
Round-trip coaster knitting pattern
Before using the recipe,Terms of Use" before using the patterns.
Detailed instructions and steps for making a "back-and-forth knitted coaster"
Please refer to the crochet pattern along with these instructions.
①Cast on 15 chain stitches.
This uses extra thick yarn, so if you want to increase the number of stitches when knitting with thinner yarn, try increasing the number of stitches by +4.
To be precise, it's OK as long as the number of cast-on stitches is a multiple of 4 + 3.
The 15 stitches I knitted are 4 x 3 + 3, so if I were to add one more pattern, I would make it 4 x 4 + 3 and cast on 19 stitches.
Only the first row is knitted in an alligator stitch, and the symbol written upside down at the bottom of the knitting pattern indicates the first half of the first row that you knit after casting on.
In the first half of this first row, scoop up one strand on the other side of the cast-on chain and the back of the knot and make a circular stitch.

At this symbol, knit three quarter stitches into the first stitch of the previous row (or cast-on).
②For the second half of the first row, pick up the remaining chain of the cast-on stitch that you did not pick up in the first half and knit it.
③From the second row onwards, do not knit in a crisscross pattern, but knit back and forth without increasing or decreasing the number of stitches.
Once you have knitted up to the 13th row, cut the yarn and process it.
④ When you finish knitting, the edges of the knitted fabric will be curled as shown in the image below, but if you use a steam iron while holding it above the fabric, the knitted fabric will settle down.
How to use a steam ironPlease also refer to:

Coaster recipe with instructional video
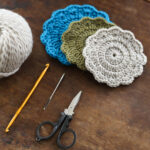
「インテリア・その他」人気 BEST 3 をご紹介 | Ronique Store
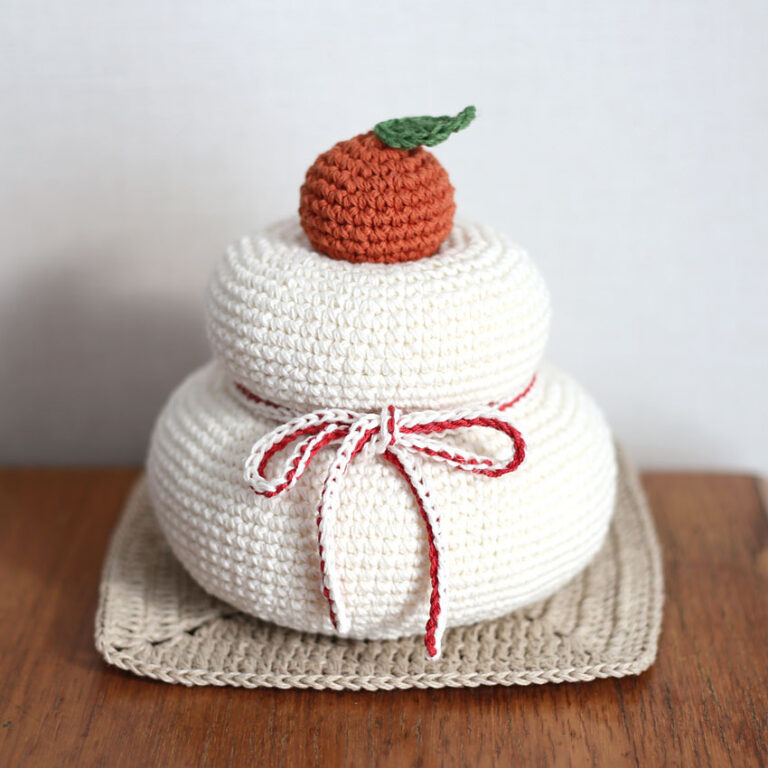
【No.1】ズレない鏡餅
発売以来、当ショップで一番選ばれ続けているロングセラー作品です。
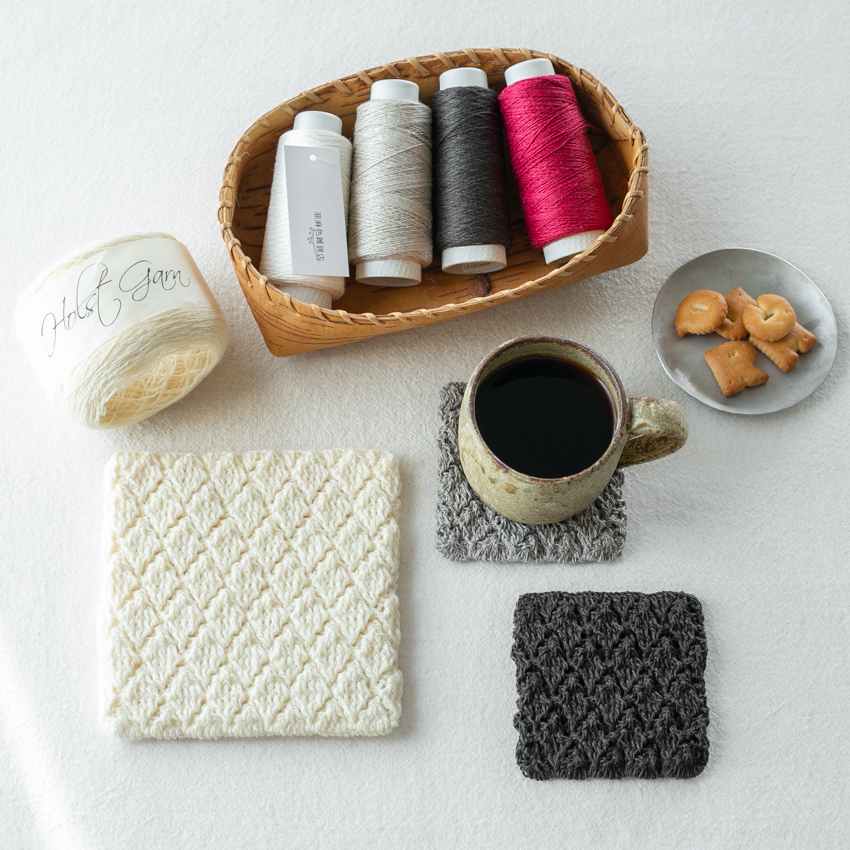
【No.2】丁寧に編むマット
大きなリーフ模様と幅広ショルダーがポイント。国内外で人気の作品。
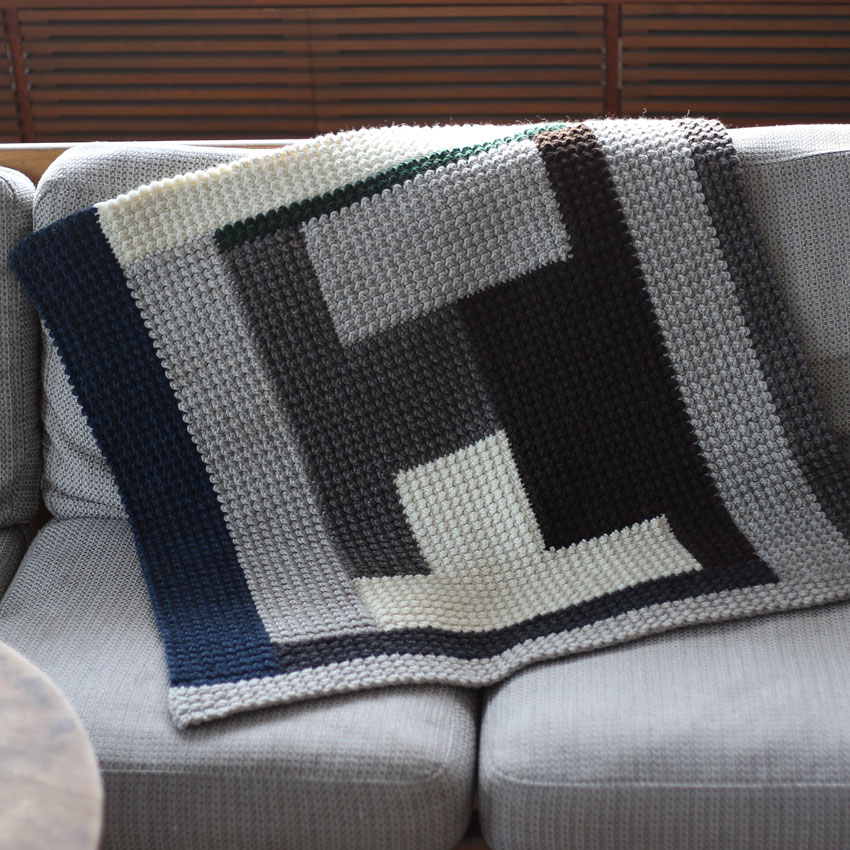
【No.3】シームレスブランケット
編んでつける内布で型崩れ対策。長くお目にとめていただいている作品。

