
Index
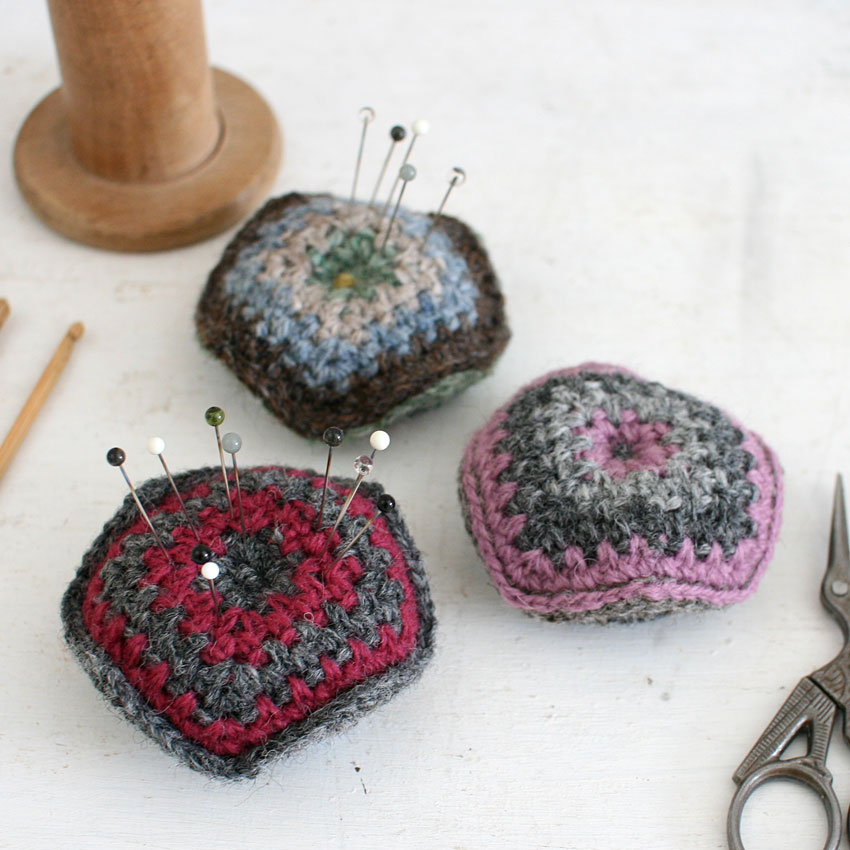
A crocheted pincushion, whose name means "irregular" in French.
I tried crocheting a pincushion, or "biscornu," which is a type of crafting tool.
When I think of Biscornu, I think of beautiful embroidery pieces.
I was curious about how it was made, so I looked into it, and it was simpler than I expected.
It's also interesting that the word means "distorted" or "irregular" in French.
I was making biscornu, which are traditionally made from fabric, into crochet creations.
When you look at the pattern, you'll probably think, "Is that all?" It's very simple.
It didn't take much time, so I ended up knitting several of them.
Since you only use a little yarn at a time, you can have fun using up any leftover yarn.
It would make a great little gift for yourself or a friend.
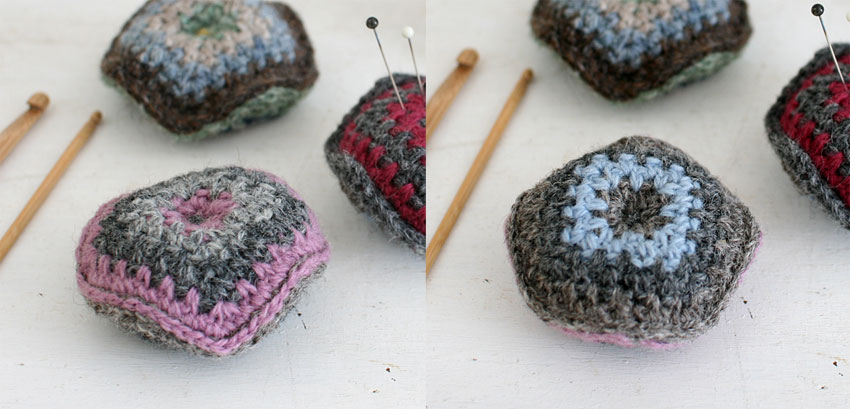
This artwork can also be enjoyed by using different colors on the front and back.
The photo above shows the front and back of a grayish-pink cushion.
I'm doing slip stitches with the wrong side facing the right side, and you can see the slip stitch lines on the pink side.
This line would make a nice accent piece.
The dark pink and gray versions have a different closing mechanism, with a more defined edge.
The amount of effort required for both is about the same, so try knitting whichever you prefer.
Preparation and ingredients for "Crochet Biscornu"
Yarn, materials and crochet hook size
Medium-weight wool yarn, several colors of your choice
Polyester cotton as needed
2.3 mm (JP 3/0)
*We use needles that are slightly thinner than the yarn so that the knitted fabric will be tighter.
Crochet Biscornu Pattern
Crochet Biscornu Knitting Pattern
Please read the "Terms of Use" before using the patterns.
Detailed instructions and steps for making "Crochet Biscornu"
Please see the knitting pattern along with the instructions below for how to make it.
① Start by making a loop cast-on. Turn the piece over every row.
② Change the color every two rows and knit the entire eighth row with a single stitch. You will knit two of the same motif. You can change the color scheme to your liking.
③When you have finished knitting, consider the side where the final row will be the front as the front and pull all of the exposed yarn to the back.
Regarding thread treatment, if you have smooth threads or if you are concerned about that, you may want to do so. However, in the case of wool (a thread that tends to get caught) as shown in the photo,
The thread is left on the back without any special processing and is used as part of the padding.
④ As shown by the lines in the knitting pattern, align the corner of one motif with the center of the edge of the other motif, and sew them together using a pull-out seam, going all the way around. Make sure to add the filling before sealing it completely.
*The dark gray and wine red types are stitched together. Please choose the one you prefer.
⑤Once you have finished closing it, press down on the center of the cushion.
Thread the darning needle and thread it through the stitches several times to prevent the thread from coming loose, then tie a knot in the centre of the front of the motif.
Next, pass the thread to the back side, pull the thread slightly to make a depression in the center, and tie a bead in the same way.
To prevent the bead holder from slipping out into the knitted fabric, it is a good idea to wrap the yarn around it about five times to secure the bead.
Check the gaps in the knitted fabric and adjust the number of times you wrap the yarn.
Top 3 Most Popular Patterns in Lifestyle & Decor | Ronique Store
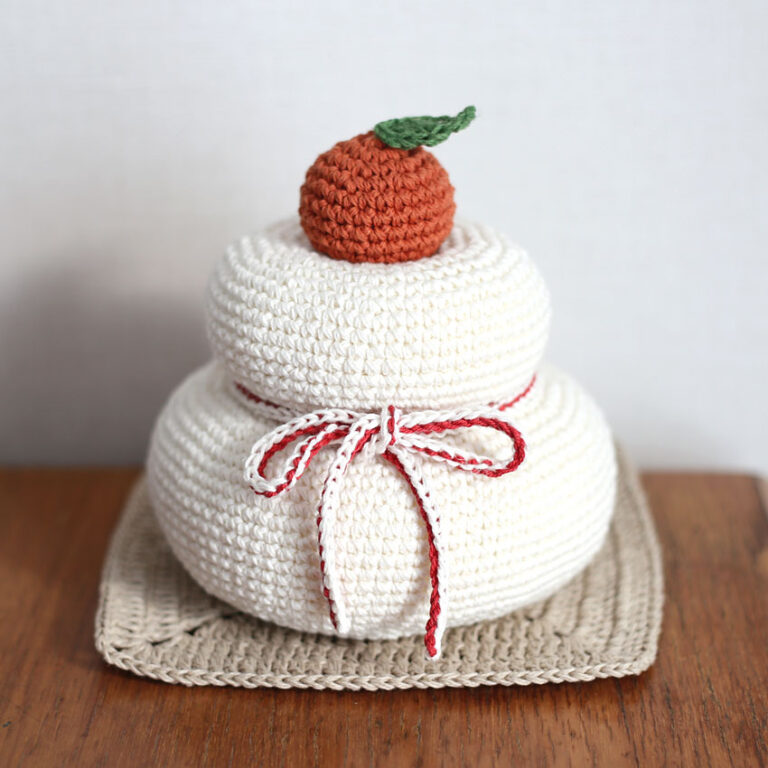
[No.1] Assembled Kagami-Mochi
This has been our best-selling product since its release, consistently being our most popular item.
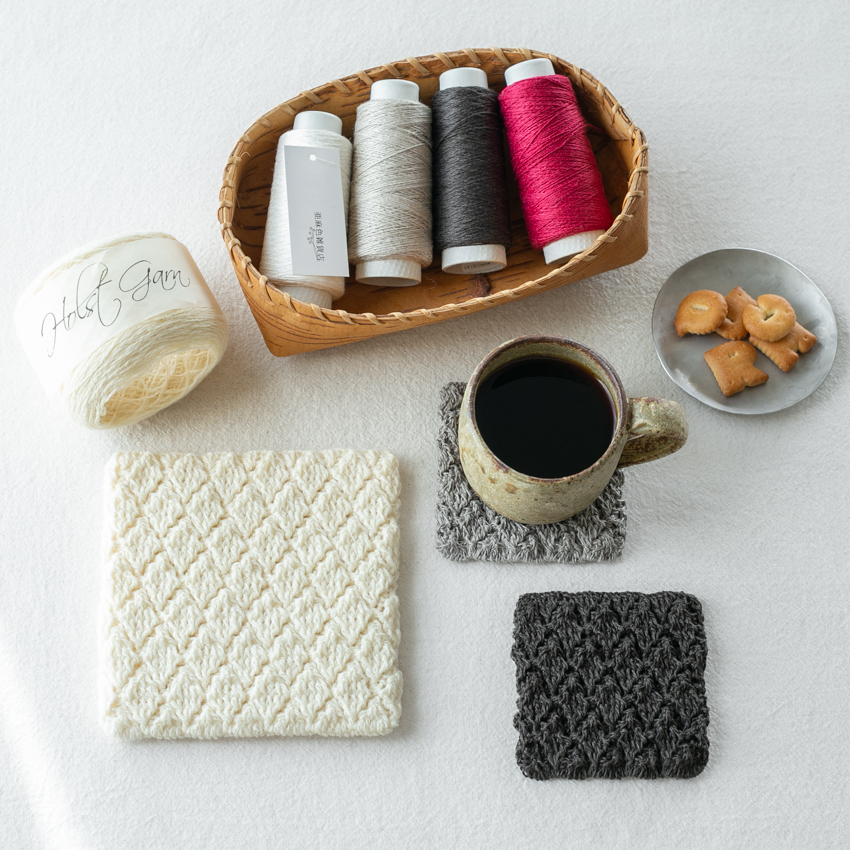
[No.2] Mindful Mat
Featuring a large leaf pattern and wide shoulder strap, this bag is a popular item both in Japan and internationally.
[No.3] Seamless Blanket
The crocheted lining helps the bag keep its shape. This design has been a longtime favorite.

