
Index
This is a crocheted piece.
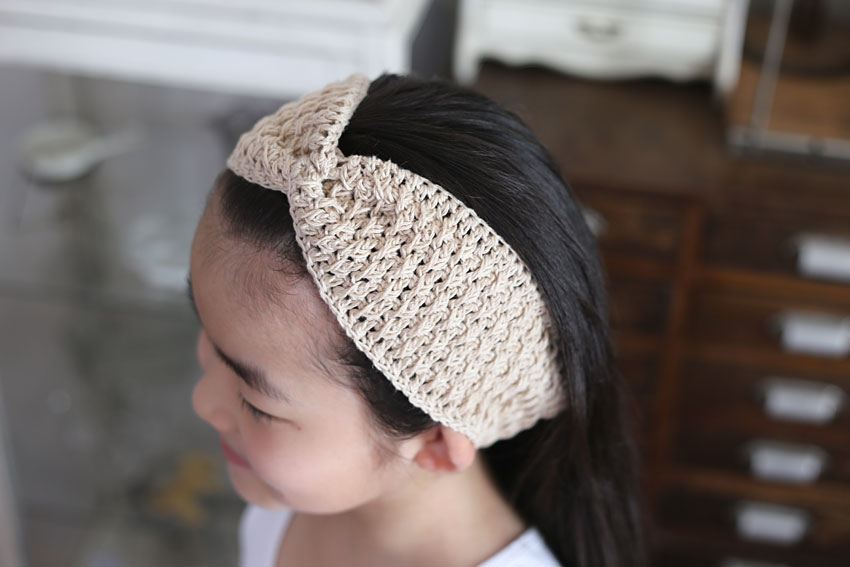
A crocheted headband that fits perfectly.
When you wear it, the impression changes depending on where you place the crossed parts, so you can use it depending on your mood that day.
I knitted it with a stretchy cast-on stitch to make it comfortable to wear.
There is a video on how to cast on a stretchy stitch (details in the "How to Make" section), so be sure to give it a try!
This piece can be easily adjusted to fit your size by changing the number of stitches.
As you cast on the stitches, try holding it against your head several times to find the right size.
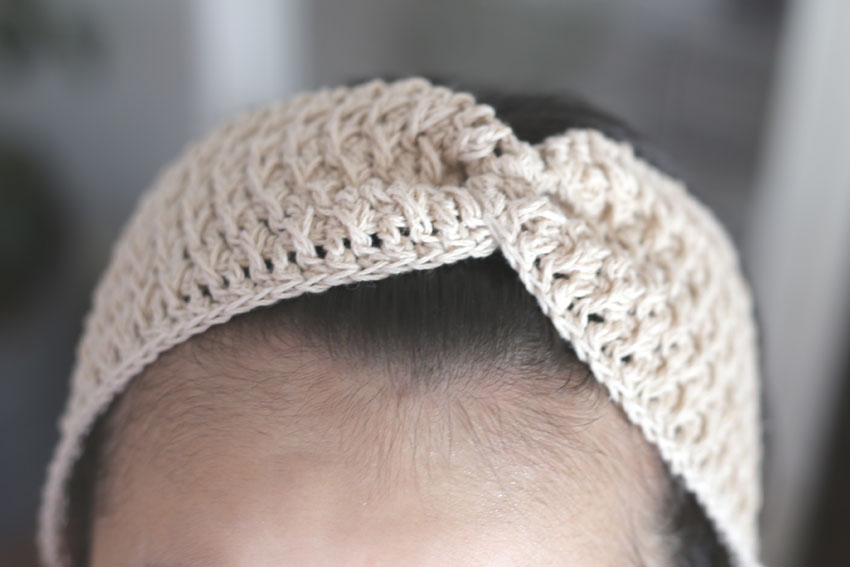
The width of the headband can be adjusted, but it seems like a certain amount of width is necessary to accentuate the cross.
I knitted this to fit my size perfectly, so my daughter was able to wear it loosely.
It can also be used as a matching item for parents and children.
This time I tried knitting it with summer yarn due to the season, but I got the impression that it would be more stretchy if I had knitted it with winter yarn.
I hope you enjoy choosing your yarn!
Yarn and Crochet Hook Size
Hamanaka Flux K (col.12) 25g ball, approximately 62m...40g
3.0 mm (JP 5/0)
Finished Size
Head circumference 53cm Maximum width 8cm
Crochet Pattern
Cross Hairband Knitting Pattern (PDF)
Instructions
Please refer to the crochet pattern along with these instructions.
① Begin knitting with a stretchy cast-on stitch.How to knit a "stretchy cast-on" There is a video on the page for your reference.
The number of cast-on stitches must be a multiple of 2 + 1!
To make sure it is the size you want, try casting it on your head to check.
②For the first row, while looking at the back of the stretchy cast-on stitch, pick up the stitches and knit a double crochet.
At this time, pick up and knit the two strands at the top of the elastic cast-on stitch, just like when you pick up and knit the stitches in the previous row.
③ For the third row, pick up the double crochet stitch from the previous row. When doing so, pull the yarn up gently to prevent the stitches from crowding and causing the knitted fabric to warp.
Since you will be alternating between double crochets and pull-up stitches, it is a good idea to be mindful of aligning the stitch height of the pull-up stitch with the stitch height of the double crochets.
④ Once you have knitted up to row 11, continue knitting the edge on one side (edge knitting ① in the knitting pattern) and cut the yarn.
To edge the sides (short sides), work two quarter stitches into the double crochet row of the main knitting fabric, and one quarter stitch into the quarter stitch row.
Attach the yarn and begin knitting the other edge (edge ② in the knitting pattern). After knitting the short side in the same way as above, continue knitting the long side of the main body.
To make the edge of the long side, alternate between knitting a single stitch and knitting a single stitch with a raised stitch. After knitting a slip stitch in the first stitch of edge stitch ①, cut the yarn, leaving the end long.
⑤The next section, "Explanation with Pictures," explains how to sew the knitted fabric together to form a cross.
Explanation with images
We will explain how to sew the ends of the knitted fabric together.
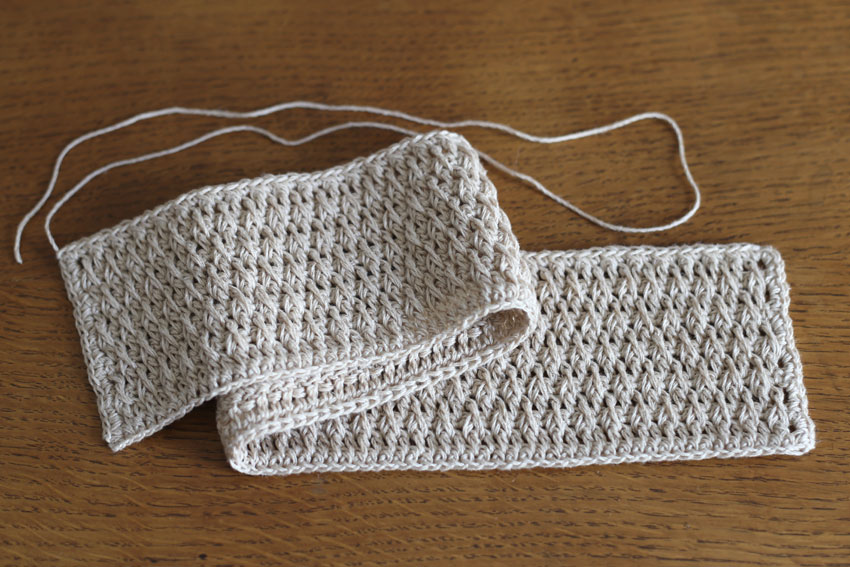
①When you have finished knitting the edge of the knitted fabric②, it will look like this.
The yarn is cut, leaving the end of the knitting thread long.
This side will be the front of the knitted fabric.
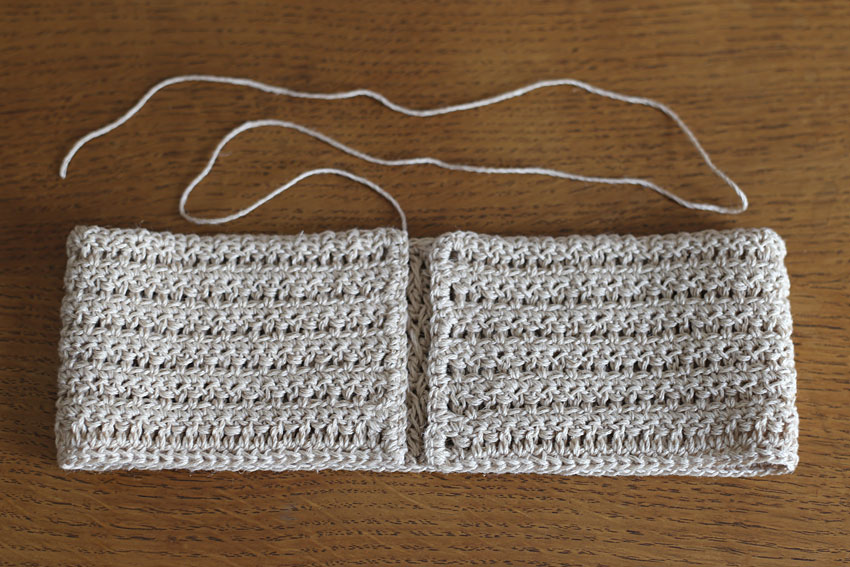
② With the front sides facing each other, fold the knitted fabric like this (the side visible in this photo is the back of the knitted fabric).

③Interlock the ends of the knitted fabric together like this.
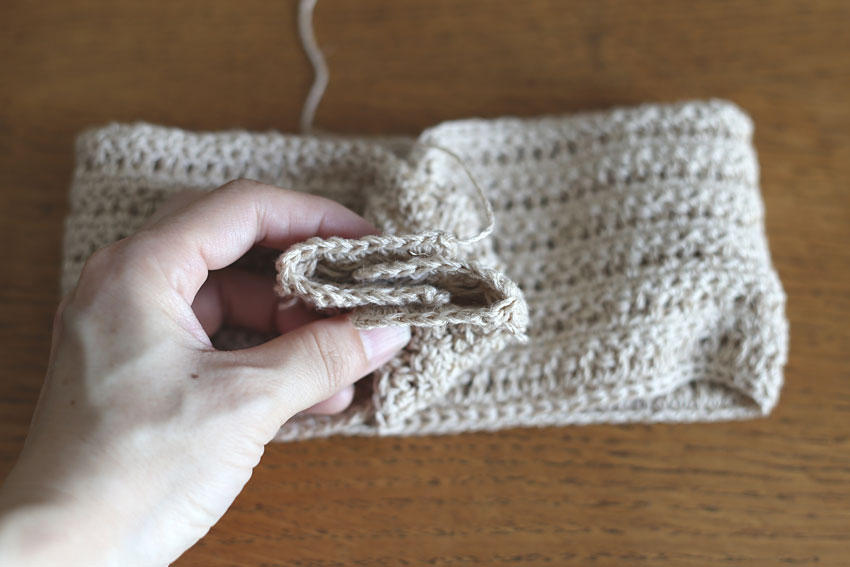
④ Make the overlapping area of the four pieces of knitted fabric like this.
The end of the yarn is connected to the edge of the top knitted piece.
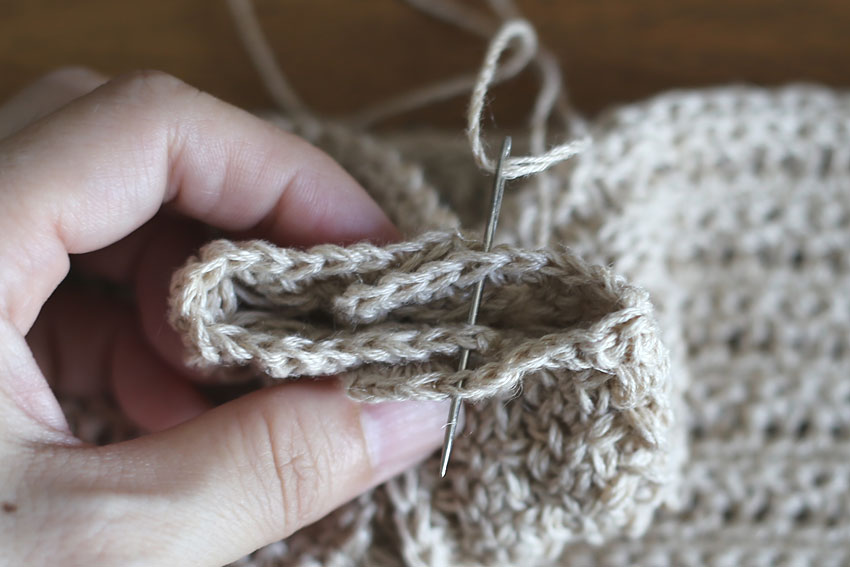
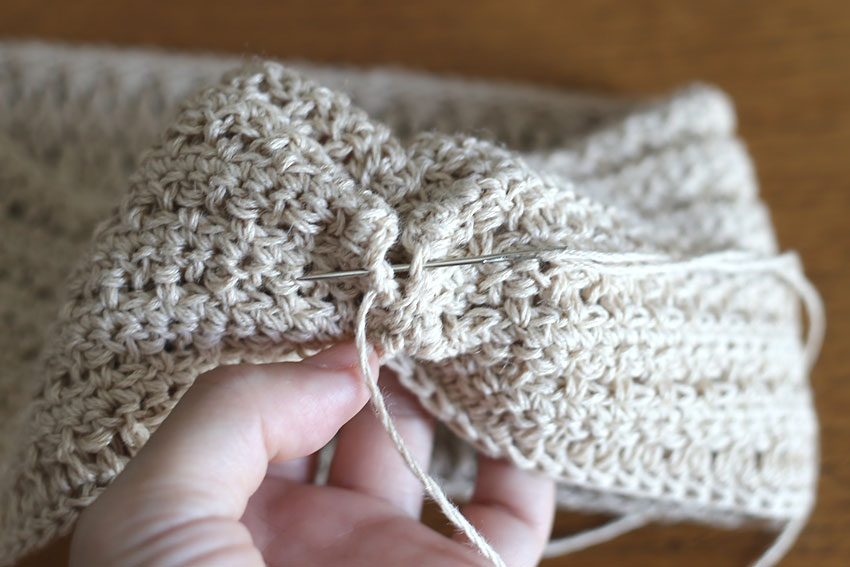
⑤ Pass the darning needle through the end of the thread and insert the needle into the bottom knitted fabric as shown in the image to sew the four pieces of knitted fabric together.
The overlapping part of the four pieces in ⑥ and ⑤ is about four stitches. Using a wave stitch, move the needle back and forth to sew through these four stitches.

⑦ Once you have sewn 4 stitches, it will look like this.
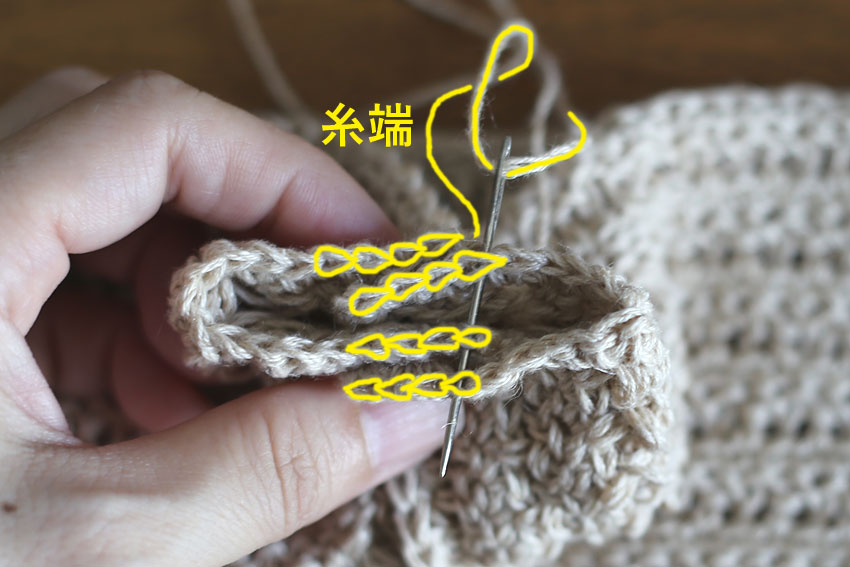
⑧Next, sew up the hole in step ⑦ (shown in yellow in the photo).
⑨⑧ Match the yellow parts together and sew them together.
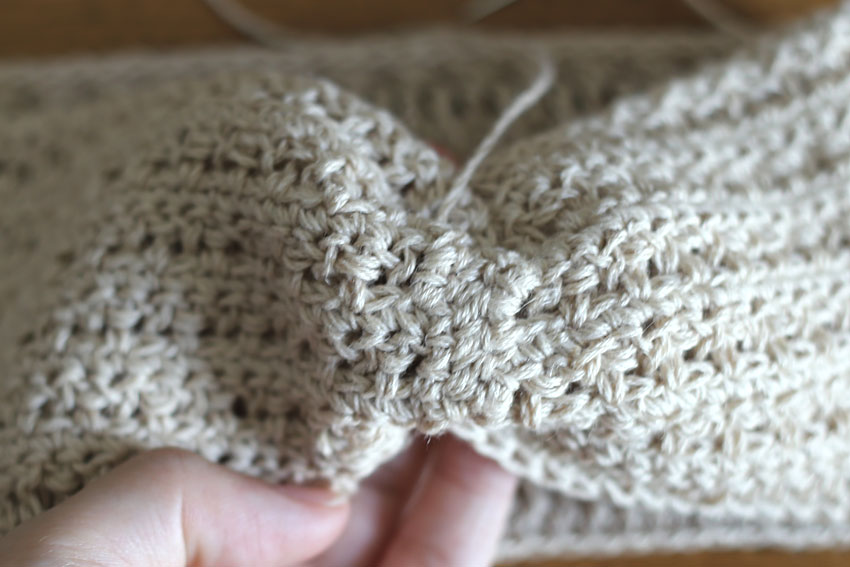
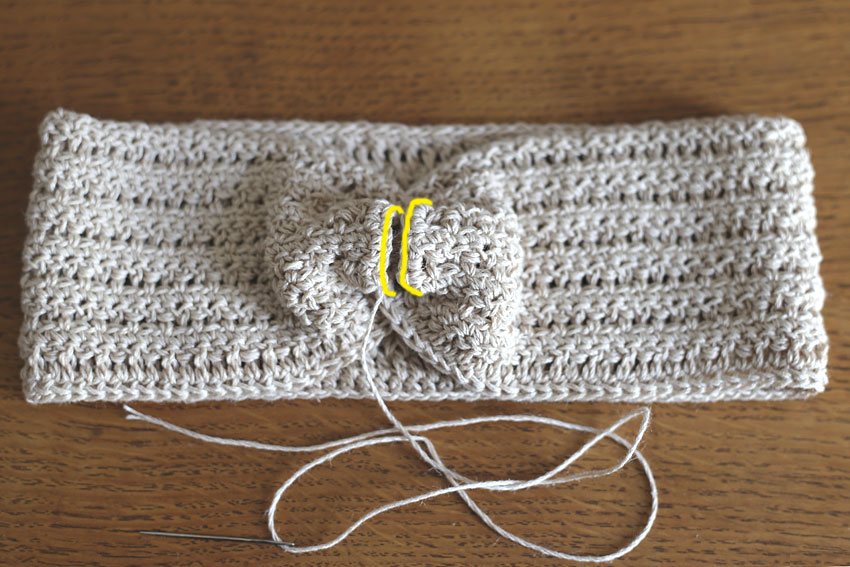
⑩ Once sewn together it will look like this.
The remaining threads are carefully processed.

⑪Turn the hairband inside out and reshape it so it looks like this.