Index
This is a crocheted piece.
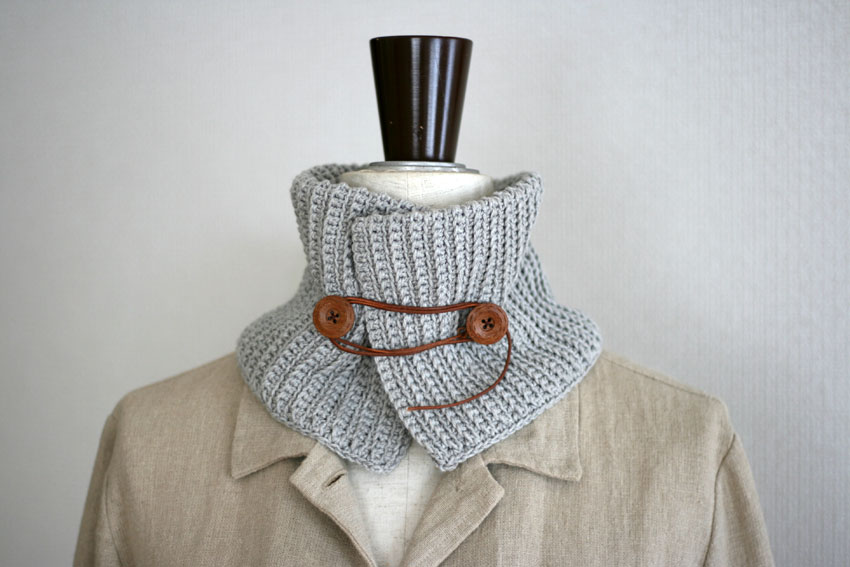
A lovely neck warmer I saw in a book a long time ago.
It was a knitted piece, and I remember it was knitted using a technique called "British ribbing."
As a crochet lover who only knows how to knit with one-stitch ribbing and two-stitch ribbing, I was interested in this but missed the opportunity to make it without ever trying it.
With the image of that beautiful knitted fabric still lingering in my mind, when the wind started to get cold and my neck started to feel chilly, I decided to knit this piece.
I wanted a soft, fluffy neck warmer that felt nice against the skin.
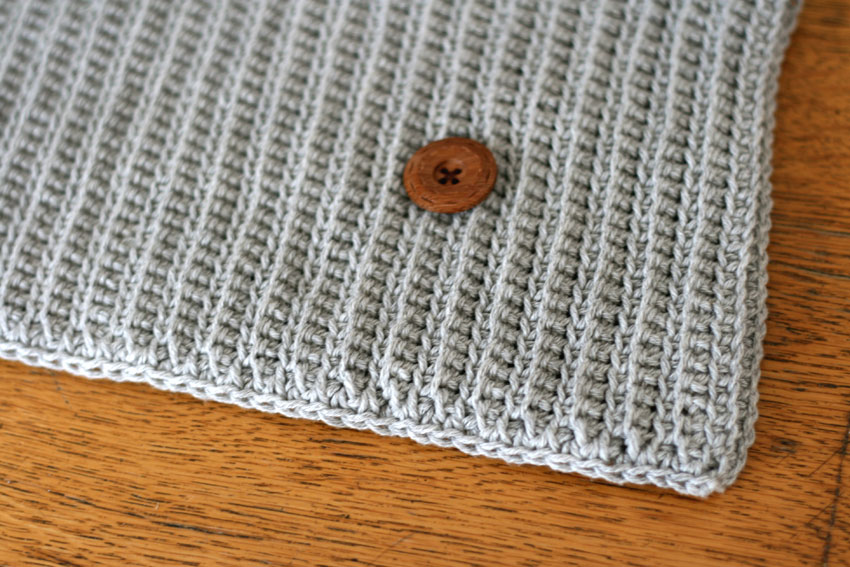
This is a simple neck warmer made using a knitting technique that imitates knitting with needles, with an arrangement of ribbed stitches.
My personal tip is to use a thick crochet hook for the yarn and knit loosely.
I feel like it somehow becomes softer and warmer than when crocheted with a crochet hook that is just the right size for the yarn.
The knitted fabric is folded and doubled, making it very warm.
Since this is an item for wearing around the neck, I thought it would be best to use yarn that feels nice to the touch, so I knitted it using organic cotton yarn that doesn't seem to be itchy.
It would also look lovely knitted with wool yarn.
Yarn and Crochet Hook Size
Medium-weight organic cotton (gray)
3.5 mm (JP 6/0)
Finished Size
53cm x 14cm (when unfolded)
Instructions
① Start by casting on the chain and knitting 56 stitches.
② Knit the fabric using an adapted version of ribbing.
Below,Ribbed braid arrangement with explanation and imagesPlease refer to the detailed information written in.
For each row of garter stitch, you will pick up only one stitch on the other side of the head of the previous row's knit stitch and knit a new stitch.
Here, for odd-numbered rows (when knitting the front side in rows 1, 3, and 5), scoop up one strand from the far side, and for even-numbered rows (when knitting the back side in rows 2, 4, and 6), scoop up one strand from the front and knit.
The one strand that was not scooped remains visible on the front side, making the pattern appear clearer.
Using this method, knit back and forth until you reach row 97.
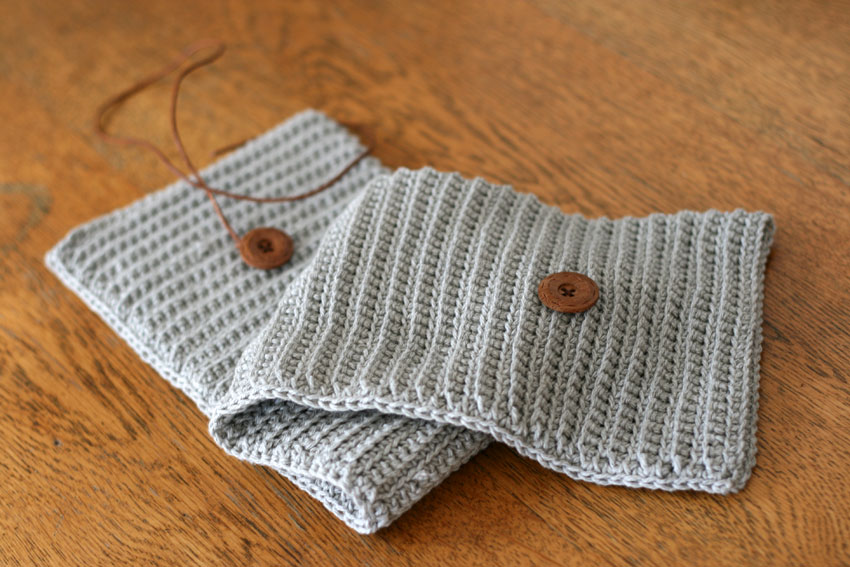
③Once you have knitted up to the 97th row, fold the knitted fabric in half lengthwise and join them together, then overlap the knitted fabric on the bottom of the open side and insert the needle through the two pieces of knitted fabric, and crochet them together.
Leave both sides open and unstitched.
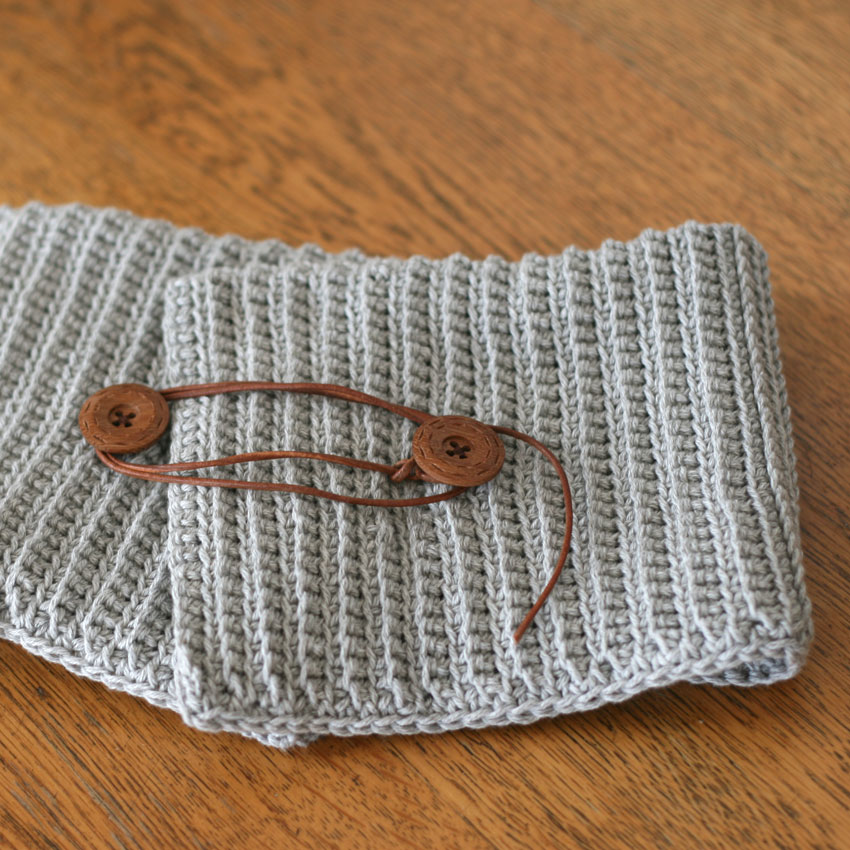
4. While checking the balance, attach the buttons and fasten the leather string to one of the buttons to complete the garment.
At this point, try wrapping it around your neck, find the position that feels right when fastened, and then attach the button.
Explanation with images
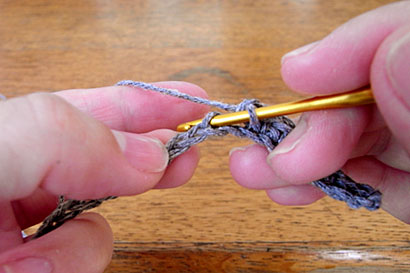
① Start knitting by casting on the chain. In the first row, pick up just one strand on the other side of the cast-on chain and make a straight stitch.
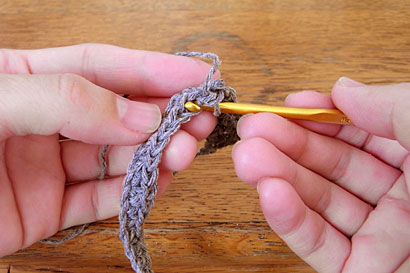
②For the second row, pick up only one stitch in front of the previous row and knit.
From this point onwards, for even rows (when knitting the back side of the knitted fabric), knit only one strand at the front in the same way.
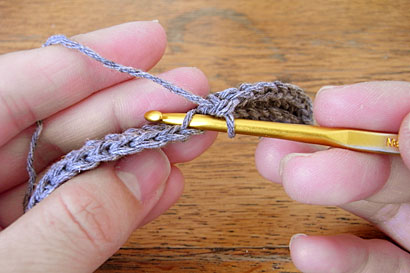
③For the third row, pick up just one stitch on the other side of the previous row and knit.
From this point onwards, for odd-numbered rows (when knitting the front side of the fabric), knit in the same way, scooping up only one strand on the far side.
④The photo shows the third row in the middle of being knitted.
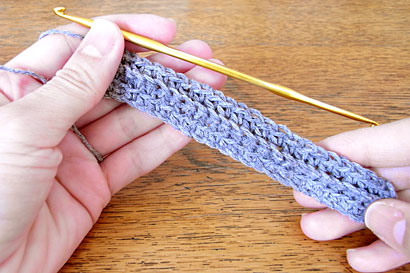
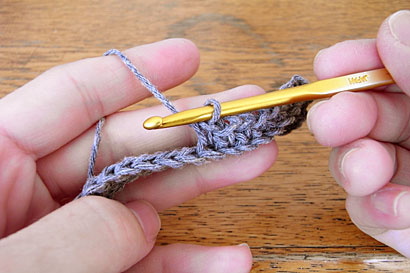
⑤After knitting about three rows, you will gradually begin to see the pattern of the knitted fabric.
Then just repeat this process.