Index
This is a crocheted piece.
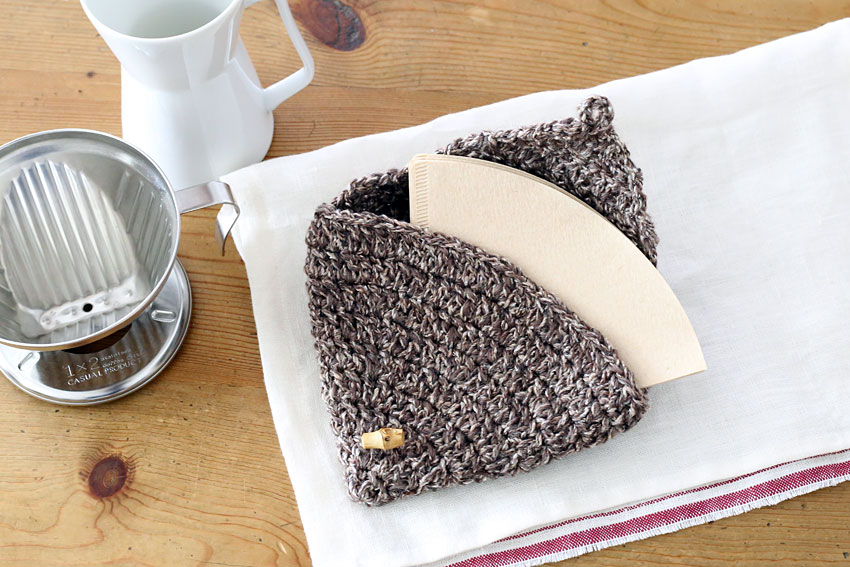
I tried crocheting a coffee filter holder using only basic crochet techniques.
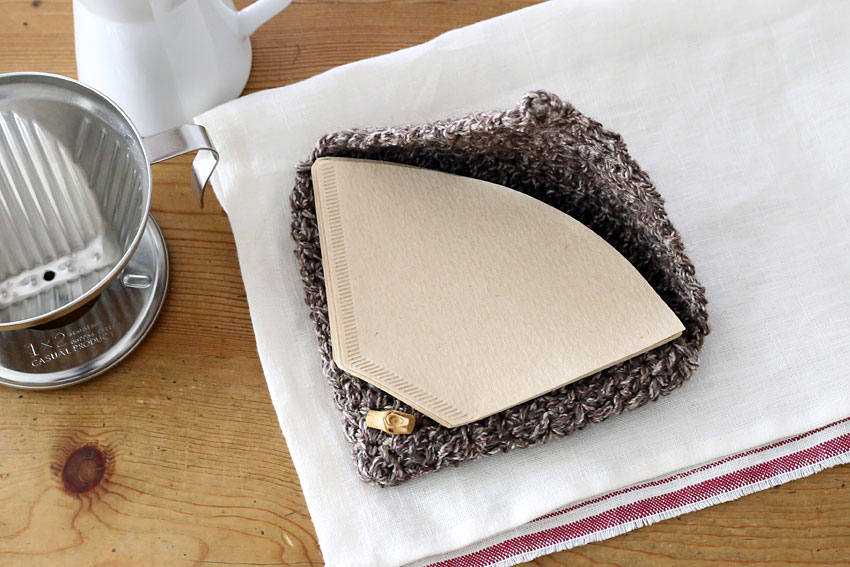
When carrying multiple filters, it's nice that the case fits the shape of the coffee filters so they don't fall apart.
This is also perfect for serious campers who want to enjoy delicious coffee while camping.
This is an item that can be completed quickly, so you can even knit it the day before if you decide to do so.
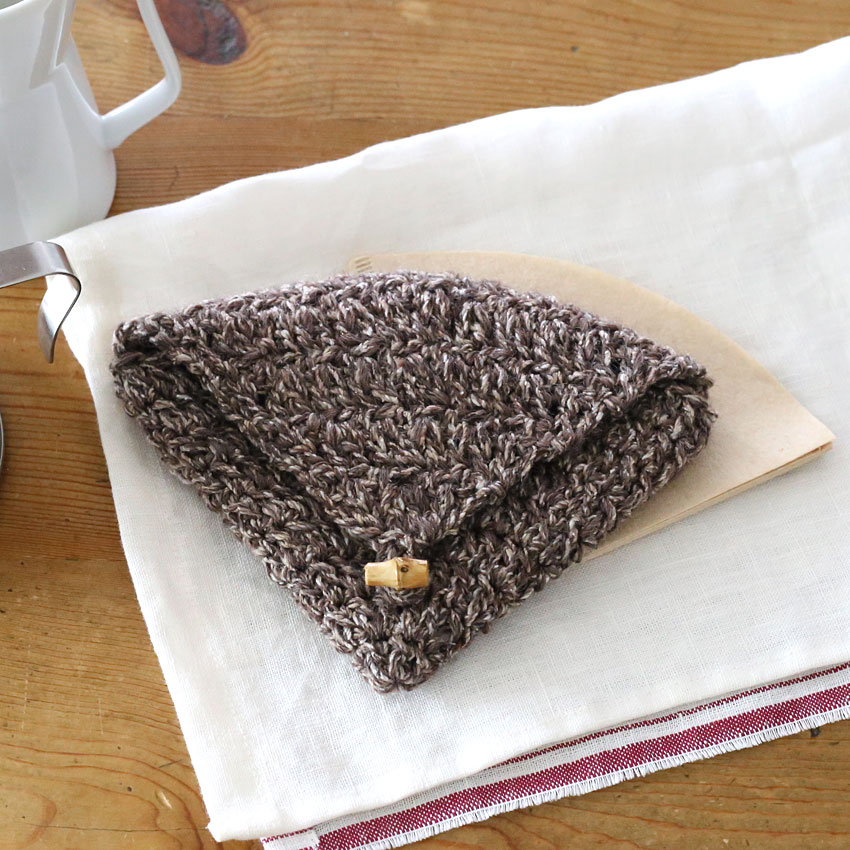
The pouch is quite thick, so when you put something inside it it becomes warm and you start to feel a strange attachment to it.
If you like, you can add a loop somewhere so that you can hang it up.
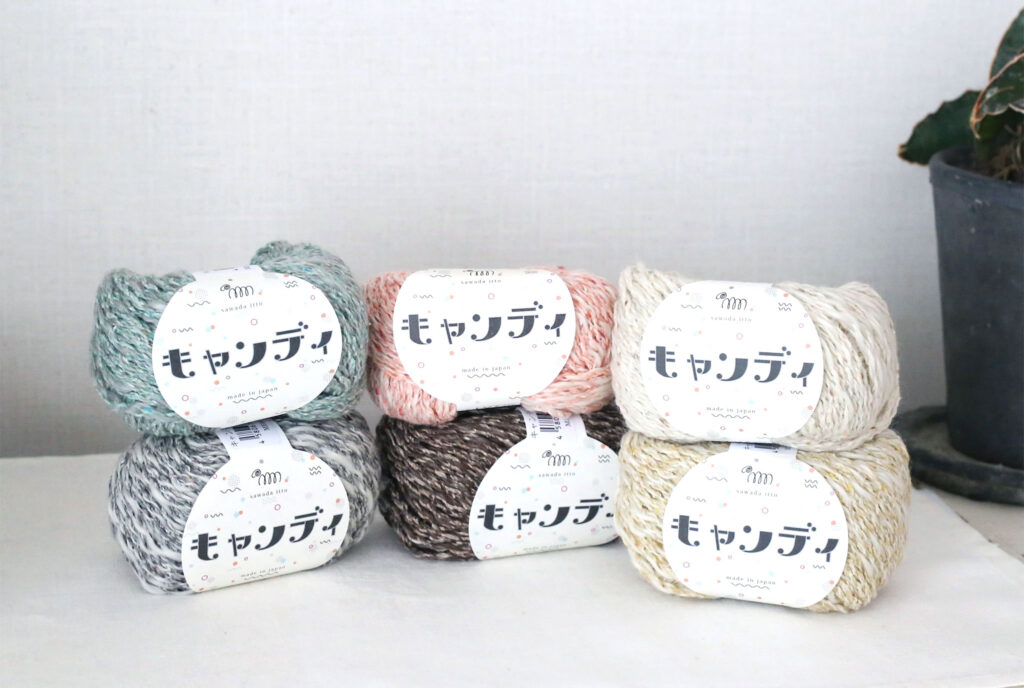
This work is,sawada itto sawada ittoThe yarn provided by "candy" I knitted it.
This is a new yarn from Sawada Itto that is thick, easy to knit, and has a cute texture.
Be sure to follow the link and check it out!
This pouch can be knitted using just one ball of "Candy".
The fancy yarn really stands out against the simple knit fabric, making it a perfect match for the piece.
The color I chose this time is called "Coffee"!
I often choose brown items for the kitchen because they are easy to use and don't show slight stains, so I think this will fit in well with my home.
It would also make a great gift for coffee lovers.
It would also be fun to send it as a set with a mug and coffee beans.
Yarn and crochet hook size and materials used
sawada itto sawada itto candy[Col. Coffee]...38g (1 ball)
5.0 mm (JP 8/0)
Finished Size
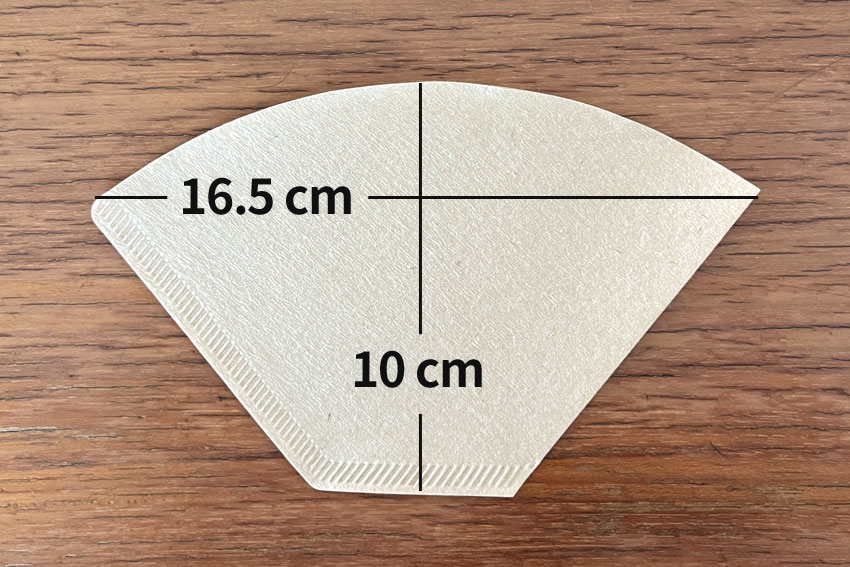
This pouch fits coffee filters the size shown in the image perfectly.
The artwork sizes are as follows:
Height 18.5cm, width 32.5cm
String 38cm
Crochet Pattern
Coffee filter pouch knitting pattern (PDF)
Instructions
Please refer to the crochet pattern along with these instructions.
①Start knitting the pouch body.
Start by making a loop and then crochet 7 double crochets (including the starting chain) in the first row.
Increase the stitch each row and knit up to the 9th row.
②Continue using the yarn for the main body, knit the flap in a round knitting motion.
Once you have finished knitting the 9th row of the main body, turn the knitting over and knit the first row of the flap while looking at the back.
The flap with the even-numbered rows facing out will be used as the front side of the piece.
With each row, decrease the number of stitches at both ends and in the middle, and in the final row, knit a chain in the middle to create a button loop. Adjust the number of stitches in this chain to suit the size of the button you want to attach.
Once you have completed the 10th row, cut the yarn.
3. When the flap is closed, check where the button loop will be and attach the button there to complete the process.