Here we explain the crochet stitch "knot stitch" and show you how to crochet it using video and still images.
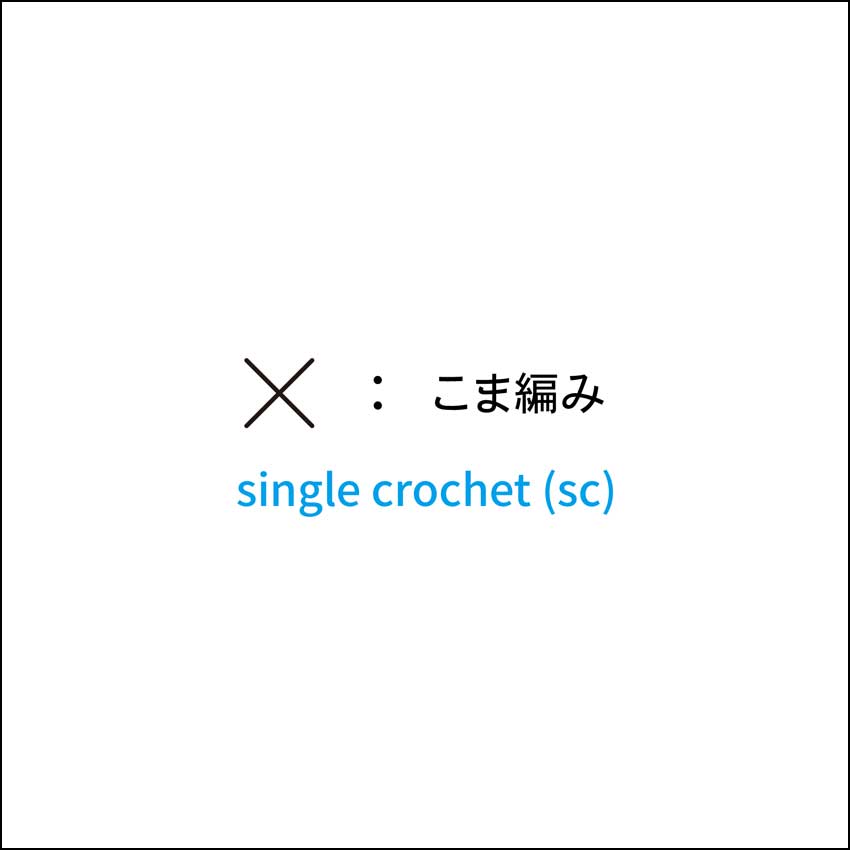
The cover of the video shows the knitting pattern symbols (stitch symbols) for "Koma Knitting."
Index
What is Knit Knitting?
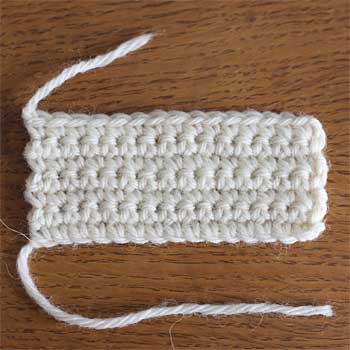
Single crochet is one of the basic crochet stitches.
This knitting method makes each stitch small, resulting in a thick knitted fabric with no gaps and a sturdy knit.
Examples of items that often use knitting needles include stuffed animals and bags.
There are three main variations in knitting methods: round knitting with a knit stitch, round knitting with a knit stitch in a tubular shape, and round knitting with a knit stitch in a circle. First, let's look at the differences between these three types.
Round knitting of knitted knitting
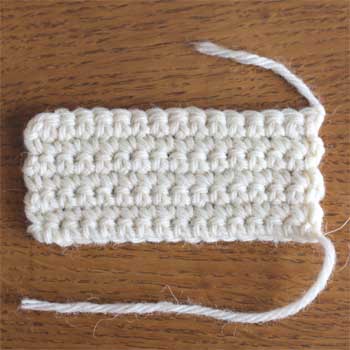
When knitting round trip stitches, you turn the knitted fabric inside out every other row, so the knitted fabric has a front and back. In the image below, the left side is the front of the knitted fabric, and the right side is the back of the knitted fabric. Separate pageHow to knit "round knit" There is a detailed explanation of how to knit it.
Crochet stitches for tubular knitting
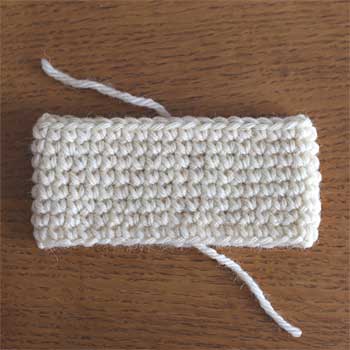
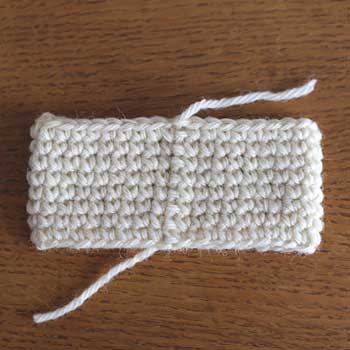
When knitting a knit stitch, you always look at the front of the knitted fabric, so in all of the images below you can see the front of the knitted fabric. I have included images where the start position is visible and images where it is not.
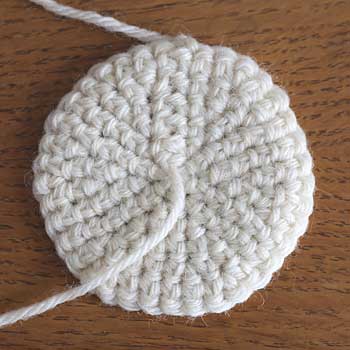
Circular knitting
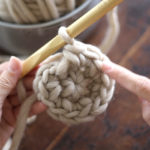
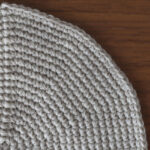
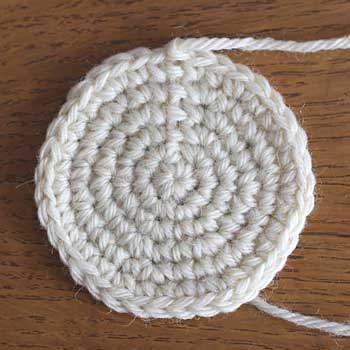
To knit a circle using the round stitch, start by making a loop cast-on, then increase the number of stitches in each row while knitting a round stitch. This is also a round stitch, so you should always keep an eye on the right side of the knitted fabric while knitting (exceptionally, you may also do a round stitch with a round stitch). For more information on the round stitch, please see the separate page.How to knit "Koma Knitting Loop Stitch"、A thorough explanation of the "loop stitch" knitting technique There is a detailed explanation of how to knit it.
About the knitting method
We will explain how to crochet the "single crochet" using videos and still images.
The cover of the video shows the knitting pattern symbols (stitch symbols) for "knit stitch/single crochet."
Here we will explain how to knit the first knitting stitch. There is a detailed explanation of knitting stitches on another page, so please see the link "More detailed knitting instructions here".
Video explanation
Photo Tutorial
We will explain with images how to knit the "start" of a knit stitch using a loop stitch.
![こま編み[1] 立ち上がりのくさり1目を編みます。](https://ronique.jp/wp-content/uploads/2021/03/basic_method_03_01.jpg)
![こま編み[2] くさりの根本(矢印の位置)に針を入れます。](https://ronique.jp/wp-content/uploads/2021/03/basic_method_03_02.jpg)
![こま編み[3] 針を入れるのはここです。](https://ronique.jp/wp-content/uploads/2021/03/basic_method_03_03.jpg)
![こま編み[4] 針を入れたら、糸をかけて引き出します。](https://ronique.jp/wp-content/uploads/2021/03/basic_method_03_04.jpg)
![こま編み[5] 引き出したところです。](https://ronique.jp/wp-content/uploads/2021/03/basic_method_03_05.jpg)
![こま編み[6] 糸をかけ、2つのループをくぐらせます。](https://ronique.jp/wp-content/uploads/2021/03/basic_method_03_06.jpg)
![こま編み[7] こま編みが1目編めました。](https://ronique.jp/wp-content/uploads/2021/03/basic_method_03_07.jpg)
![こま編み[8] 次の目は、となりに針を入れて[4]~[7]を繰り返します。](https://ronique.jp/wp-content/uploads/2021/03/basic_method_03_08.jpg)