
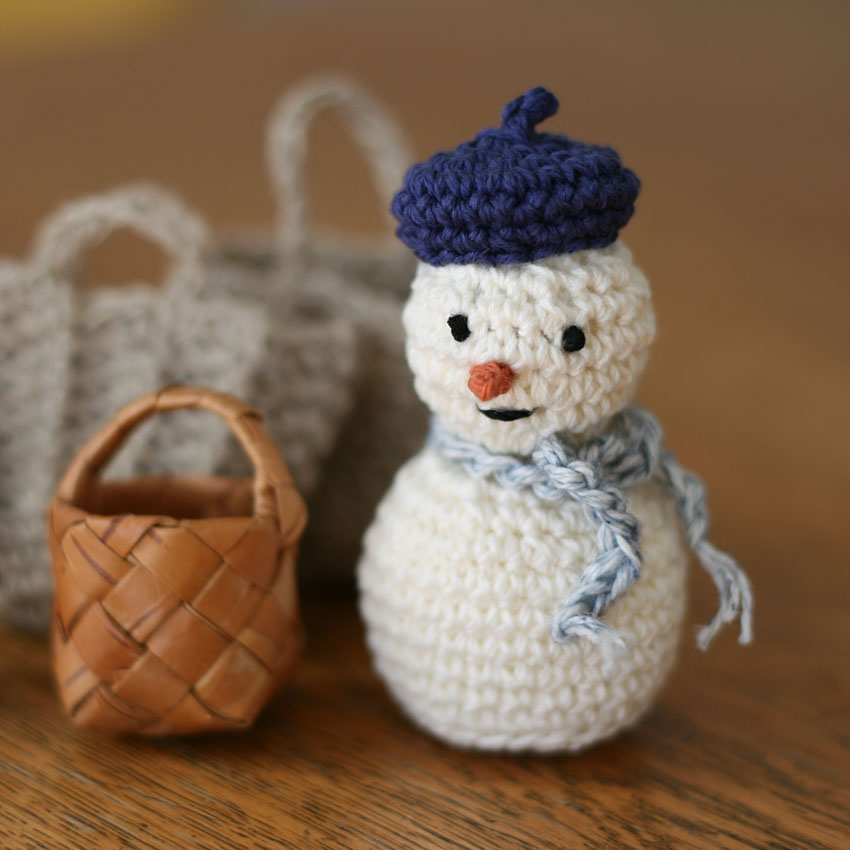
This is a crocheted piece.
A slightly stylish crocheted snowman.
It's mini-sized so you can keep it as a bonus for seasonal decorations.
The body and head are knitted together in one piece, so there is no need to sew them together.
While I was making it, I thought a lot about how I should dress it up.
I thought it would be cute to make a girl's version and put a babouche slip on it.
There may be many more of them.
Yarn and Crochet Hook Size
Medium-weight cotton thread (white, navy, orange)
Medium-weight cotton thread (light blue)
2.5 mm (JP 4/0)
Polyester wadding
Finished Size
Height 8cm
Instructions
① Start by knitting the snowman body.
Cast on the loop and crochet 6 stitches.
Please check the table below for the number of stitches from the second row onwards.
Regarding the rules of increasing,Knitting pattern (circle)It is knitted like this.
The body of the snowman is one piece, so reduce the stitches on the bottom half (the body) and fill it in before the knitting becomes too narrow, then continue knitting the head.
Please put the cotton in before closing the head.
Once you have knitted up to the 22nd row, thread the yarn through the 6th stitch of the final row and tie it off.
| Number of steps | Increasing or decreasing the number of stitches |
| 20-22 | -6 |
| 19 | ±0 |
| 15 to 18 | +6 |
| 11 to 14 | -6 |
| 8 to 10 | ±0 |
| 7 | +6 |
| 6 | ±0 |
| 5 | ±0 (stitched knit) |
| 2 to 4 | +6 |
| 1 | 6 |
②Next, knit the beret.
Here too, start by casting on a loop and then knit 6 round stitches (row 1).
Continue knitting up to the 6th row, increasing or decreasing the number of stitches as shown in the table below.
Once you have knitted the beret itself, knit the decoration on the top of the hat.
Pull the yarn out by making a slip stitch around the centre of the hat, then make a chain of about three stitches, bring the chain back in by making a slip stitch, and finish the yarn around the base.
| Number of steps | Increasing or decreasing the number of stitches |
| 6 | -6 |
| 5 | ±0 |
| 2 to 4 | +6 |
| 1 | 6 |
③Knit a scarf.
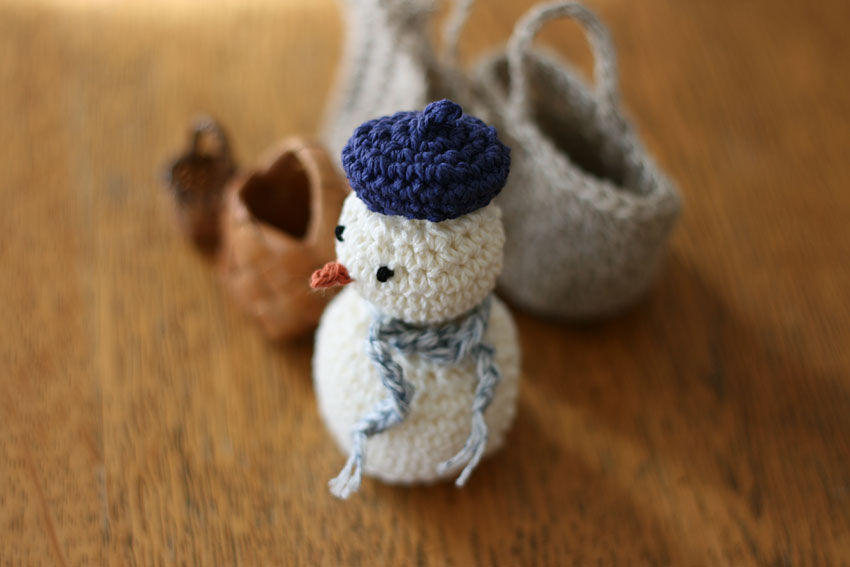
Knit a chain around the snowman until it is the right length. I used a slightly thicker medium weight yarn and knitted 30 chains. The ends of the chain are left unfinished to create a fringe look.
④ Add a face (eyes, nose, mouth) to the snowman.
The eyes and mouth are embroidered with black thread, and the nose is attached with orange thread (to resemble a carrot).
In the same style as the decoration on the top of the beret, I knitted about three chain stitches, then pulled the chain back with a slip stitch and finished the yarn at the base.
⑤ Sew a beret onto the snowman and wrap a scarf around it to complete it.
Your work
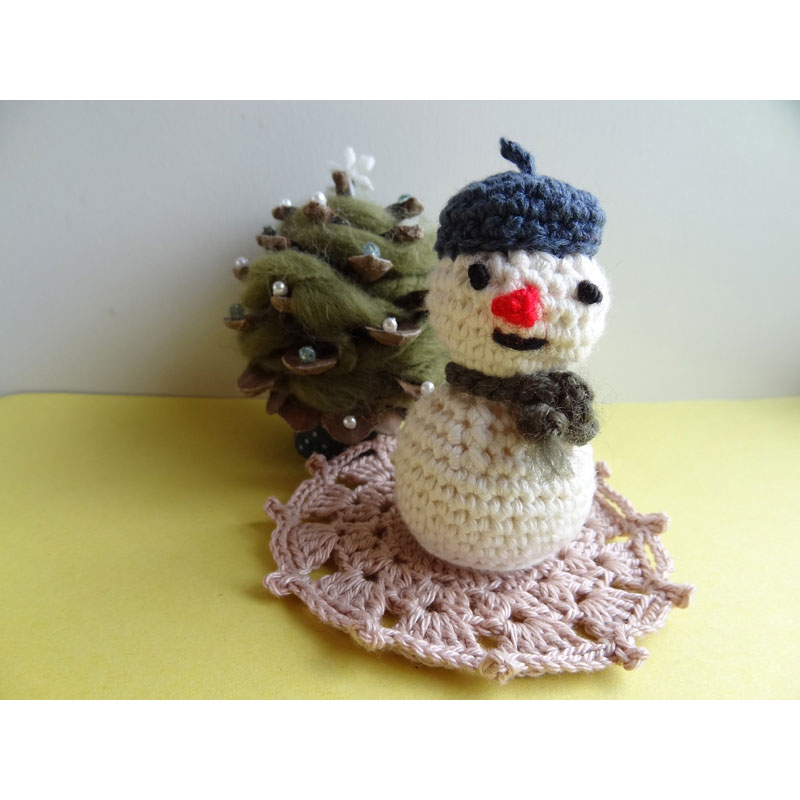
Rico's "Beret Snowman"
It's almost time to prepare for Christmas♪
I also want to knit a Christmas tree.
*Rico*Rico* Diary
http://ricocrochet.blog.fc2.com/
▶Rico's solo exhibition page
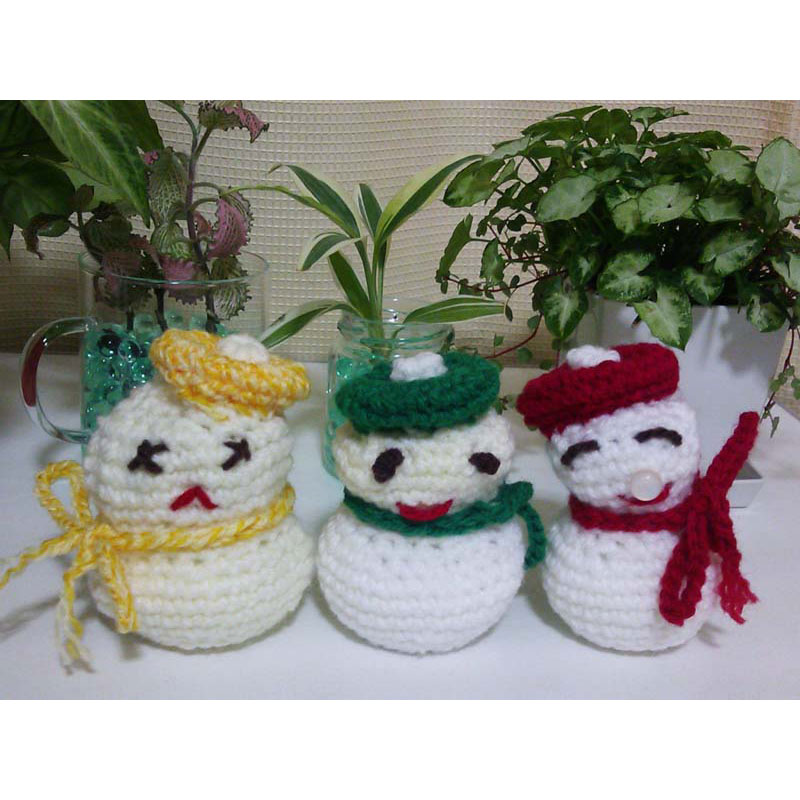
Momiji's "Beret Snowman"
It was so cute that I made three of them.
Because I used different types of yarn, even though I used the same number of stitches, one snowman turned out skinny and the other fat.
Next I'm thinking of making a Christmas tree.
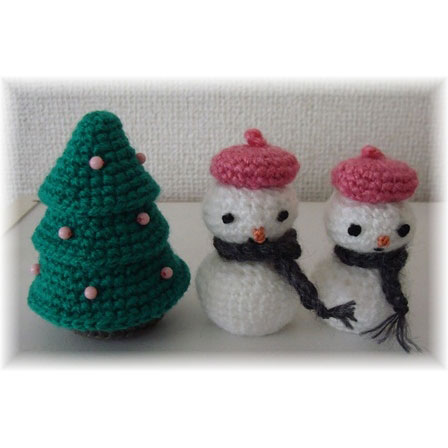
PigPig's "Beret Snowman"
I thought I had knitted them using the same number of stitches, but when I compared them, I found that the snowmen I ended up with were slightly different sizes.
This is cute in its own way!!
The facial expressions are difficult, but it's fun because they bring out the individuality.
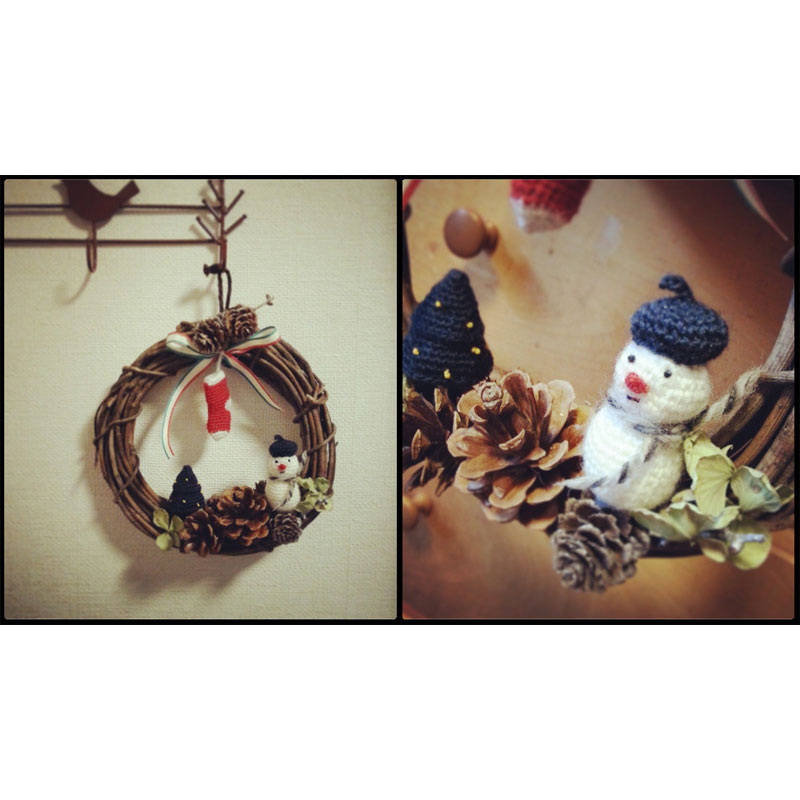
Kazuyo's "Beret Snowman"
I attached a beret-wearing snowman to a Christmas wreath (^^)♪
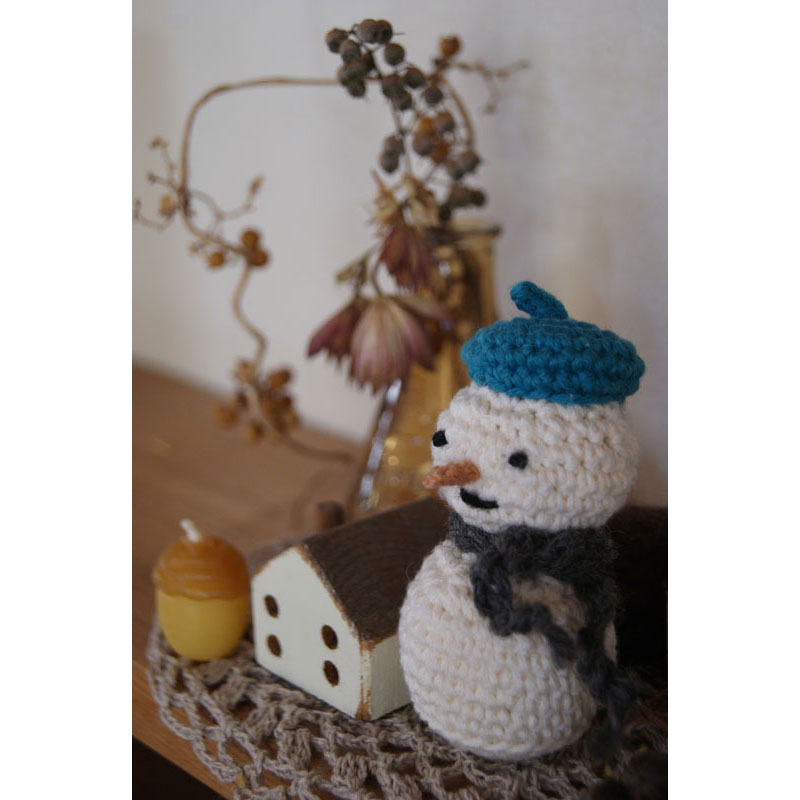
"Beret Snowman" by hiro*
The facial expression was difficult.
It's very soothing...

