
Index
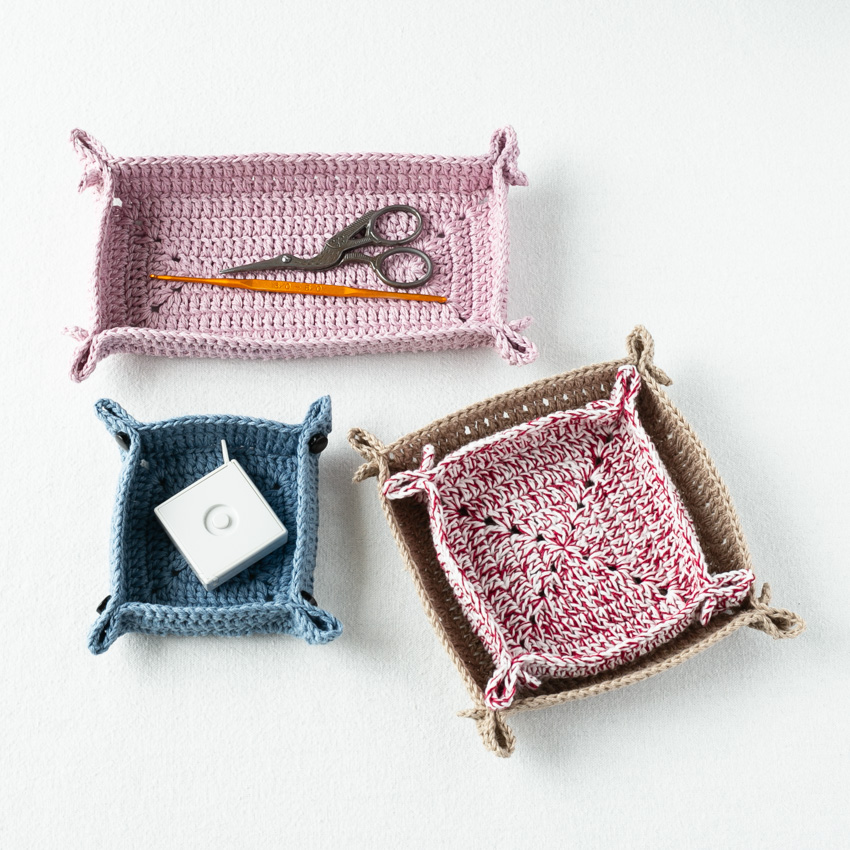
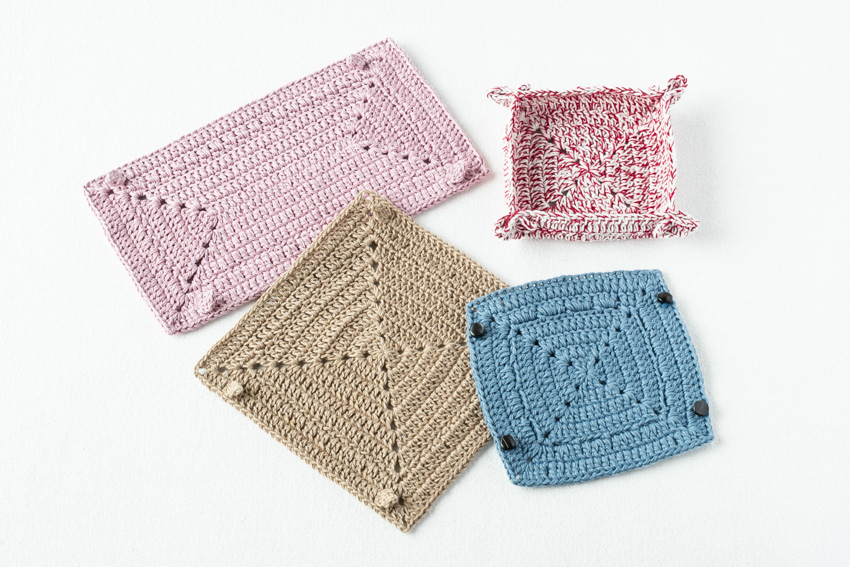
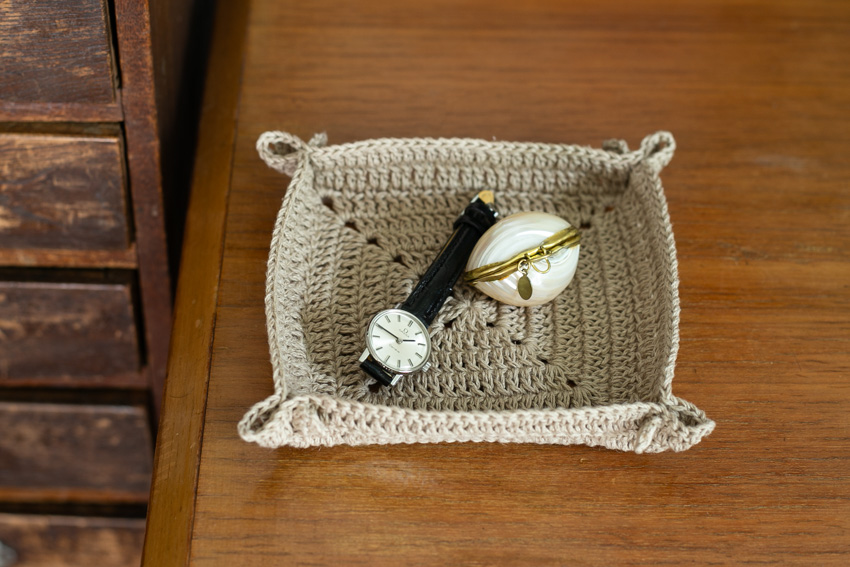
A crocheted tray that can be flattened for easy transport, perfect for holding small items while traveling.
This is an assembly-type tray that can be made using basic crochet techniques.
I tried making an item commonly known as a "snap tray" using crochet.
It could be used as a tray to place glasses, watches, and accessories while traveling, or as a place to put your knitting tools while on the go.
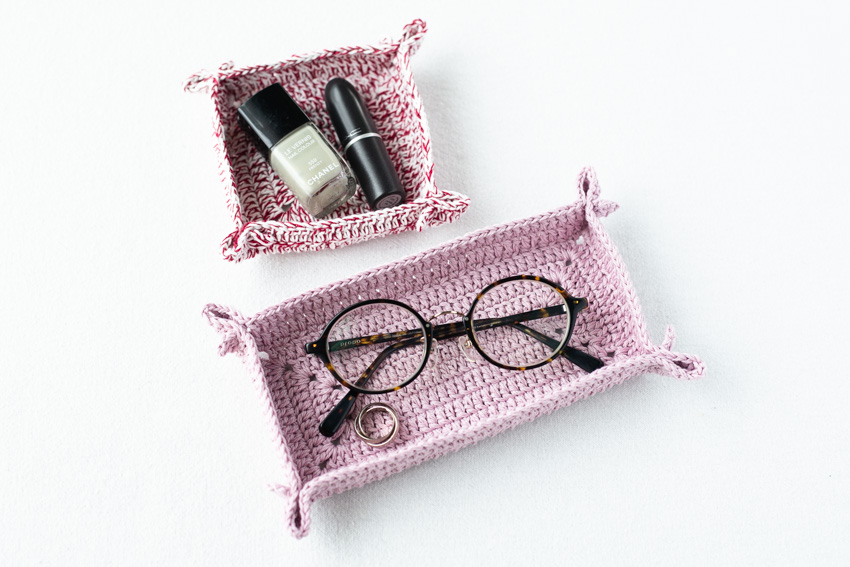
Since it becomes flat when the fasteners are removed, it doesn't take up much space when carrying it around.
Even if you accidentally knit too many, you can stack the flattened trays for storage, making it easy to store them when not in use!
A slightly firmer knit will help the fabric hold its shape better, so try knitting in a way that prevents the fabric from loosening.
The instructions show how to attach the fastener by braiding.
It would also look cute with smaller buttons, so you might want to look around to see if you have any buttons that would suit it.
One strand of medium-weight yarn worked well, while two strands of fingering weight yarn were just right.
It's also fun to knit using yarns of different thicknesses held together.
This project is perfect for using up leftover yarn, so please try it when you're wondering what to do with a small ball of yarn you have left over, or when you want to clear out your yarn inventory at the change of seasons.
I also used yarn from my existing stock, so please forgive me if some discontinued yarns are included in the list.
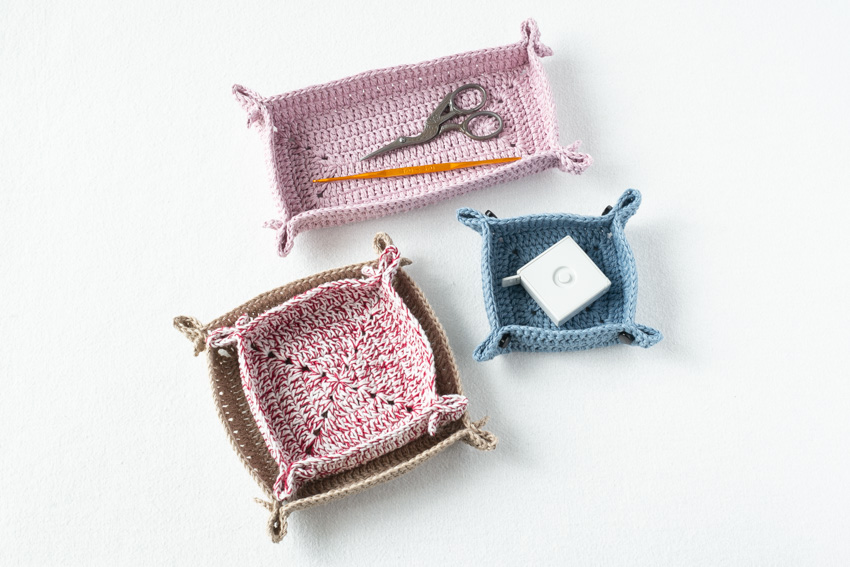
Preparation and materials needed for the "button tray"
Yarn and Crochet Hook Size
• Square tray (small)
Daruma Trad Cotton 100% Cotton (25g ball, 108m), 2 strands, Col. 17 [Shadow Blue] …… 17g (1 ball)
No. 5 crochet hook
Buttons (8 mm)... 4 pieces
• Square tray (large)
Hamanaka Flax K (25g ball, 62m) Col. 13 [Beige] …… 21g
No. 5 crochet hook
Rectangular tray
Gosho Sangyo Honey Taste (40g ball, 138m roll), 2 strands, Col. 7 [Light Pink] …… 31g (1 ball)
No. 5 crochet hook
*Size 3 crochet hook for fastener parts
Finished size
When opened flat,
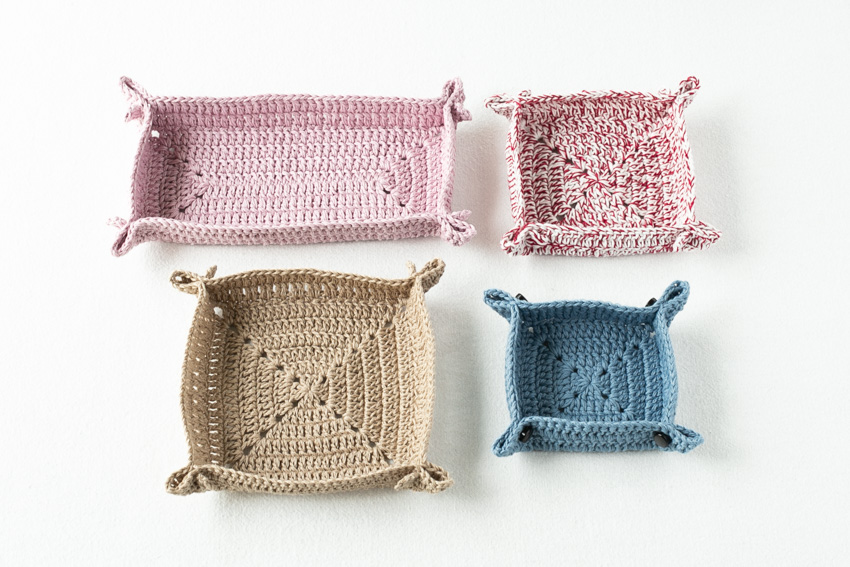
• Small square tray: 13 cm (width) x 13 cm (height)
• Large square tray: 16 cm (width) x 16 cm (height)
• Rectangular tray: 22 cm (width) x 13 cm (height)
Crochet pattern for "Button Tray"
Button Tray Knitting Pattern (PDF)
- This knitting pattern is in PDF format, making it easy to print on A4 size paper.
- If you are saving and viewing the image on your smartphone or other device while knitting, simply tap to enlarge it.
- Before using the recipe,Terms of Use" before using the patterns.
Detailed instructions and steps for making a "button tray"
*Please also refer to the knitting pattern along with the instructions.
For medium-weight yarn, use one strand; for fingering weight yarn, use two strands. To prevent the fabric from becoming too loose, it is recommended to use a crochet hook that is slightly smaller than the yarn.
With my hands, using a size 5 crochet hook with Flax K yarn resulted in a slightly looser fit, so I think a size 4 crochet hook would have been better.
The square type can be resized, and the rectangular type can be resized in both length and size, so you can customize it to suit your needs.
The example using red and white yarn is a knitting project with a number of rows that is intermediate in size between large and small square trays.
square tray
- Bottom of the tray
Start by making a magic ring and knit the bottom row of the tray, increasing stitches in each row.
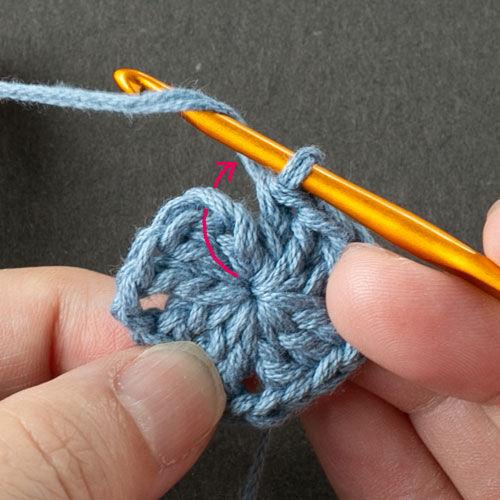
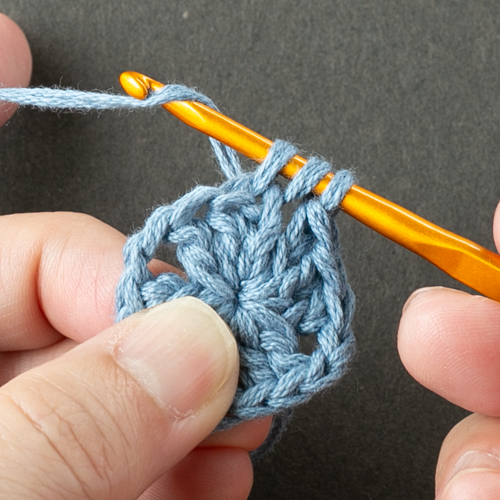
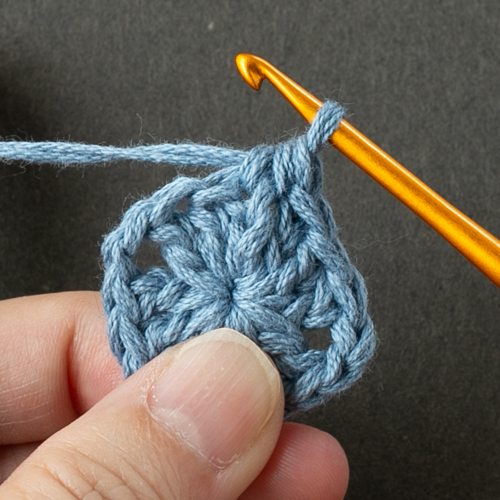
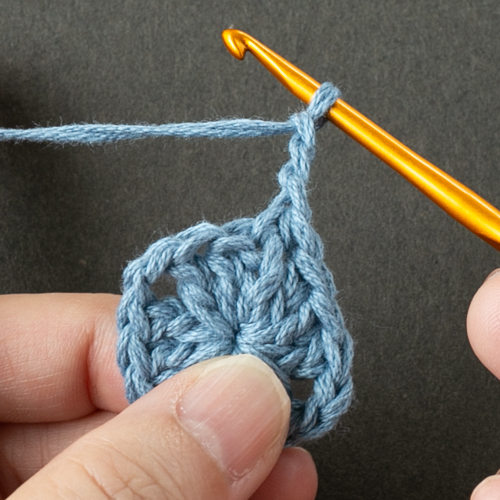
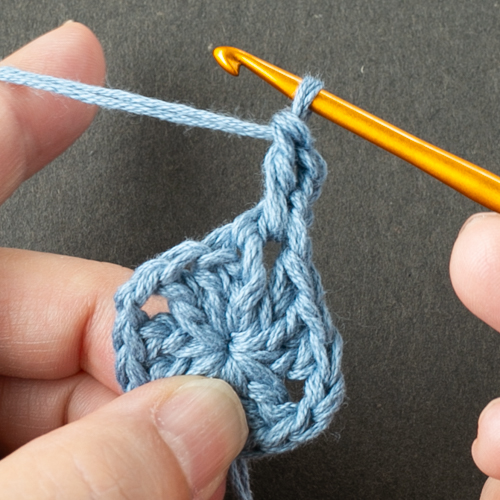
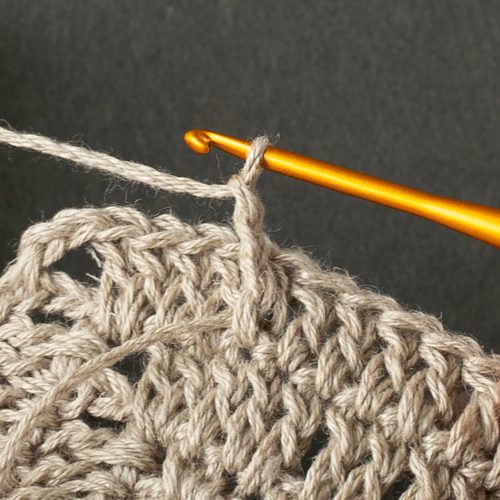
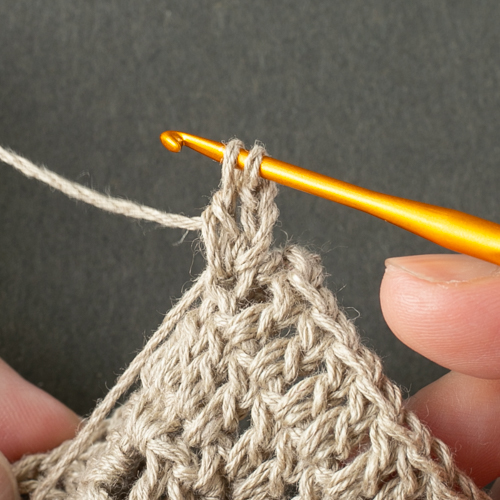
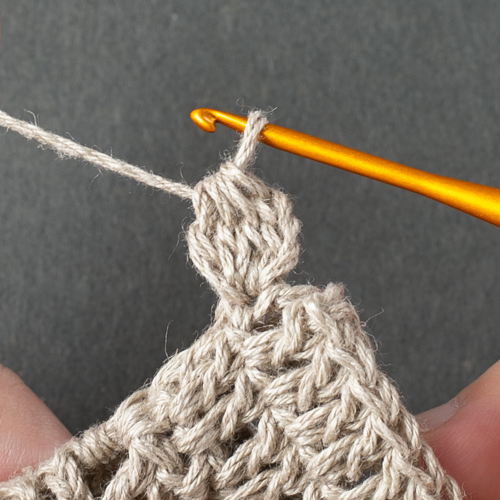
The half double crochet stitch (considered as 2 chain stitches) at the end of the row is made by inserting the needle into the 3rd chain stitch of the starting chain of the same row (or the first single crochet stitch in a row using the double crochet stitch method).
For the next row, continue crocheting the starting chain from here, and crochet the half double crochet stitches by picking them up in a bundle.
Instructions for "half double crochet at the end of a row" are provided below this explanation with accompanying photos.
Boundary
Knit one row of yarn stitch at the boundary between the bottom and the sides (5th row for small size, 7th row for large size). The number of rows and stitches will match the number of rows of yarn stitch regardless of how many rows you knit for the bottom of the tray, so you can adjust the size of the bottom.
Two different knitting methods for the border are included in the pattern.
The light blue tray below is a piece made using a knitting technique where the sides are sharply angled upwards.
·side
Crochet two more rows of double crochet, increasing stitches as you go, then cut the yarn.
fasteners
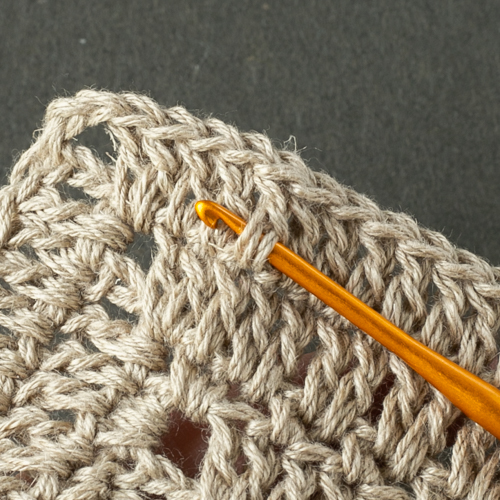
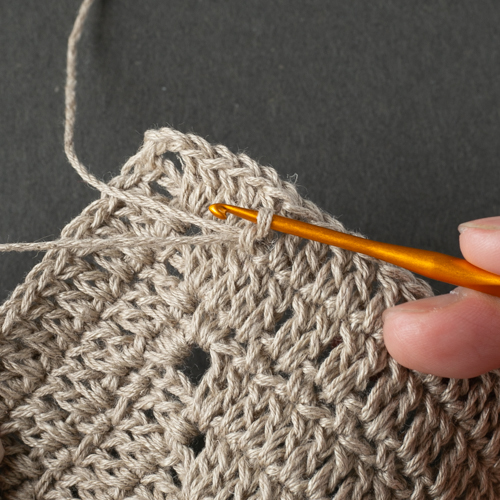
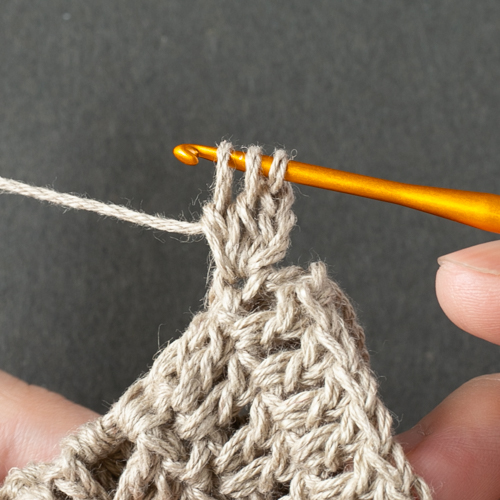
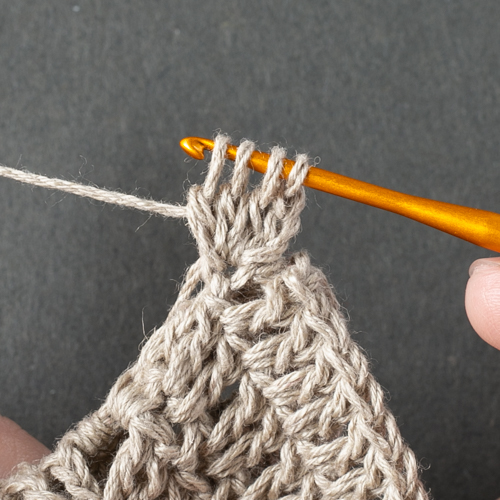
Attach the button to the stitches shown in the pattern, or attach yarn and crochet a fastener (use a thin crochet hook). When finishing off the yarn, thread it only through the fabric on the fastener side so that it will be easier to unravel if you ever need to (for example, to re-crochet or change the button).
Instructions for knitting the fastener are provided below this explanation with accompanying photos.
・Finishing
Finally, use a steam iron, holding it slightly above the fabric, to smooth out the knitted material.
Rectangular tray
- Bottom of the tray
Start by making a chain stitch. When adjusting the length, increase or decrease the stitches in increments of two so that the number of stitches is odd.
For the first half of the first row, crochet by picking up one strand on the far side of the foundation chain and the back loop, and for the second half, pick up the strand that was not picked up in the first half.
For instructions on how to continue knitting, please refer to the instructions for knitting the square tray.
How to knit a half double crochet stitch at the end of a row (with photo instructions)
How to knit a fastener (with photos)
Pattern release date: August 17, 2026
カゴにつけたり、ブローチにしたり。自分らしい「目印」が編めるパターンはこちら

かぎ針編みの基本的な技法で編める、フォトフレーム型のモチーフチャーム。
あまり糸を活用して楽しむのにぴったりの作品です。
旅のおともにはもちろん、編み物好きさんのインテリアにいかがでしょうか。
「インテリア・その他」人気 BEST 3 をご紹介 | Ronique Store
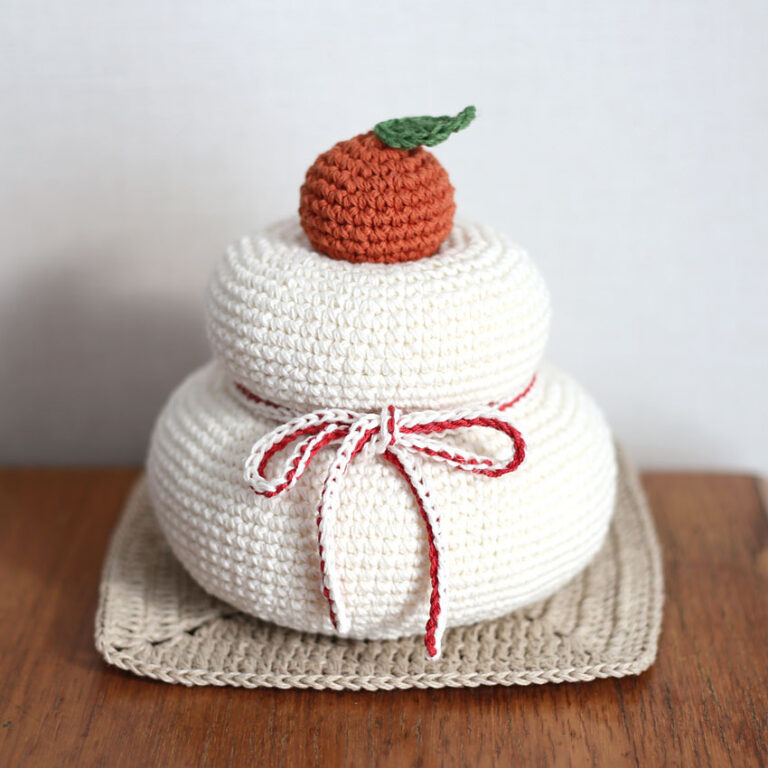
【No.1】ズレない鏡餅
発売以来、当ショップで一番選ばれ続けているロングセラー作品です。
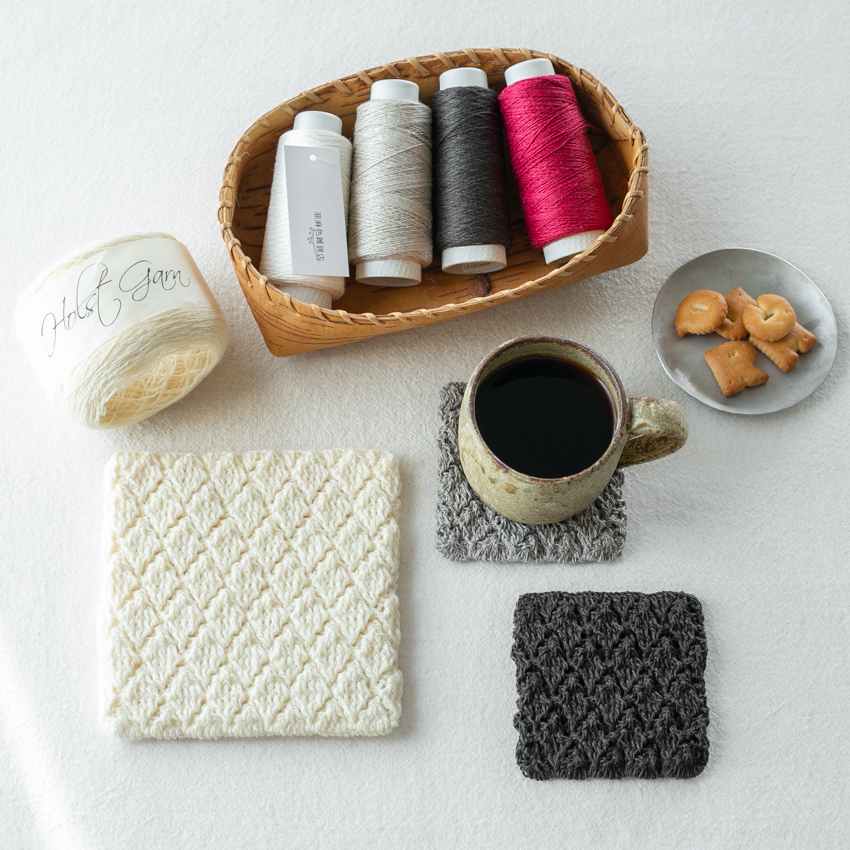
【No.2】丁寧に編むマット
大きなリーフ模様と幅広ショルダーがポイント。国内外で人気の作品。
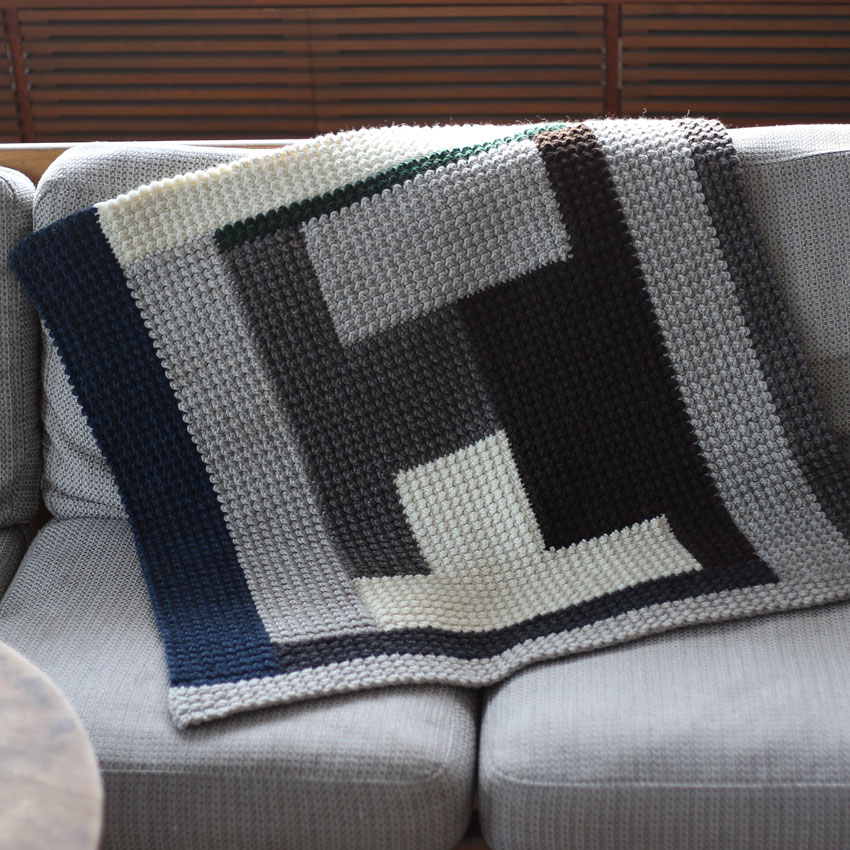
【No.3】シームレスブランケット
編んでつける内布で型崩れ対策。長くお目にとめていただいている作品。

