Index
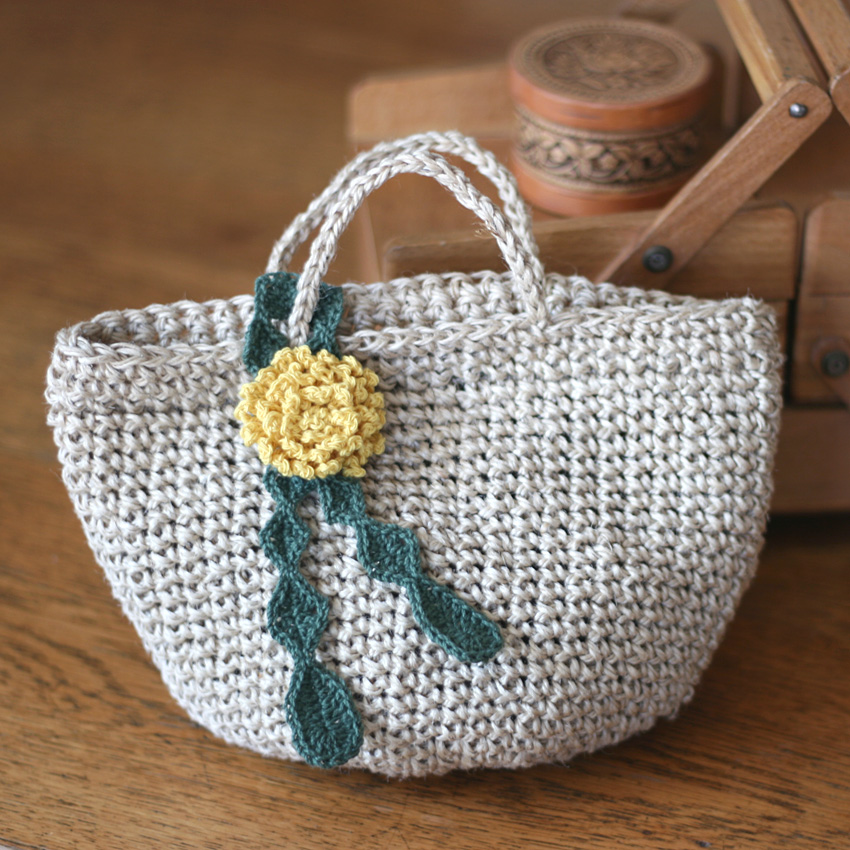
A hemp string bag-shaped pouch with a drawstring closure. A miniature crochet pouch.
When it comes to crochet, hemp twine bags are a classic item, aren't they?
This item is a mini bag-shaped pouch with a design that looks like a miniature version of a market bag knitted from hemp twine.
I suddenly had a strong urge to use dandelion decorations, and while thinking about a base that would go well with them, the idea of "hemp twine × simple shape" came to mind.
I've been thinking about adding dandelions all around the edge of the bag, or maybe just a single accent, but I'm still not sure what to do.
Besides dandelion decorations, you could also knit and attach round motifs, or use Tyrolean ribbon, and so on. There are many ways to customize it.
The key feature of this pouch is the drawstring closure at the opening.
If you tighten the drawstring, you don't have to worry about the contents spilling out, and you can carry it in your bag as is.
Please try decorating it with dandelions or other decorations of your choice and put it to use.
Preparation and materials needed for a "Market-style drawstring pouch"
Yarn and Crochet Hook Size
Medium to extra thick jute thread, medium to fine linen thread
Size 8 crochet hook (size 7 would also work), size 3 crochet hook
Finished size
Length (excluding handle) 13cm Width 21cm Total weight 90g
Crochet pattern for a "Market-style drawstring pouch"
Pouch knitting pattern、Dandelion knitting pattern
Please read the "Terms of Use" before using the patterns.

Detailed instructions and steps for making a "Market-style drawstring pouch"
Please refer to the knitting pattern along with the instructions for how to make it.
As for the yarn, the pouch body was knitted using medium to extra thick yarn, and the drawstring part was knitted using medium-thin yarn, aiming for about half the thickness.
①The bag body is knitted entirely using knit stitches.
Start knitting at the bottom of the bag by casting on a loop.
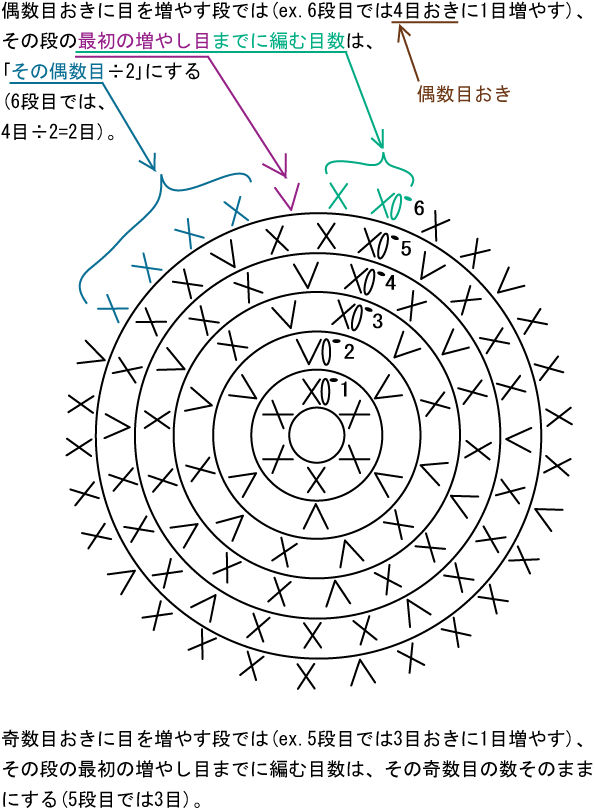
Knit 6 stitches in the first row, then increase the number of stitches in each row from rows 2 to 9. Knit the same number of stitches in rows 10 to 28.
When knitting the bottom, the rule for knitting in a circle while increasing stitches is as follows:Knitting pattern (circle)Please refer to.
② In the 29th row, to create a place to knit the drawstring at the opening of the bag later, use a straight stitch (the same as the knit stitch in the previous row, 28th row).One on the front sideScoop up only the pieces and knit them in a circular motion.
This will create one horizontal stripe on the inside of the knitted fabric of the bag body.
| Number of steps | Increasing or decreasing the number of stitches |
| 30-32 | ±0 (54 stitches) |
| 29 (one scoop in front) | ±0 (54 stitches) |
| 10 to 28 | ±0 (54 stitches) |
| 2 to 9 | + 6 |
| 1 | 6 |
③ For the bag body, knit rows 30 to 32 without increasing or decreasing the number of stitches, then cut the yarn.
To make the handle, attach the yarn to the bag and knit it (see the knitting pattern below).
Knit 25 chain stitches, then count 8 stitches from where you attached the yarn and make a slip stitch on the 9th stitch, connect the other end to the bag, remove the hook from the yarn and pull the yarn to the back of the bag, thread the hook through the yarn, scoop up the back of the chain and make a slip stitch, then return to the beginning of the handle.
I'm sorry it's hard to express in words.

④Next, knit the drawstring pouch at the opening of the bag.
If you look at the back (inside) of the bag body, you will notice that in the 29th row there is one weft thread that was not picked up during the crochet.
Find the weft thread and knit the grid stitch that will become the drawstring part (see knitting pattern).
As shown in the image, it can be used as a pouch (mini bag) or a basket, so try knitting it so that the front of the grid knitting faces the side you want to use as the main side (however, with some yarns the difference between the front and back of the knitting may not be very clear, so it may not matter too much either way).
There are 54 grid squares in one go.
Knit up to the 8th row without increasing or decreasing the number of stitches, then on the 9th row, add a decorative picot.
⑤ Use your favorite string or a chain-braided string as the drawstring.
Use the squares in the 9th row of grid knitting as the string threading points and thread the string through the squares in an alternating pattern.
⑥The dandelion flower on the bag isDandelion Hair TiePlease check the recipe page for instructions.
The dandelion leaf pattern is on this page.
Try decorating it in a place you like.

Top 3 Most Popular Crochet Bag Patterns | Ronique Store
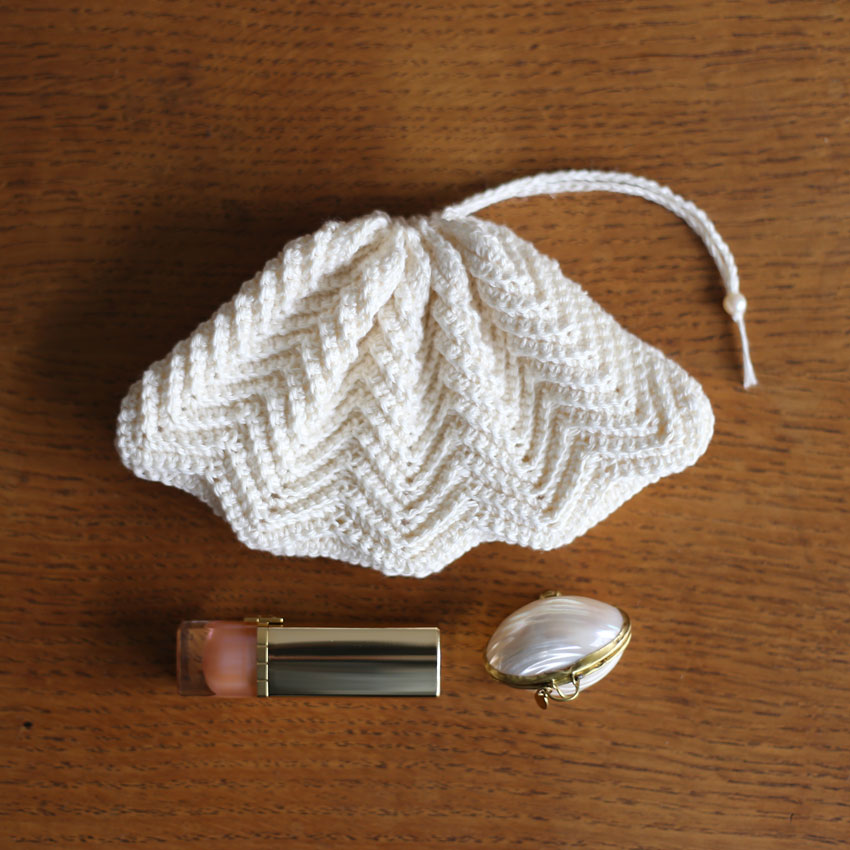
[No.1] Seashell Pouch
This has been our best-selling product since its release, consistently being our most popular item.

[No.2] Botanical Leaf Shoulder Bag
Featuring a large leaf pattern and wide shoulder strap, this bag is a popular item both in Japan and internationally.

[No.3] Ribbed Shoulder Pouch
The crocheted lining helps the bag keep its shape. This design has been a longtime favorite.