

We will explain in detail how to crochet a circle. The "cast-on loop" technique is a very frequently used technique, and perhaps the most difficult to understand. When crocheting a circle, you almost always need to use this "cast-on loop."
Here, based on the knitting pattern above, we will explain how to knit a circle (in a circle) using knitting stitches, with plenty of images.
[Knitting a loop using a cast-on stitch]
![かぎ針編み わ編み [1]編みはじめ](https://ronique.jp/wp-content/uploads/2020/12/f01_001.jpg)
[1]
When you start knitting (casting on), first wrap the yarn twice around your index finger as shown in the photo on the left.
Make sure the loop is loose and not snug around your finger.
![かぎ針編み わ編み [2]二重に巻いた糸の輪](https://ronique.jp/wp-content/uploads/2020/12/f01_002.jpg)
[2]
While holding the double-wrapped loop of thread so as not to break it, use your other hand to remove it.
![かぎ針編み わ編み [3]糸の輪を持ち直します](https://ronique.jp/wp-content/uploads/2020/12/f01_003.jpg)
[3]
Re-hold the loop of thread as shown in the photo on the left.
![かぎ針編み わ編み [4]針を糸の輪の中に入れます](https://ronique.jp/wp-content/uploads/2020/12/f01_004.jpg)
[4]
Hold the crochet hook in your other hand and thread it through the loop of yarn.
![かぎ針編み わ編み [5]針に糸をかけます](https://ronique.jp/wp-content/uploads/2020/12/f01_005.jpg)
[5]
Place the thread on the crochet hook as shown in the photo on the left.
![かぎ針編み わ編み [6]糸をひっぱり出しました](https://ronique.jp/wp-content/uploads/2020/12/f01_006.jpg)
[6]
With the thread you just put on the needle still hooked on it, pull it through the loop.
When you pull it out, it will look like the photo on the right.
![かぎ針編み わ編み [7]もう一度糸をかけ引き出します](https://ronique.jp/wp-content/uploads/2020/12/f01_007.jpg)
[7]
[6] In this state, thread the needle again and pull the thread out of the loop that was on the needle.
The thread will be pulled out as shown in the photo on the left.
![かぎ針編み わ編み [8]さらに糸をかけて引っぱり出します](https://ronique.jp/wp-content/uploads/2020/12/f01_008.jpg)
[8]
Now, again, pass the needle through the large loop, thread it, and pull the thread out through the large loop.
As shown in the photo on the right, the needle will have two strands of thread.
![かぎ針編み わ編み [9]2つのループをくぐらせます](https://ronique.jp/wp-content/uploads/2020/12/f01_009.jpg)
[9]
[8] Thread the needle (photo on the left) and pull the thread through the two loops on the needle in one go.
![かぎ針編み わ編み [10]1目めが編めました](https://ronique.jp/wp-content/uploads/2020/12/f01_010.jpg)
[10]
When you pull out the thread with [9], it will look like the picture on the right.
Now you have created the first loop.
![かぎ針編み わ編み [11]同じ要領で編みます](https://ronique.jp/wp-content/uploads/2020/12/f01_011.jpg)
[11]
Repeat steps [8] to [10] in the same manner.
Looking at the knitting pattern, there are six quarter stitches in the first row (cast-on). The first one is completed in [10], so repeat five more times.
The photo on the left shows the second eye.
![かぎ針編み わ編み [12] 6目編めました](https://ronique.jp/wp-content/uploads/2020/12/f01_012.jpg)
[12]
Once you have six eyes, it will look like the photo on the right.
![かぎ針編み わ編み [13] 目はこのように数えます](https://ronique.jp/wp-content/uploads/2020/12/f01_013.jpg)
[13]
Please refer to the photo on the left to see how to count the stitches.
Make sure there is a sixth one and move on to the next step!
![かぎ針編み わ編み [14] 最初の目に引き抜きます](https://ronique.jp/wp-content/uploads/2020/12/f01_014.jpg)
[14]
Once you have completed six stitches, work a slip stitch into the first stitch.
At this point, it may be a little difficult to know where to insert the needle.
Please see where the arrow is pointing in the photo on the right.
![かぎ針編み わ編み [15] 先ほどの矢印の箇所に針を入れます](https://ronique.jp/wp-content/uploads/2020/12/f01_015.jpg)
[15]
Insert the needle into the spot indicated by the arrow.
It will look like the photo on the left.
![かぎ針編み わ編み [16]糸をかけ、3つのループから引き出します](https://ronique.jp/wp-content/uploads/2020/12/f01_016.jpg)
[16]
[15] Thread the needle (photo on the right) and pull the thread through the three loops on the needle.
![かぎ針編み わ編み [17] 3つの輪のうち2つに通したところ](https://ronique.jp/wp-content/uploads/2020/12/f01_017.jpg)
[17]
The photo on the left shows the wire threaded through two of the three loops.
![かぎ針編み わ編み [18] 最後の輪にも通して引き抜き編み完成](https://ronique.jp/wp-content/uploads/2020/12/f01_018.jpg)
[18]
Thread the thread through the last loop and pull it out.
If it looks like the picture on the right, you have made a slip stitch in the first stitch.
![かぎ針編み わ編み [19]糸が余っています](https://ronique.jp/wp-content/uploads/2020/12/f01_019.jpg)
[19]
The cast-on stitch is done.
However, as you can see in the photo on the left, although the six stitches form a loop, the middle is not closed and two extra strands of thread are sticking out.
![かぎ針編み わ編み [20] 糸を引き締めます](https://ronique.jp/wp-content/uploads/2020/12/f01_020.jpg)
[20]
Next, tuck in the excess thread and tighten the middle.
In this case, if you pull the end of the thread (that is not connected to the ball of thread) all at once, one of the remaining threads will be pulled in, but the other one will not pull in properly!
So, pull the end thread a little and watch carefully to see which of the two remaining threads retracts.
At this time, you want to pull out the excess thread from the side opposite to the side that was retracted.
This will pull the other remaining thread smoothly and it will retract.
The photo on the right shows the thread being pulled smoothly and one of the remaining threads being pulled back and no longer visible.
![かぎ針編み わ編み [21] 余分な糸が引き締められました](https://ronique.jp/wp-content/uploads/2020/12/f01_021.jpg)
[21]
Next, pull the end thread tightly to tighten it.
Then, the remaining excess thread will be pulled and retracted, and it will look like the photo on the left.
The center is closed and both remaining threads are gone.
*The photo on the left shows the knitted fabric from the back.
This completes the first row of the knitting pattern.
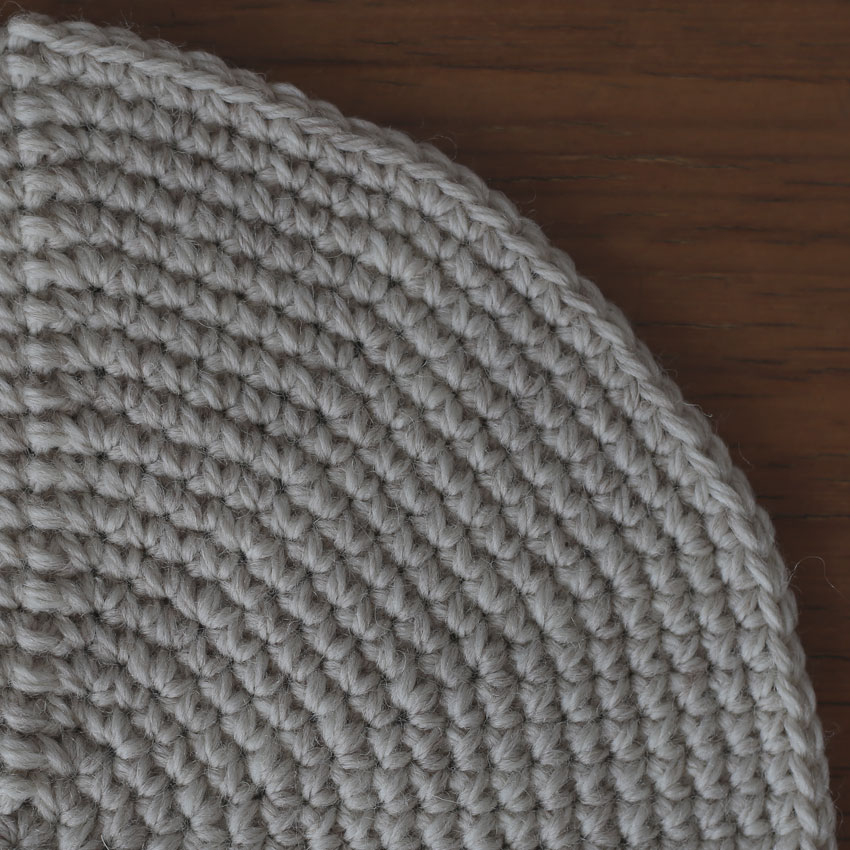
![かぎ針編み わ編み [22] 編み地を表側から見た様子](https://ronique.jp/wp-content/uploads/2020/12/f01_022.jpg)
[22]
When you look at the knitted fabric from the front, it looks like the photo on the right.
![かぎ針編み わ編み [23]2段目に進みます](https://ronique.jp/wp-content/uploads/2020/12/f01_023.jpg)
[23]
Now, let's move on to the second step.
At the beginning of the second row, first knit one chain stitch as a starting stitch.
Place the thread on the needle and pull it through the loop on the needle.
![かぎ針編み わ編み [24] 立ち上がりのくさり1目が編めました](https://ronique.jp/wp-content/uploads/2020/12/f01_024.jpg)
[24]
Once you have knitted one chain stitch at the start, it will look like the photo on the right.
![かぎ針編み わ編み [25]矢印の先に針を入れます](https://ronique.jp/wp-content/uploads/2020/12/f01_025.jpg)
[25]
Then, insert the needle where the arrow is pointing in the photo on the left.
![かぎ針編み わ編み [26] 針を入れました](https://ronique.jp/wp-content/uploads/2020/12/f01_026.jpg)
[26]
Once you insert the needle, it will look like the photo on the right.
![かぎ針編み わ編み [27] 針に糸をかけて引き出します](https://ronique.jp/wp-content/uploads/2020/12/f01_027.jpg)
[27]
Thread the needle and pass the thread through the two loops closest to the tip of the needle out of the three loops on the needle.
![かぎ針編み わ編み [28]糸を引き出したところ](https://ronique.jp/wp-content/uploads/2020/12/f01_028.jpg)
[28]
When you pull out the thread [27], it will look like the picture on the right.
![かぎ針編み わ編み [29] こま編みが編めました](https://ronique.jp/wp-content/uploads/2020/12/f01_029.jpg)
[29]
Now thread the needle again and pull the thread through the final loop.
It will then look like the photo on the left, where you will have knitted a starting stitch (one chain stitch) and the first circular stitch.
![かぎ針編み わ編み [30]同じところにもう一度針を入れます](https://ronique.jp/wp-content/uploads/2020/12/f01_030.jpg)
[30]
If you look at the knitting pattern, you will see that the second row is all made up of increase symbols.
So in the second row, you will knit two stitches into each of the six knit stitches in the first row.
As shown in the photo on the right, insert the needle again in the same place as when you knitted the previous quarter stitch (arrow in the photo on the right) and knit one more quarter stitch.
![かぎ針編み わ編み [31]糸をかけて引き出しました](https://ronique.jp/wp-content/uploads/2020/12/f01_031.jpg)
[31]
Insert the needle where the arrow [30] points, thread the needle, and pull out the thread. It will look like the photo on the left.
Wrap the yarn around the stitch again and pull it through the two other threads to complete the second knit stitch.
![かぎ針編み わ編み [32]同じ要領で12目編みます](https://ronique.jp/wp-content/uploads/2020/12/f01_032.jpg)
[32]
Using the same method, knit two quarter stitches for each stitch in the previous row.
Make sure you have knit a total of 12 stitches in the second row (6 more stitches from the previous row).
Once you have completed the 12 stitches in the second row, it will look like the photo on the right.
![かぎ針編み わ編み [33]矢印の先に針を入れて引き抜き編みをします](https://ronique.jp/wp-content/uploads/2020/12/f01_033.jpg)
[33]
In the second row, work a slip stitch into the first stitch.
Insert the crochet hook where the arrow in the photo on the left indicates.
![かぎ針編み わ編み [34]針を入れました](https://ronique.jp/wp-content/uploads/2020/12/f01_034.jpg)
[34]
If you insert the needle where the arrow indicated, it will look like the photo on the right.
Thread the needle and pull the thread through all three loops.
![かぎ針編み わ編み [35] 引き抜き編みが完成し2段目が終了です](https://ronique.jp/wp-content/uploads/2020/12/f01_035.jpg)
[35]
Once you've finished the slip stitches, it will look like the photo on the left, and the second row will be complete!
Even if the knitting pattern continues from the third row onwards, the pulling positions etc. are the same, so I hope this will be helpful.
Thank you for putting up with this long explanation!