
Index
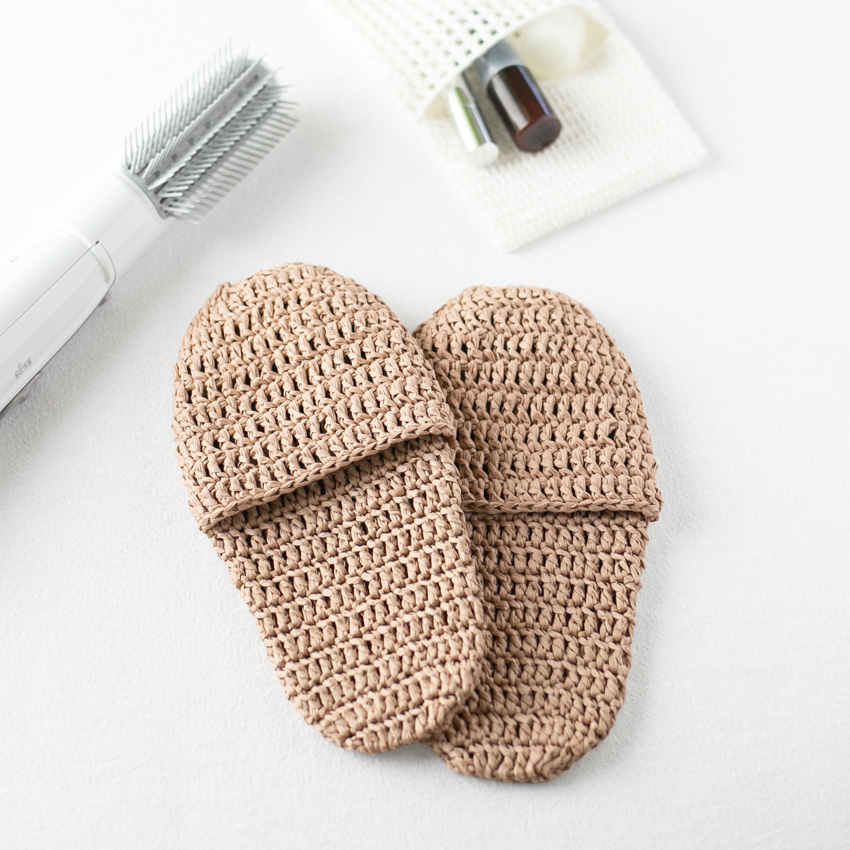
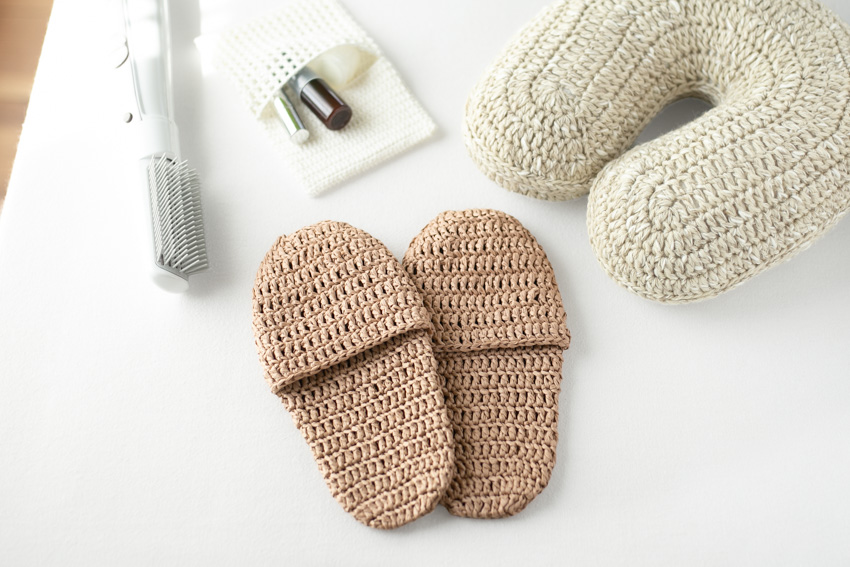
Simple crochet portable slippers using double crochet stitches.
These crocheted slippers can be folded in half for compact carrying.
It's lightweight and flat, so it saves space.
I envisioned simple, lightweight, and compact slippers like the ones you might get on an airplane or at a hotel while traveling.
It looks like you could easily slip it into a drawstring bag and quickly tuck it into a gap in your belongings.
The knitting technique is very simple. Since it's a double crochet project, it progresses relatively quickly.
The left and right sides are knitted in the same way.
Since it's easy to adjust the size, try knitting it while trying it on to find the perfect fit.
For a size S, you'll need exactly 3 balls of Manila hemp yarn. For a size M, or if you want a deeper fit in the instep of a size S, you'll probably need 4 balls.
If you have too much summer yarn left over, this is a great way to use it up.
Preparation and necessary materials for "mobile slippers"
Yarn and Crochet Hook Size
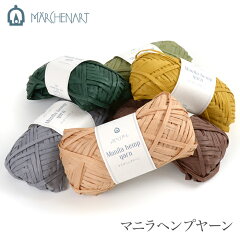
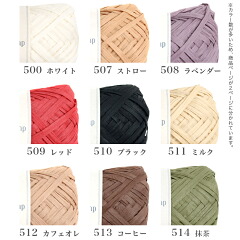
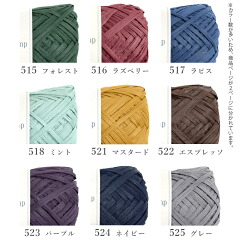
Marchen Art Manila Hemp Yarn (20g ball, 50m)
Col. 512 (Café au Lait)
• Small size: 60g (3 balls)
• Medium size: 70g (4 pieces)
4.0 mm (JP 7/0)
Finished size
• Small size: 11 cm (width) x 23 cm (height)
• Medium size: 12 cm (width) x 24 cm (height)
Crochet pattern for "Mobile Slippers"
Mobile slipper knitting pattern (PDF)
- This crochet pattern is in PDF format, making it easy to print on A4 size paper.
- If you are saving and viewing the image on your smartphone or other device while crocheting, simply tap to enlarge it.
- Please read the "Terms of Use" before using the patterns.
Detailed instructions and steps for making "mobile slippers"
Please refer to the crochet pattern along with these instructions.
The knitting pattern includes two options: size S and size M.
These slippers allow you to adjust the length by changing the number of rows knitted when knitting the sole (see below).
The M size is larger than the S size in both length and width.
sole of foot
① For size S, start by making a foundation chain of 5 stitches, and for size M, start with a foundation chain of 6 stitches.
For the first half of the first row, crochet by picking up one strand on the other side of the foundation chain and the back loop, and for the second half, pick up the strand that was not picked up in the first half.
② If you want to adjust the vertical length of the S size, the following adjustments are recommended.
- Increase or decrease the number of rows knitted in rows 4-6, where there are no increases or decreases.
- Repeat the same process for the 11th step, which has no increases or decreases, to increase the number of steps.
If you want to adjust the length of the medium size garment, the following adjustments are recommended.
- Reduce the number of rows knitted in rows 4-6, where there are no increases or decreases.
- Repeat the same process for the 11th step, which has no increases or decreases, to increase the number of steps.
instep
① For the first row of the instep, attach (or carry) the yarn to the last row of the sole and begin knitting. For size S, pick up only one strand of yarn on the front side and knit a double crochet stitch in the first 7 stitches of the last row of the sole, or in size M, in the 8 stitches.
From the second row onward, carry the yarn over at every turn. When doing this, make sure to leave a little slack in the yarn so that it's not too tight.
② For size S, knit up to row 4, and for size M, knit up to row 5, increasing stitches at both ends.
If you want to increase the legroom, repeat the process of adding a few more rows at both ends.
Additionally, you can adjust the depth of the foot opening by changing the number of rows knitted on the instep.
③ Once you have finished knitting the top of the foot to the final row, cut the yarn, leaving a long end, and sew the knitted sole to the top of the foot.
For the stitches on the sole side where the instep and sole are sewn together, pick up the stitches in a bundle, and for the stitches on the instep side, insert the needle into the head of the stitch at the edge.
To reinforce it, pass the thread through the same stitch twice and sew it securely.
Please note that the "sewn points for the instep and sole" shown in the pattern are just guidelines. If you change the number of rows you knit for the sole or instep, pick up stitches that blend naturally and sew them together.
The instep can also be made by knitting it while joining it to the knitted fabric of the sole.
In that case, pull the thread through the stitching point and knit while connecting it to the sole.
When joining the end of the knitting with a slip stitch, a gap will be created, so to make it look neater, pass the loop of the last stitch under the stitch on the sole.
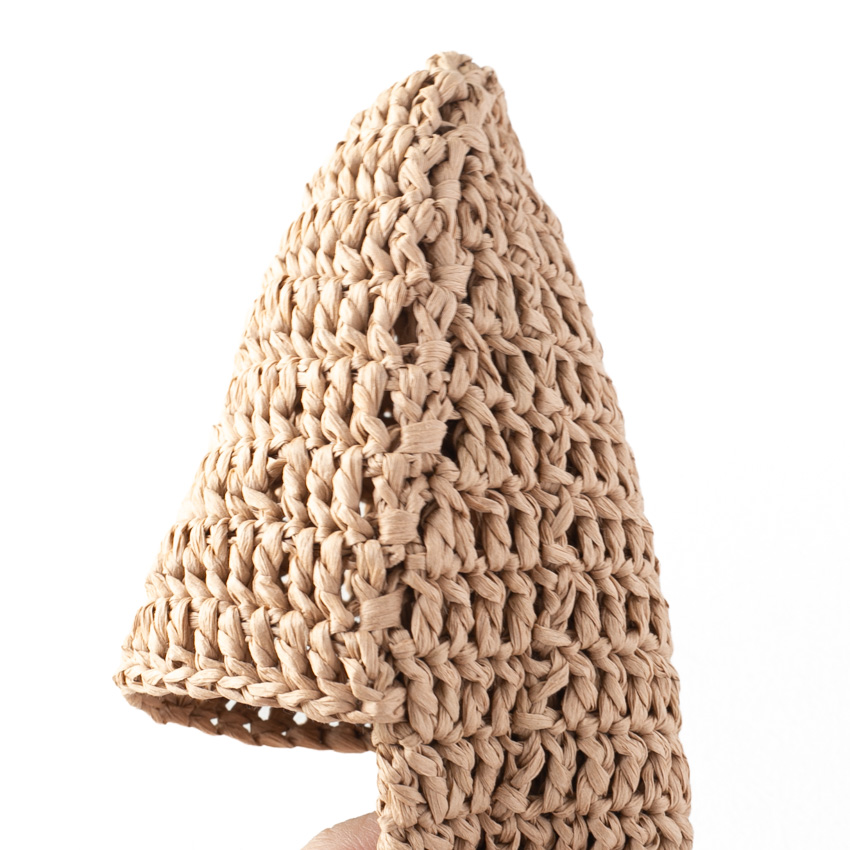
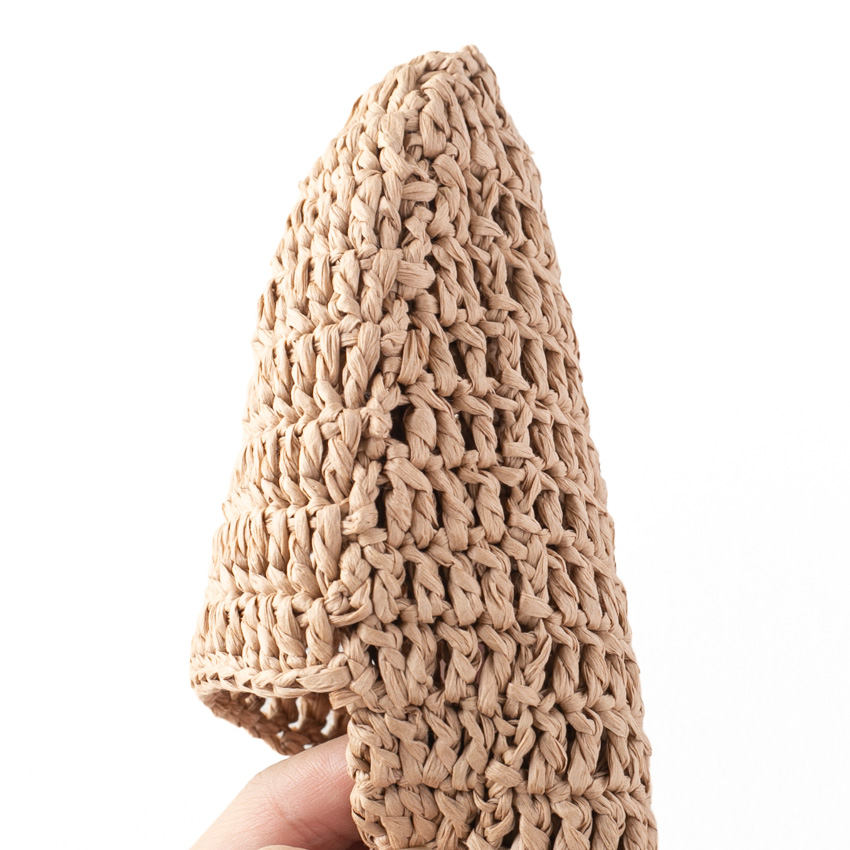
The knit pattern will show some differences as shown in the following photos, but these are not noticeable as they are in areas that are not visible when wearing the shoes.
④ Once you've finished knitting, use a steam iron, holding it slightly above the fabric, to smooth out the knitted material.
For those who care about silhouette – another pair of slippers
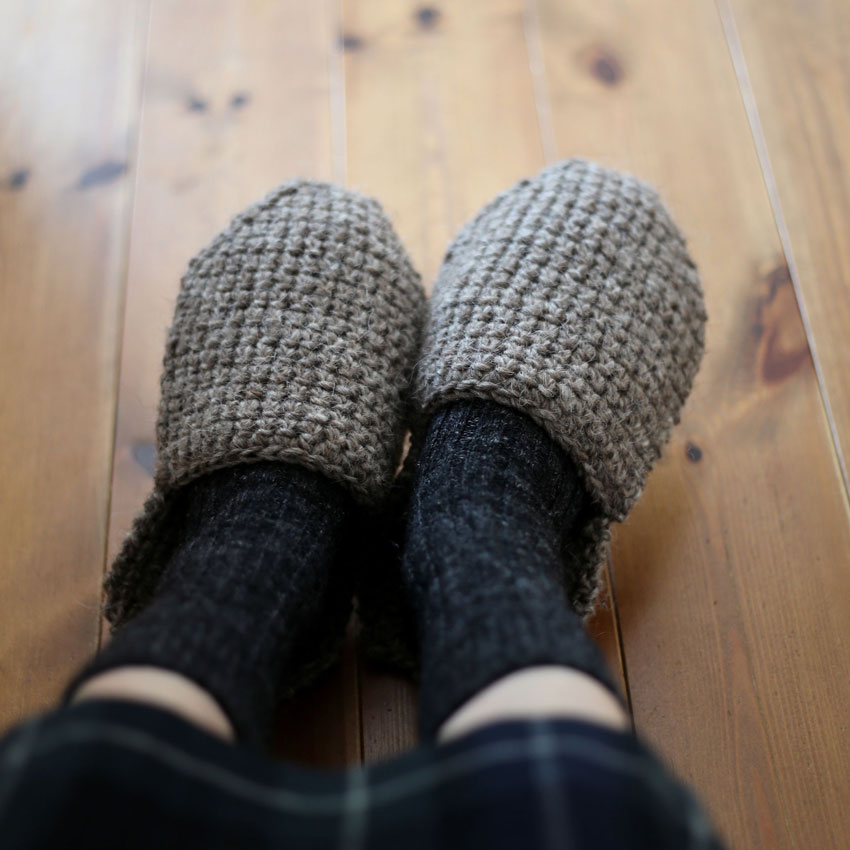
Paid pattern (PDF knitting chart): "One-piece slippers"
This is a pattern for a single-piece slipper knitted with thick yarn.
This design features a somewhat unique structure for knitting, and includes video tutorials that allow you to see the hand movements. Try both the free version and this one to find your preferred style.

