This is a crocheted piece.
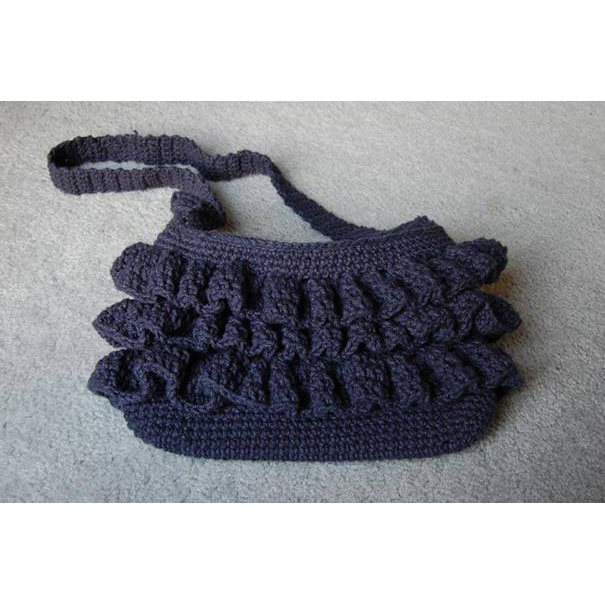
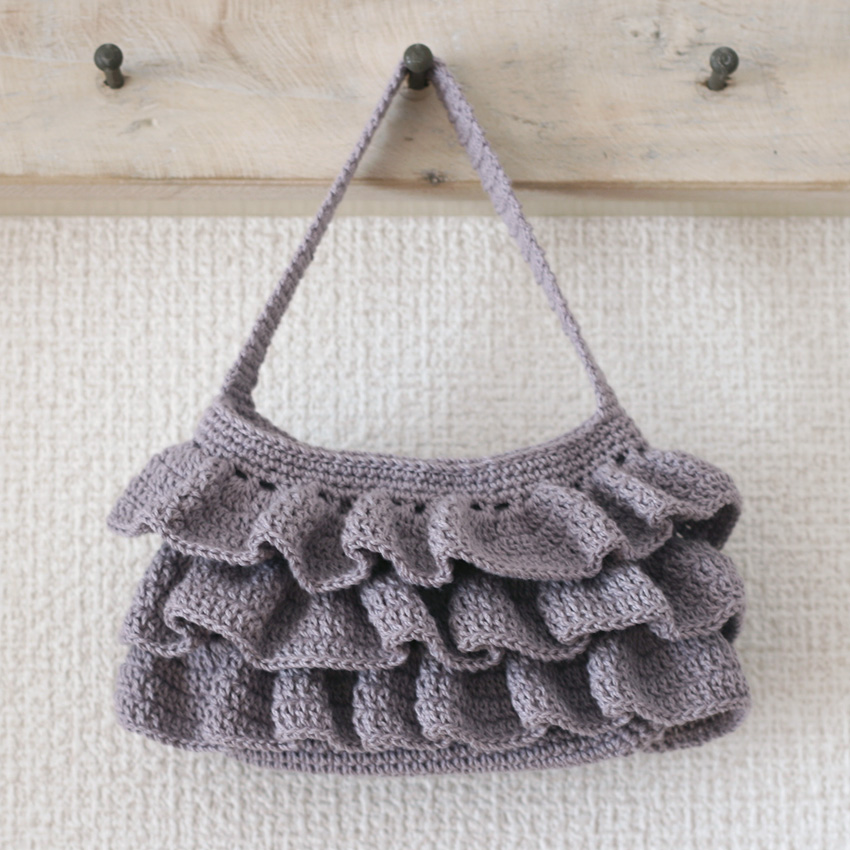
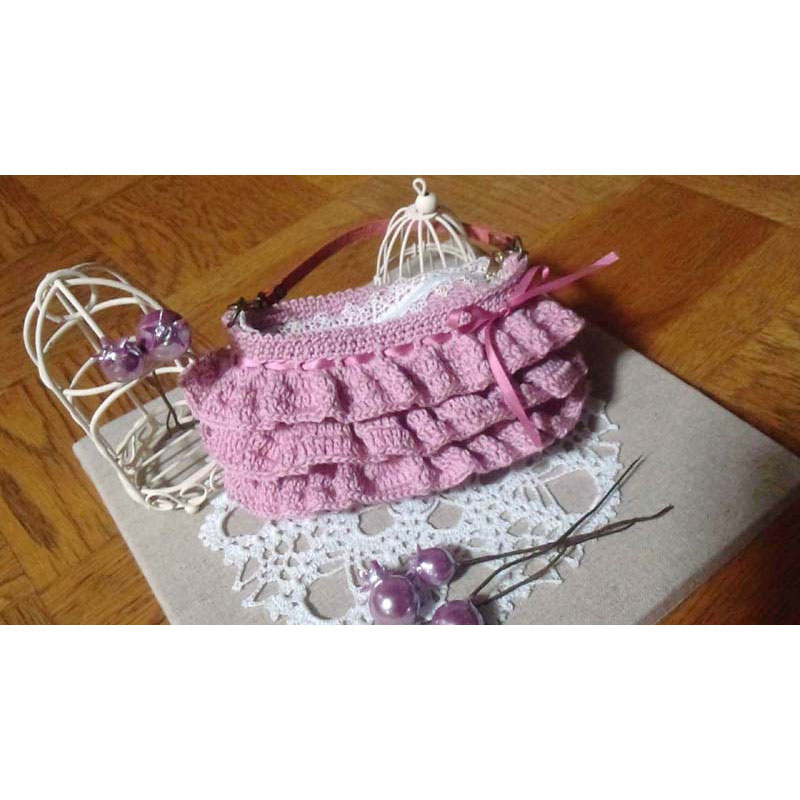
I made a small frilly pouch using crochet.
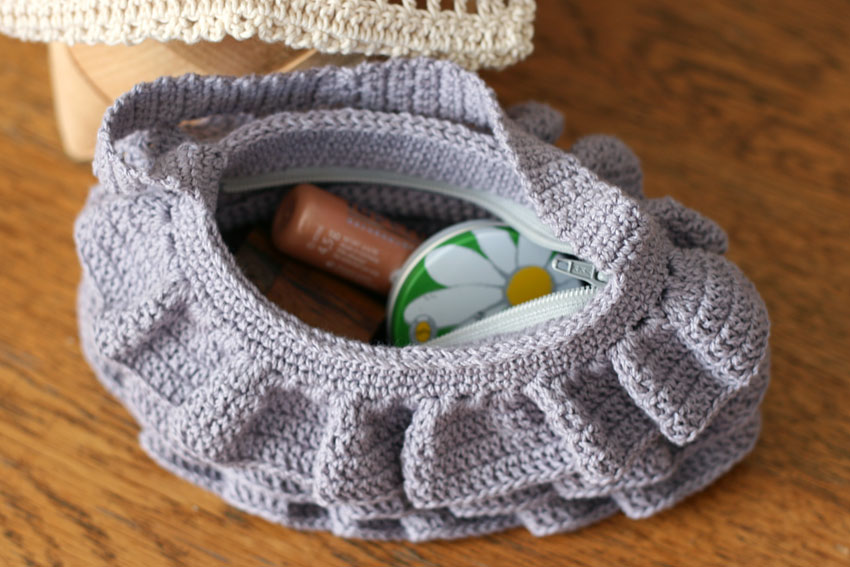
It's just the right size to hold a digital camera or other items.
While I was knitting, I wasn't sure how the ruffles would turn out, but I was very impressed with how they turned out once I finished.
After all, frills appeal to the hearts of young girls.
It takes much longer to make the ruffles than it does to make the pouch itself, but if you think that's fine, it's ruffles once it's finished, then give it a try!
When choosing the yarn, I think it's better to use a slightly thinner yarn (roughly medium-thin) for the ruffle part, as this will make it look lighter and more like a ruffle.
Please refer to the instructions at the end of the instructions for how to adjust the size of the pouch.
Yarn and Crochet Hook Size
Medium-fine cotton (100g cone, approximately 380m roll)
2.3 mm (JP 3/0)
1 cuttable zipper
Finished Size
Height 9cm (excluding handle) Width 18cm Total weight 65g
Crochet Pattern
Frilled Mini Pouch Knitting Pattern
Instructions
Please also check the knitting pattern for the pouch itself.
① Start by knitting the round frame for the zipper opening.
Make a chain of 80 stitches and pull through the first stitch to make a loop.
For the first row, crochet 80 stitches in a circular stitch, scooping up one chain on the other side and the back of the chain.
Continue knitting until you reach the fifth row without increasing or decreasing the number of stitches, then cut the yarn.
②Next, knit the main body of the pouch. Start knitting from the bottom.
Cast on a chain of 30 stitches, then work in a circular stitch, increasing stitches up to the fourth row as shown in the pattern.
For the first row, 62 stitches are knitted in one round, for the second row 68 stitches (an increase of 6 stitches), for the third row 74 stitches (an increase of 6 stitches), for the fourth row 80 stitches (an increase of 6 stitches), and for rows 5 to 11, knit a knit pattern with no increase or decrease in the number of stitches.
③Rows 12 and 13 are the areas where the ruffles will be added later, and are knitted in a grid using chain stitches and double crochets.
④ To make the pouch body, knit up to row 30 as shown in the pattern, using grid knitting in between knitting stitches, and leave the yarn attached without cutting it.
Place the pouch body and the knitted fabric of the zipper opening made in step ① back to back (I'm not sure if this is the correct term, but it's the opposite of right sides).
At this point, it will look nice if you layer the knitted pieces so that the rising positions of each piece are aligned.
⑤ Use the thread attached to the pouch body to pull and peel off the overlapping part between the pouch body and the zipper opening (the light purple part in the knitting pattern).
⑥Next, knit the ruffles.
As shown in the knitting pattern "How to knit a ruffle," for the first row of the ruffle, gather the chains of the grid squares knitted in step ③ into a bundle and knit 5 double crochets into it.
At this time, hold the knitted fabric so that the opening of the pouch faces towards you.
To knit the ruffle, attach the yarn around the point where the pouch body starts to rise and start knitting.
Work the same number of double crochets for the ruffle up to the third row.
Knit ruffles in all three places (rows 12-13, rows 19-20, and rows 26-27).
I started knitting the ruffles near the opening of the pouch (between rows 26 and 27), but it may be easier to start closer to the bottom.
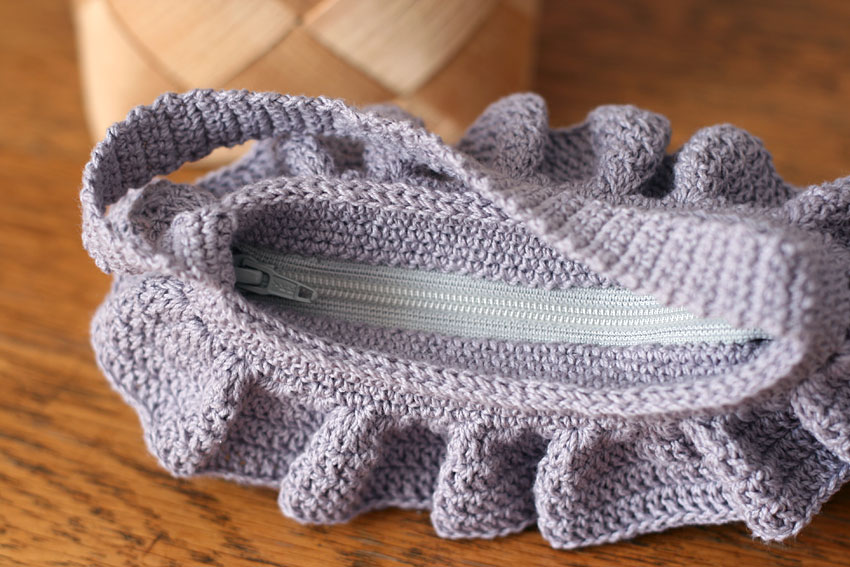
⑦Once the ruffle is finished, knit the handle.
Shape the pouch and hold it, attach yarn to each side of the knitted fabric, stand up with one chain stitch, and knit five quarter stitches.
On both sides, knit back and forth using the knit stitch technique up to row 31, without increasing or decreasing the number of stitches.
Line up the ends of the handles and secure with a roll stitch.
⑧Finally, sew a zipper to the opening of the pouch. It is convenient to use a zipper that can be cut to fit the length of the pouch opening.
*If you change the thickness of the yarn to make a larger pouch, knitting the ruffle with a thicker yarn than medium-thin may result in a thicker ruffle and a bulky impression (although this depends on the texture and feel of the yarn).
As an alternative to using thicker yarn, you could also knit the main body with two strands of medium-thin yarn and the ruffles with one strand.
In this case, if you knit five double crochets into each square of the grid knitting, there may not be enough and the ruffles may not ripple properly, so knit enough so that the squares look "tightly packed" and check the result as you knit a little.
Your work
![編み物屋さん[ゆとまゆ]さんの「フリルのミニ・ポーチ」かぎ針編み 作品](https://ronique.jp/wp-content/uploads/2021/01/ga01_022_002L.jpg)
"Frilled Mini Pouch" by Knitting Shop [Yutomayu]
It was a bit too bitter...
Not only is it cute, but it's also a very practical pouch. I'd like to knit it again in a different color.
http://ameblo.jp/doubleychan/
Knitting blog by Knitting Shop [Yutomayu]
▶Knitting shop [Yutomayu]'s solo exhibition page
"Frilled Mini Pouch" by satto
nice to meet you
I was searching for something cute to make and found this piece at Atelier.
It's so cute and I love it. I also tried arranging it with ribbons in my own way.
[Website] satto
http://ameblo.jp/papi17/
〔the work〕
http://ameblo.jp/papi17/entry-11402020250.html
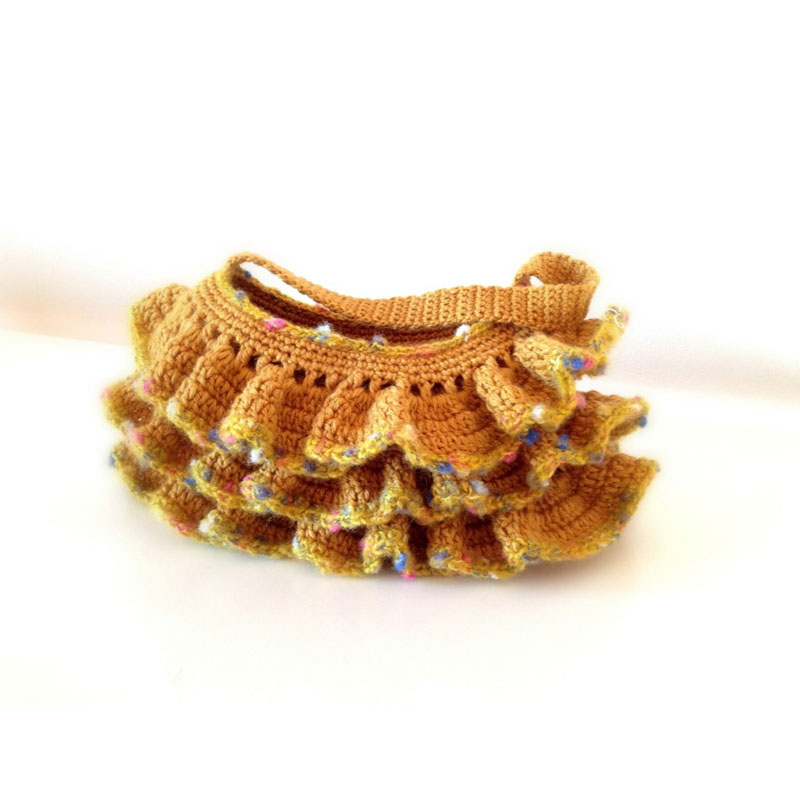
koala's "Frilled Mini Pouch"
nice to meet you.
Thank you for the wonderful knitting pattern.
I used nep yarn in the knit stitch in the last row, so it ended up looking more casual than the original...
I posted it on my blog.
http://blogs.yahoo.co.jp/nori5697/32497533.html
AmiAmi's "Frilled Mini Pouch"
Even though I'm a beginner at crocheting, it was easy to make and turned out really cute.
Thank you for the wonderful recipe.
I've posted it on my blog, so please come and take a look.
http://plaza.rakuten.co.jp/sutekivie/diary/201401190000/