Index
Perfect for your first Front Post stitch project
I wanted to create a project that I could recommend to those trying Front Post stitches for the first time, so I designed this cowl.
This piece focuses on the Front Post Double Crochet (FPDC), which is one of the most common decorative stitches.
While there are two types of post stitches—front and back—I recommend starting with the front post version first.
Don't let the slightly intimidating pattern symbols fool you; the technique itself is surprisingly simple! I hope this project helps you discover how enjoyable post stitches can be.
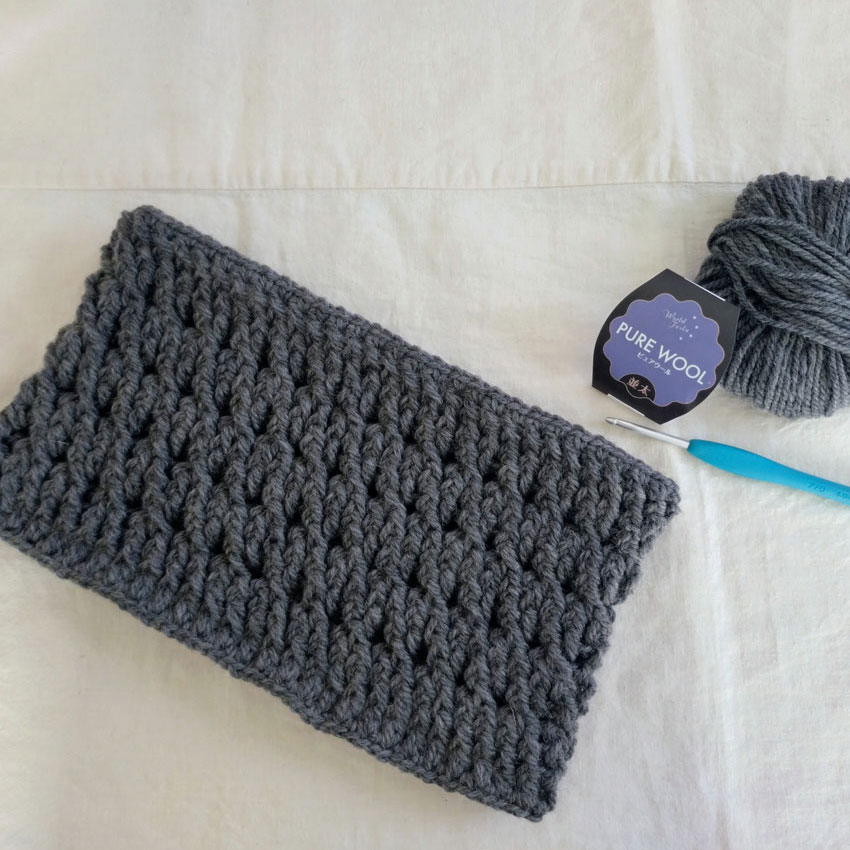
This piece is crocheted loosely using DK – Worsted weight yarn and a size 7 (4.0mm) hook.
Though it may not be obvious at first glance, the fabric has a subtle sheerness and works up very quickly.
I also aimed to design a pattern that remains engaging throughout the process.
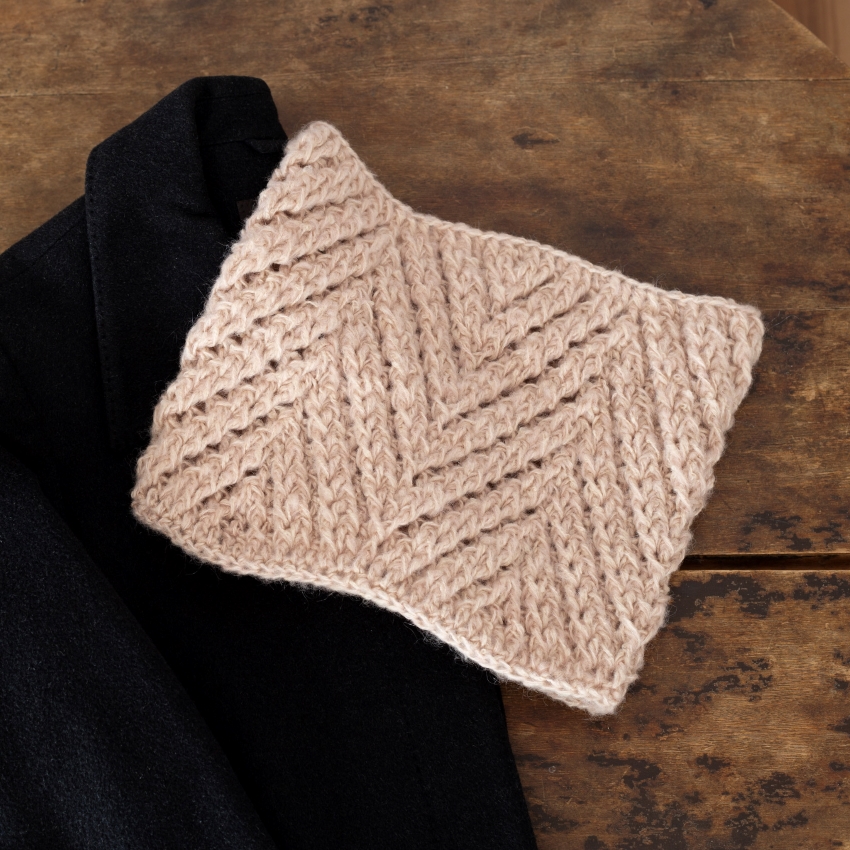
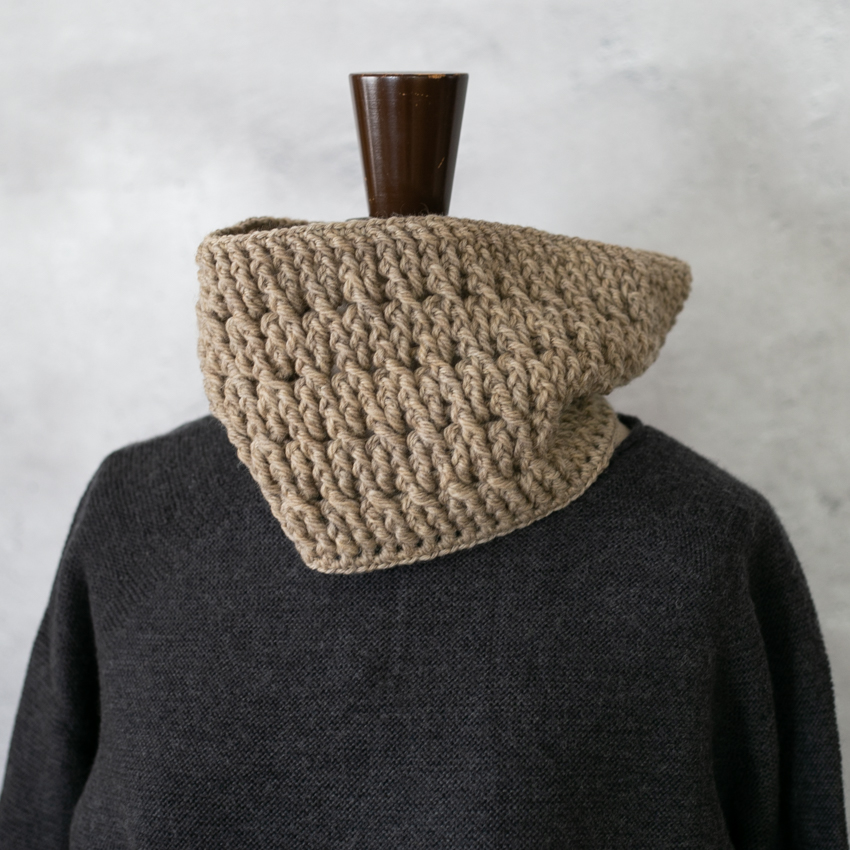
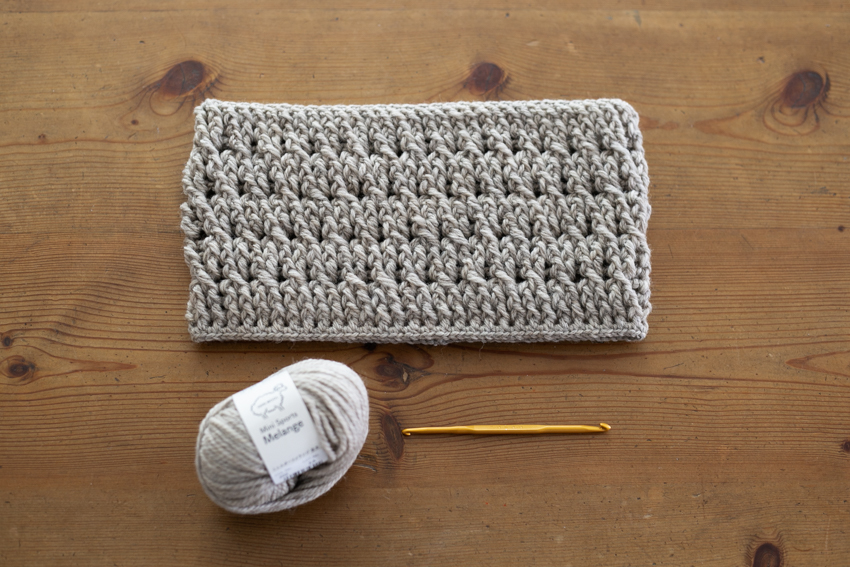
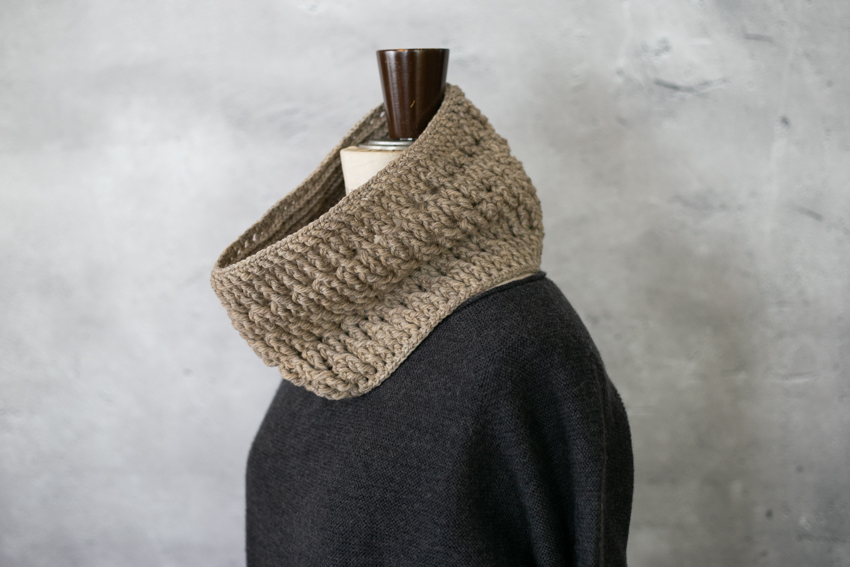
The design features a crisscross motif, and I hope you enjoy watching the textured fabric take shape as you crochet.
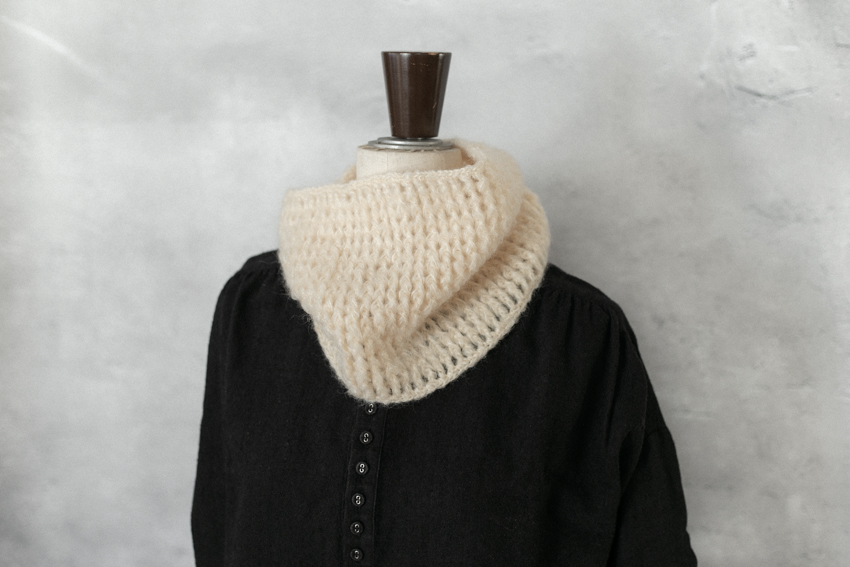
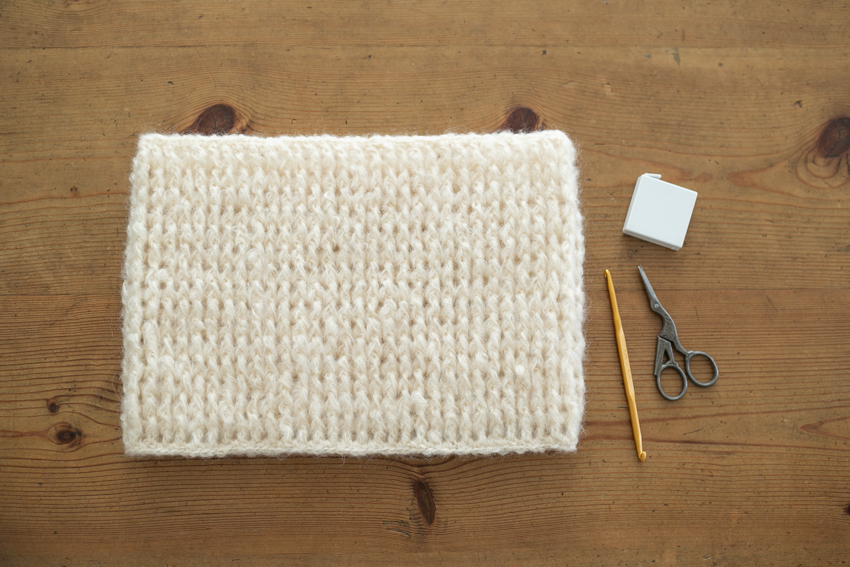
For those who might find post-stitch crossings a bit challenging, I have also prepared a simpler version without the crisscrosses (the white sample shown below).
It is a very straightforward pattern, so please feel free to use it for practice or as a quick project!
When working Front Post stitches, my main tip is to pull the loops up firmly to ensure the stitch height is sufficient and to prevent the fabric from becoming too tight.
Especially at the intersections, I pull the yarn up quite loosely—almost to the point where it might feel a bit excessive.
Please use this as a guide and observe your fabric's texture to find the tension that works best for you!
Yarn and Crochet Hook Size
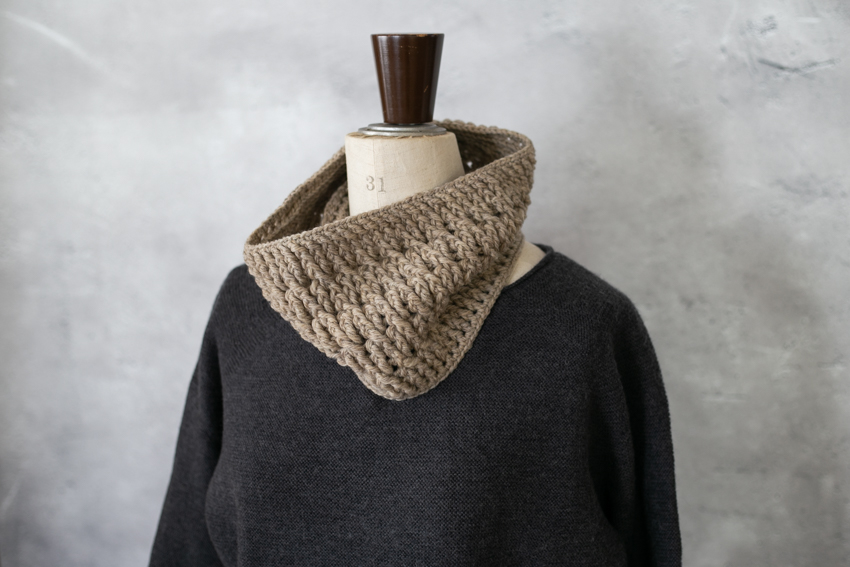
[Cross-patterned Cowl]
Motohiro Co., Ltd. Mini Sports Melange, DK – Worsted weight (30g / 57m)
Col. 202 (Beige) — 90g (3 balls)
4.0 mm (JP 7/0)


[Cowl without Cross Pattern]
Puppy Yurika Mohair (40g ball, 102m)
Col. 301 (Ivory) — 62g (2 balls)
4.0 mm (JP 7/0)


Finished Size
[Cross-patterned Cowl]
Neck circumference: 60 cm, Width: 16.5 cm
[Cowl without Cross Pattern]
Neck circumference: 60 cm, Width: 21 cm
Crochet Pattern
Front Post DC Cowl Crochet Pattern
Instructions
Please refer to the crochet pattern along with these instructions.
As mentioned earlier, this PDF includes two patterns: one with a crisscross design and one without.
The "no-cross" version has a simple design that beautifully complements textured fancy yarns or gradient-dyed yarns.
The sample shown in the main image features the "crossed pattern."
These instructions will guide you through making the cowl with the crossed stitch pattern.
Step 1:
Chain 124 to begin.
After completing the foundation chain, join with a slip stitch into the first chain to form a ring, picking up the back bump of the chain.
Be careful not to twist the chain at this stage.
If your foundation chain starts to twist, try crocheting about four stitches at a time, then re-adjusting your grip closer to the hook before continuing.
Keeping the distance short between your left hand and the hook will help prevent twisting, so the key is to readjust your grip frequently!
Also, before joining into a ring, ensure the chain fits comfortably over your head.
The pattern repeat is a multiple of 4 stitches, so you can adjust the size by changing the number of foundation chains, as long as it remains a multiple of 4.
When using mohair or fancy yarns where stitches are hard to see, it can be frustrating to tell if the chain is twisted.
In such cases, you don't need to join the chain into a ring right at the start.
Instead, crochet the first row flat and then join into a circle with a slip stitch at the end of Row 1. If the foundation row is separated, simply sew the gap closed when weaving in your starting tail. Since you will add an edging later, the seam will be almost invisible.
Step 2:
For Row 1, alternate between 1 double crochet (dc) and 1 chain (ch).
For this round, work the double crochet by picking up the back loop and the back bump of the foundation chain.
From Rnd 2 onwards, we will work with a combination of double crochet andFront Post double crochet(fpdc).
At the start of Rnd 2, ch 1, then pull up the loop on your hook to add some height; then work a Front Post double crochet (fpdc) around the starting chain of the previous round.
Use this method for all rounds that share the same starting symbol.
In Rnd 2, alternate between 1 fpdc and 1 ch.
Work Rnd 3 in the same manner as Row 2.
Step 3:
On Rnd 4, work the first set of crossed stitches.
Begin the crossing row with ch 3 + ch 1.
After making the chain, gather up the double crochet raised stitch you made at the end of the previous row and make a double crochet raised stitch. With these steps, you have completed the first crossover in row 4.
Place a chain stitch between each crossing, and for the next crossing, knit the stitch with the knitting pattern symbol on the bottom first, then knit the chain stitch, and then knit the stitch with the knitting pattern symbol on top.
After this, don't forget to add a chain between each intersection.
Repeat this process for the fourth row, completing one full circle, and finally insert the needle into the third stitch of the starting chain and work a slip stitch.
When knitting this row, especially the second double crochet facing up, be sure to pull the yarn loosely to avoid crowding the stitches.
④ Repeat the "double crochet, pull up 1 stitch, then chain 1 stitch" row and the cross row until you reach the 16th row, then continue using that yarn to crochet "Edge stitch ①".
To knit the edge stitch, gather the chains from the previous row into a bundle and knit.
Once you have knitted one round of the edge, cut the yarn.
⑤Next, attach the yarn and knit the “edge stitch ②” on the cast-on side (the side where you start knitting).
Here too, the chain of stitches is gathered into a bundle and knitted into a knit stitch.
Once you have knitted one round of the edge, cut the yarn.
⑥Hold the steam iron in a hover position and apply only the steam to settle the knitted fabric, and it's finished!
A summary of cowls that are recommended for your first pull-up braid
It would take a long time to explain how to knit it in words, but I hope you can get an idea of how to knit it.
Let's review the key points to remember when knitting:
1. Check that the length of the cast-on stitches will fit over your head before you start knitting!
2. When knitting a pull-up stitch, pull out the yarn loosely so that the stitches don't get too tight!
Surprisingly, I got very few points lol
If you notice anything interesting while knitting, please make a note of it.
A floating steam iron will settle the knitted fabric quite nicely, so please give this a try.
I hope this will be an opportunity for you to enjoy knitting patterns using pull stitches!
Your work
haru❀'s "Pull-up knit cowl"
This was my first time knitting a piece by Ronique. I was grateful that in addition to the knitting pattern, there were also detailed explanations.
I was careful to re-knit the fabric and pull out the yarn so that it wouldn't warp. Thank you for your wonderful piece.
Introducing recipes to knit in autumn and winter
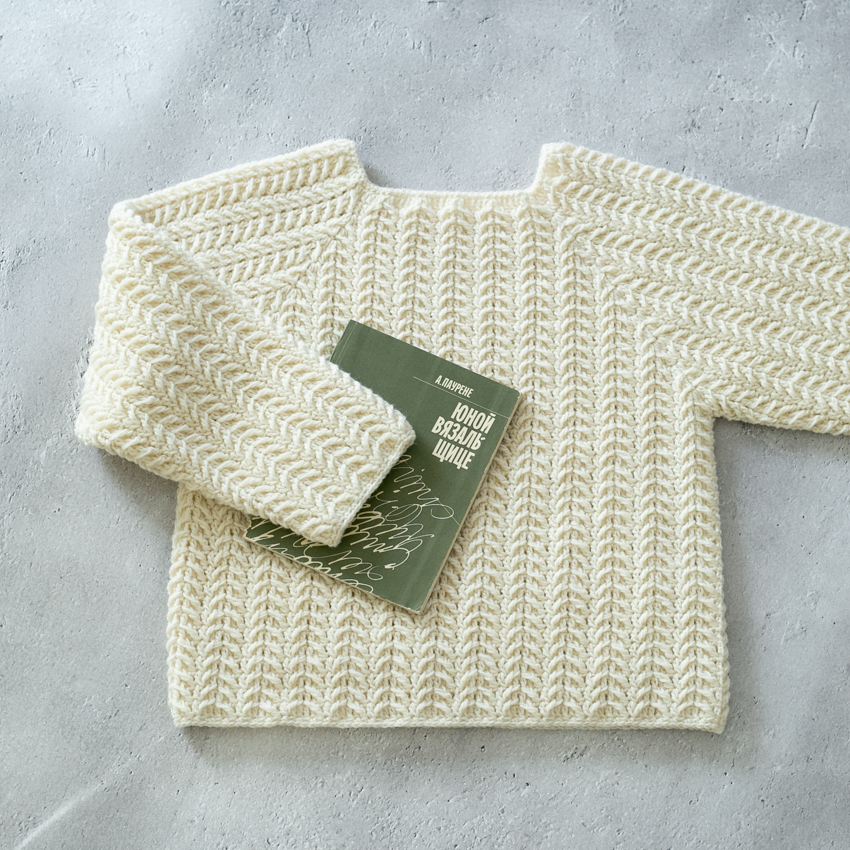
Paid knitting pattern "Florinea"
The raw edge design is possible because it is crocheted.
It's a raglan sleeve sweater that looks like a cut-and-sew top.
A piece made using double crochet knitting.
It's knitted from the top down, so it's easy to adjust the size.
Why not complete your winter wardrobe with some warm items?
Paid knitting pattern "Herringbone Cowl"
Cowl with a herringbone pattern.
This can also be knitted using double crochet pull stitches.
As the knitted fabric is completed, you'll want to admire it from a distance.
How about a compact piece that's easy to carry around?